
- Joined
- Jun 22, 2018
- Messages
- 105
Hello everyone! I have dabbled in making mini ponies since I've been collecting. I showcased my first attempt at the Arena along with a mini ponyland awhile ago, but since then I've improved my techniques and style. I would like to show you my most recent sculpt, along with a tutorial of how I made her and some tips. I hope you enjoy! (I've put everything under spoilers because it's a lot of pics!)
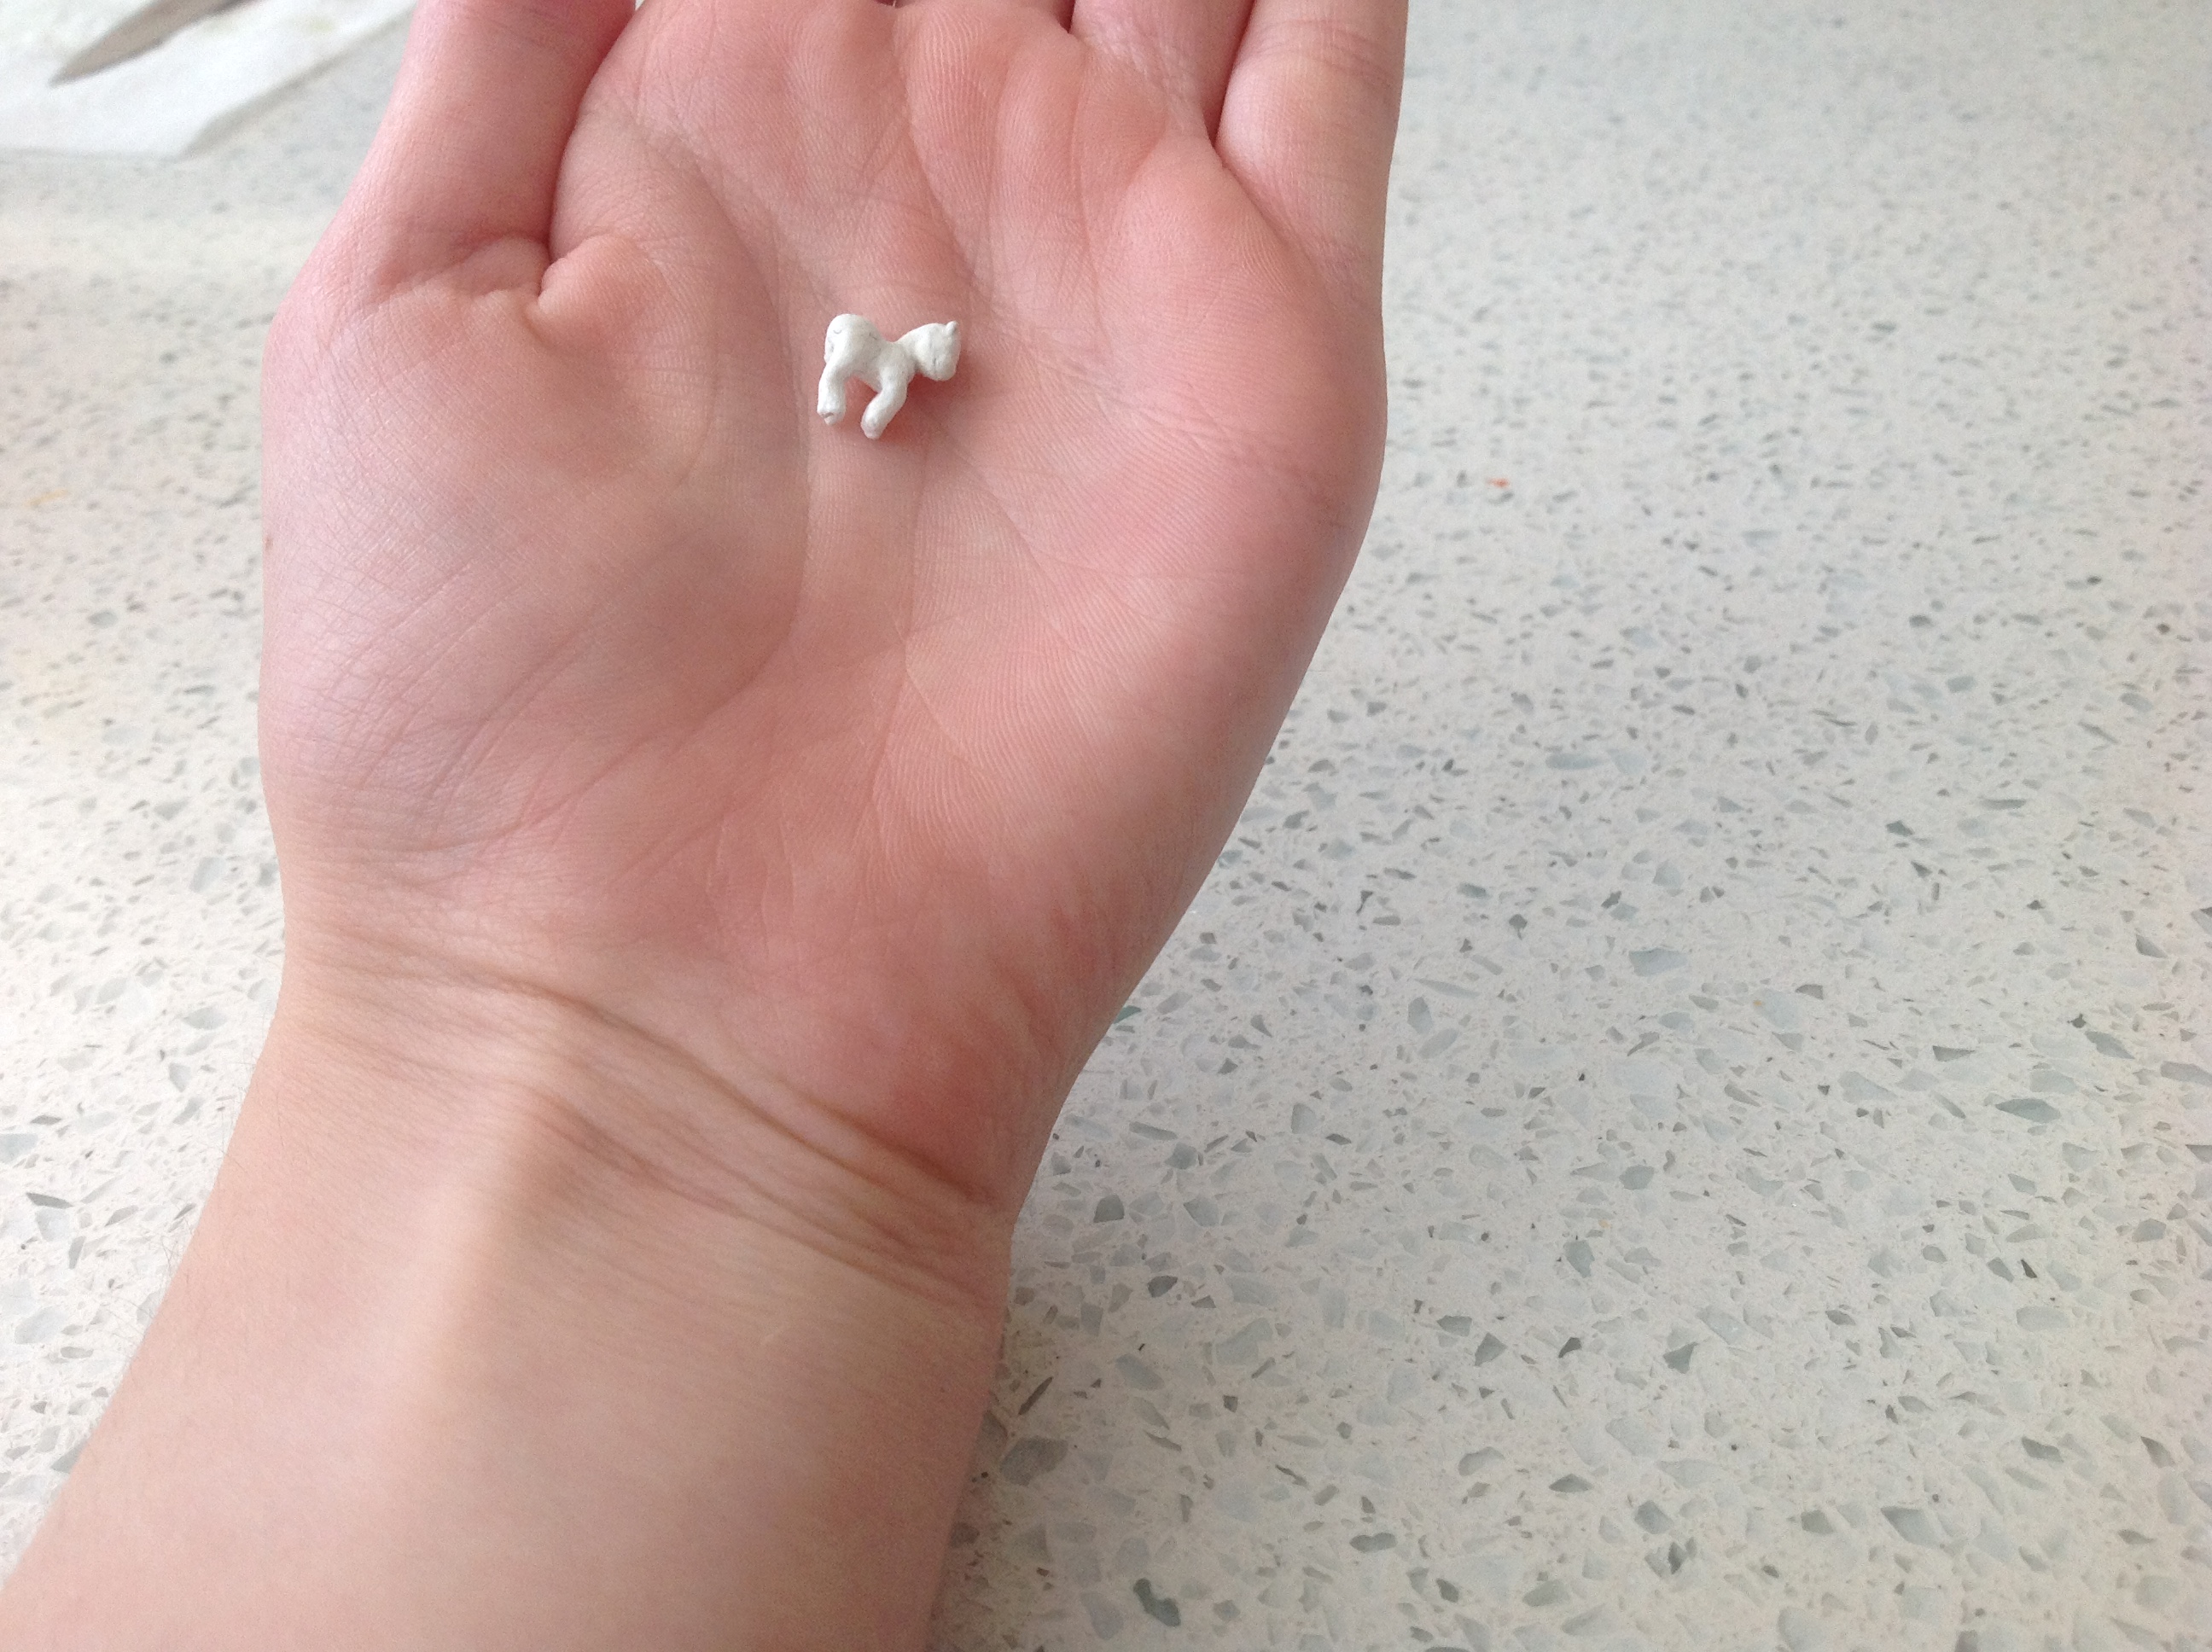
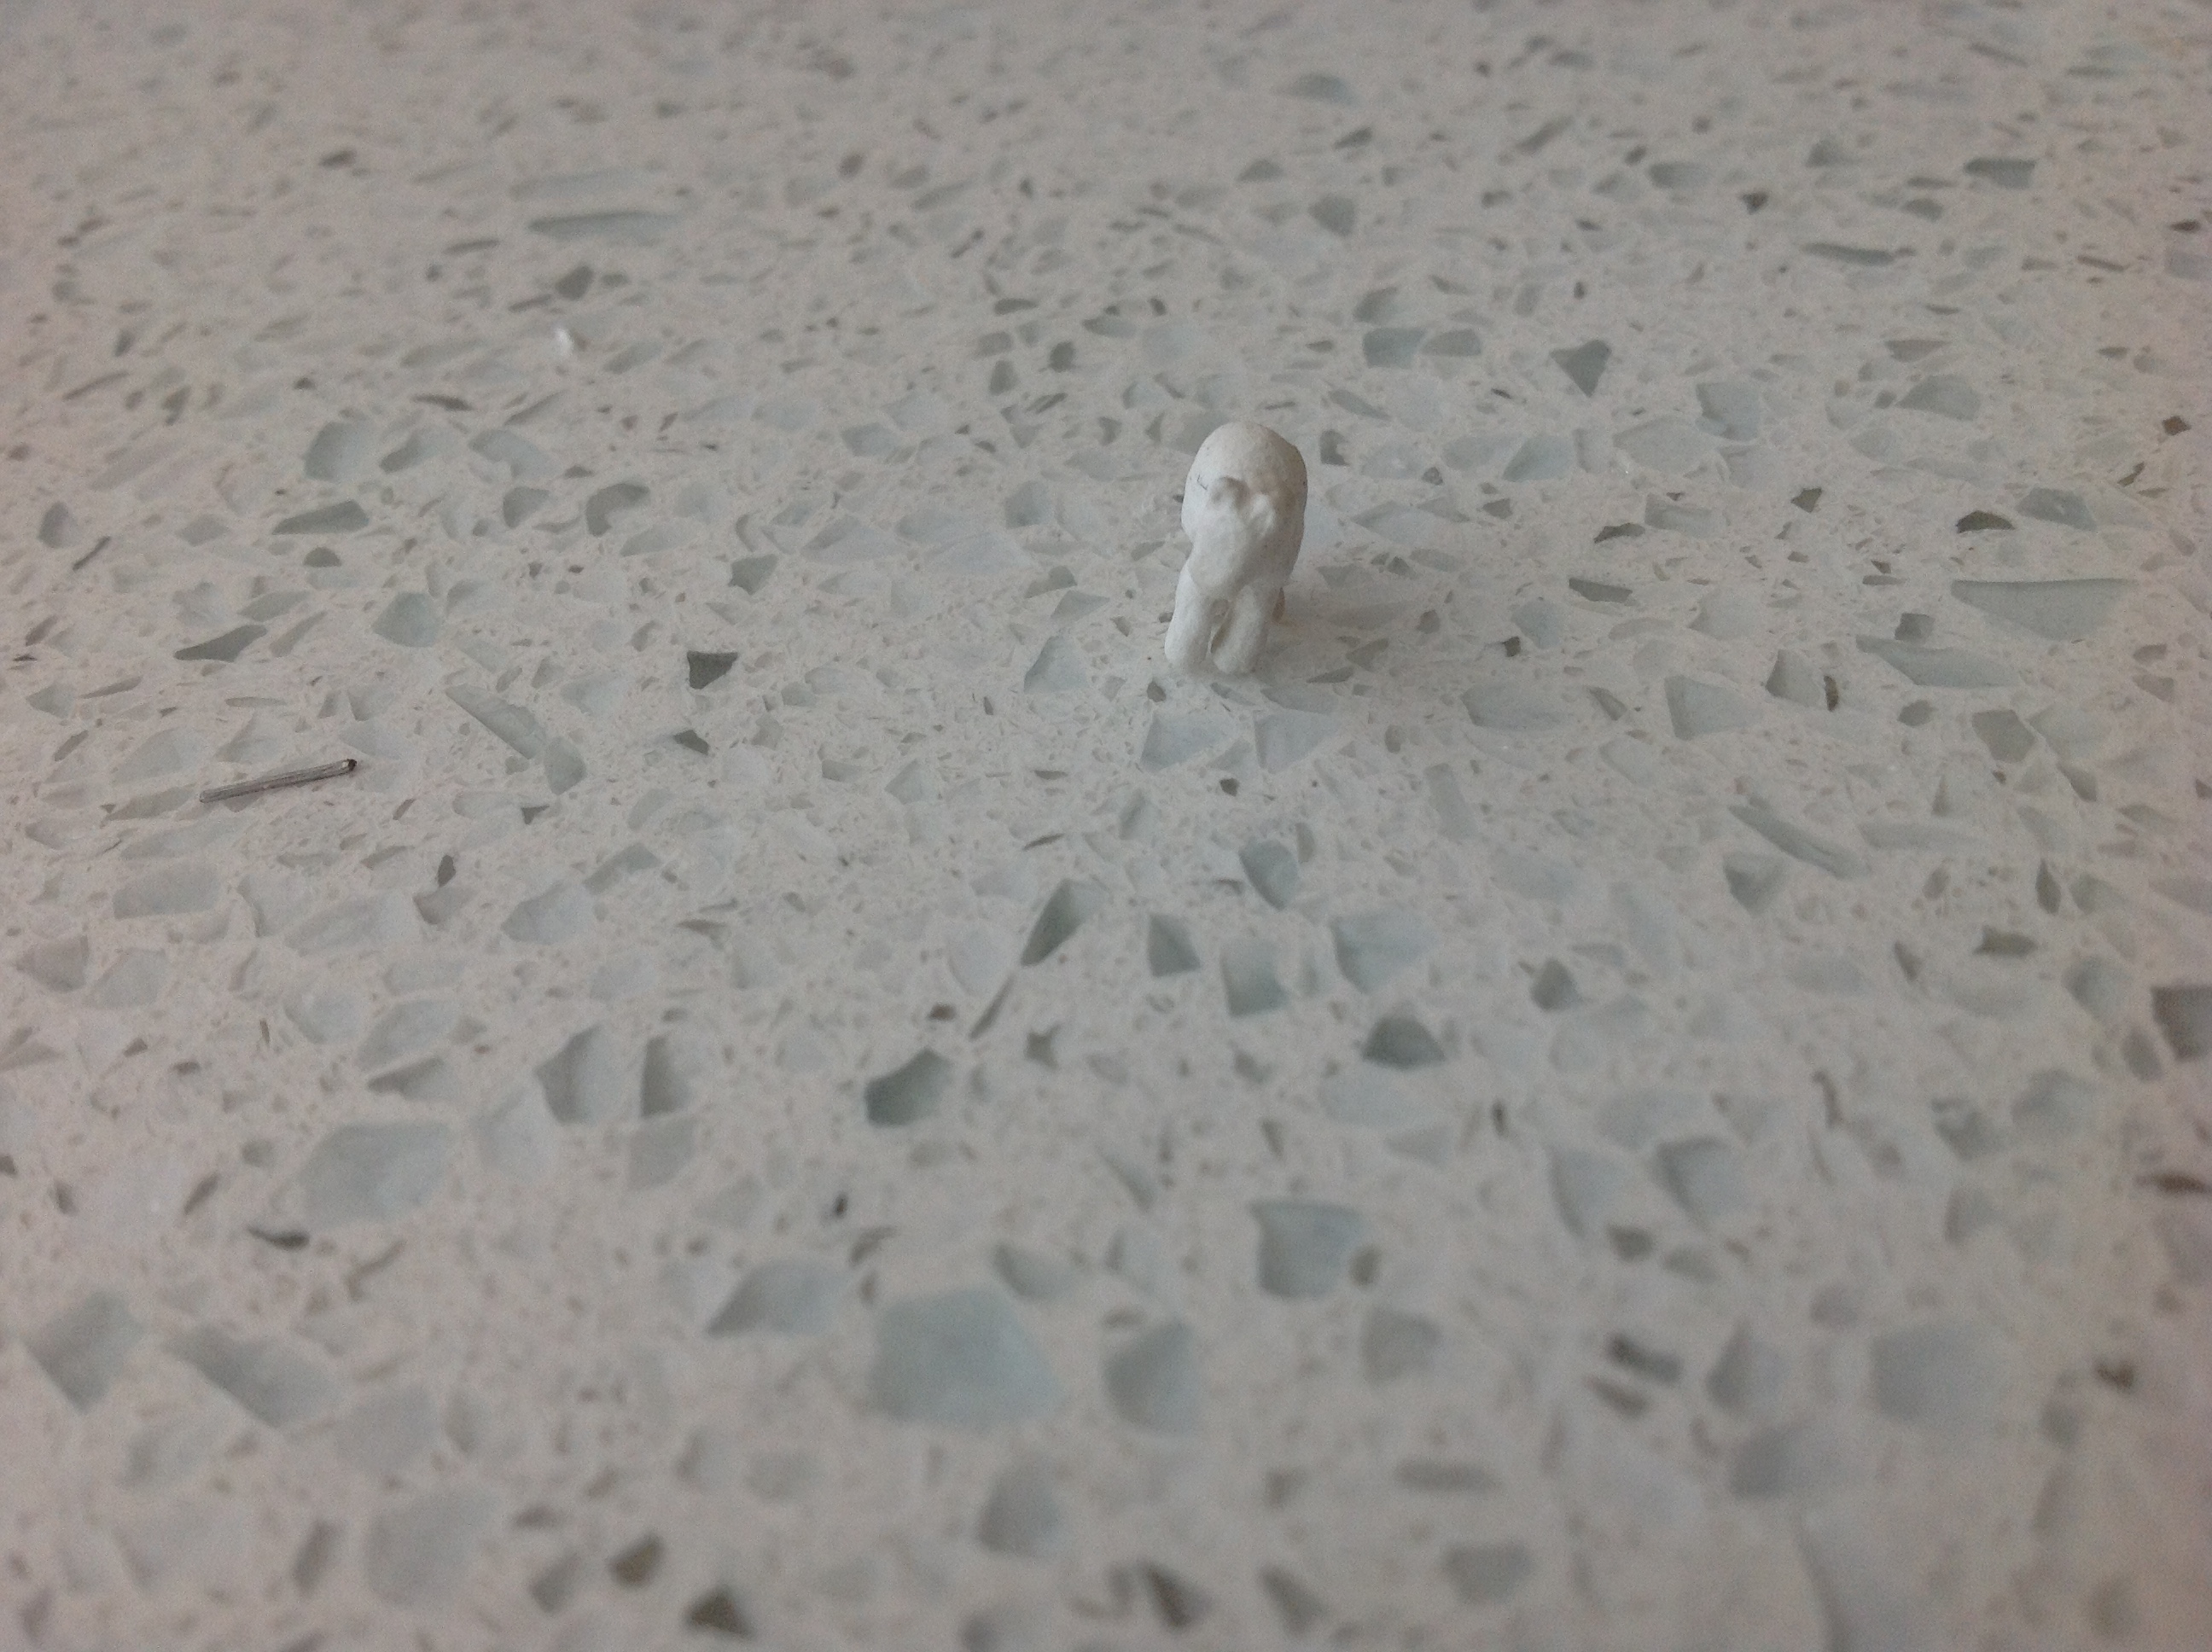
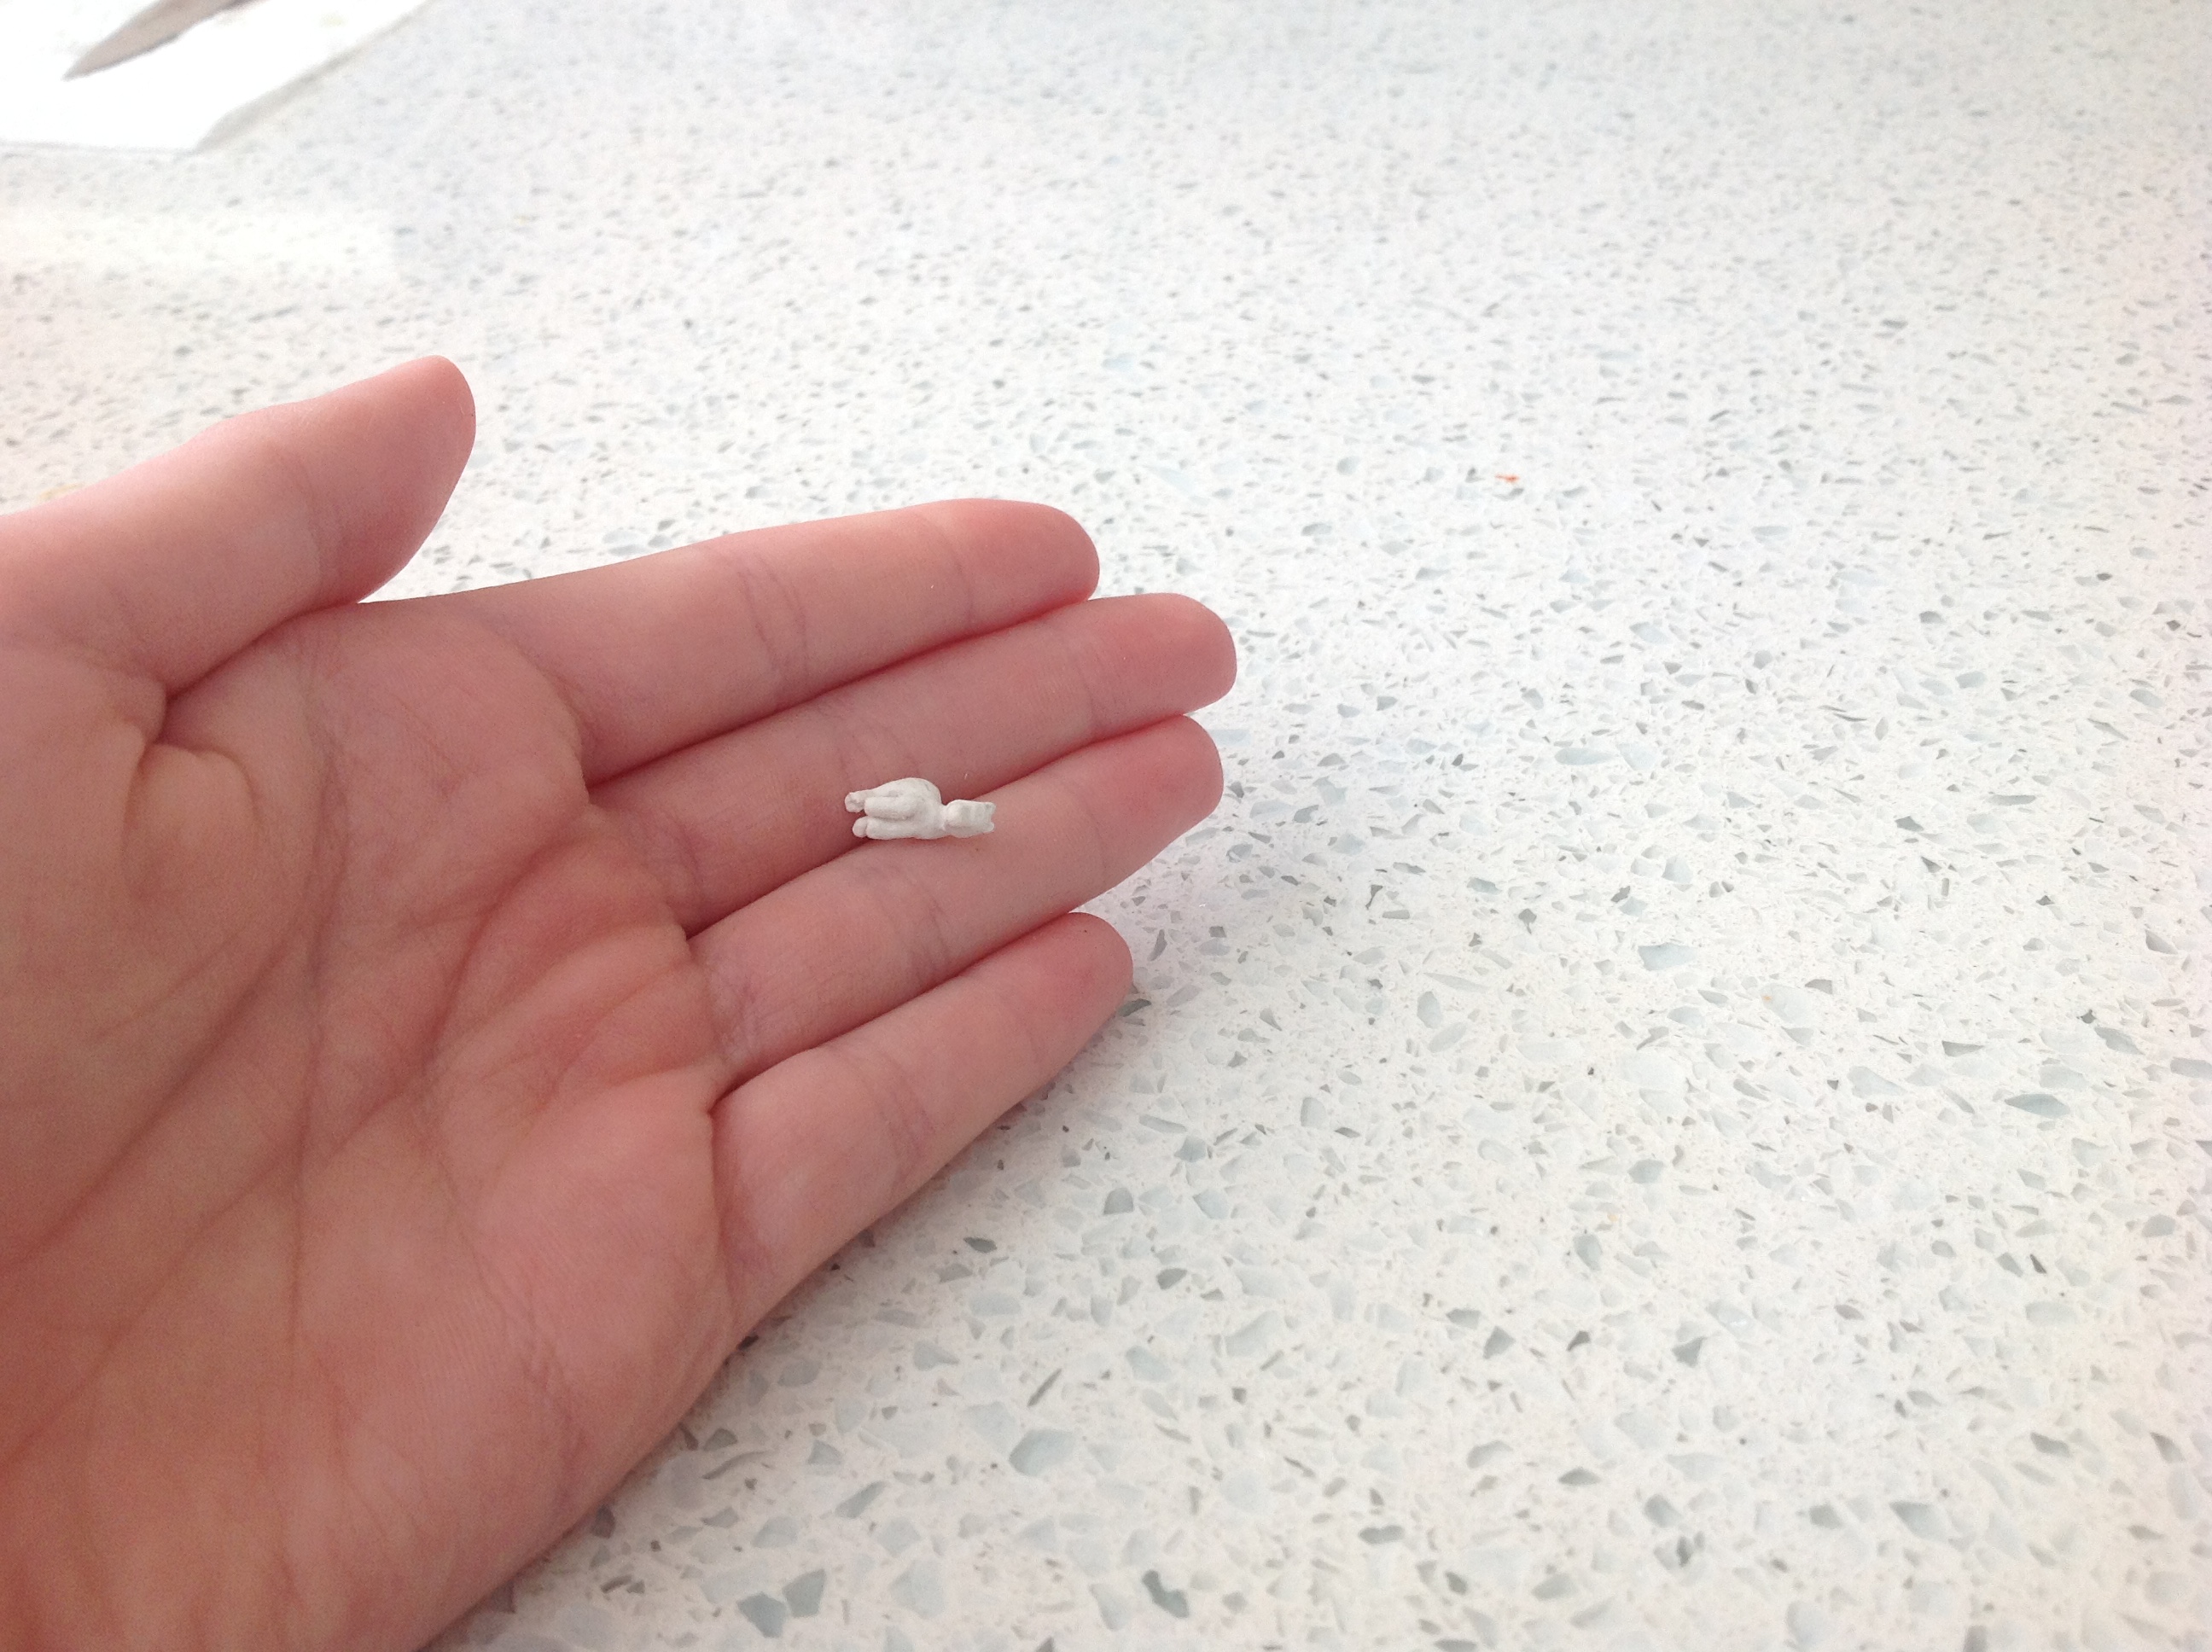
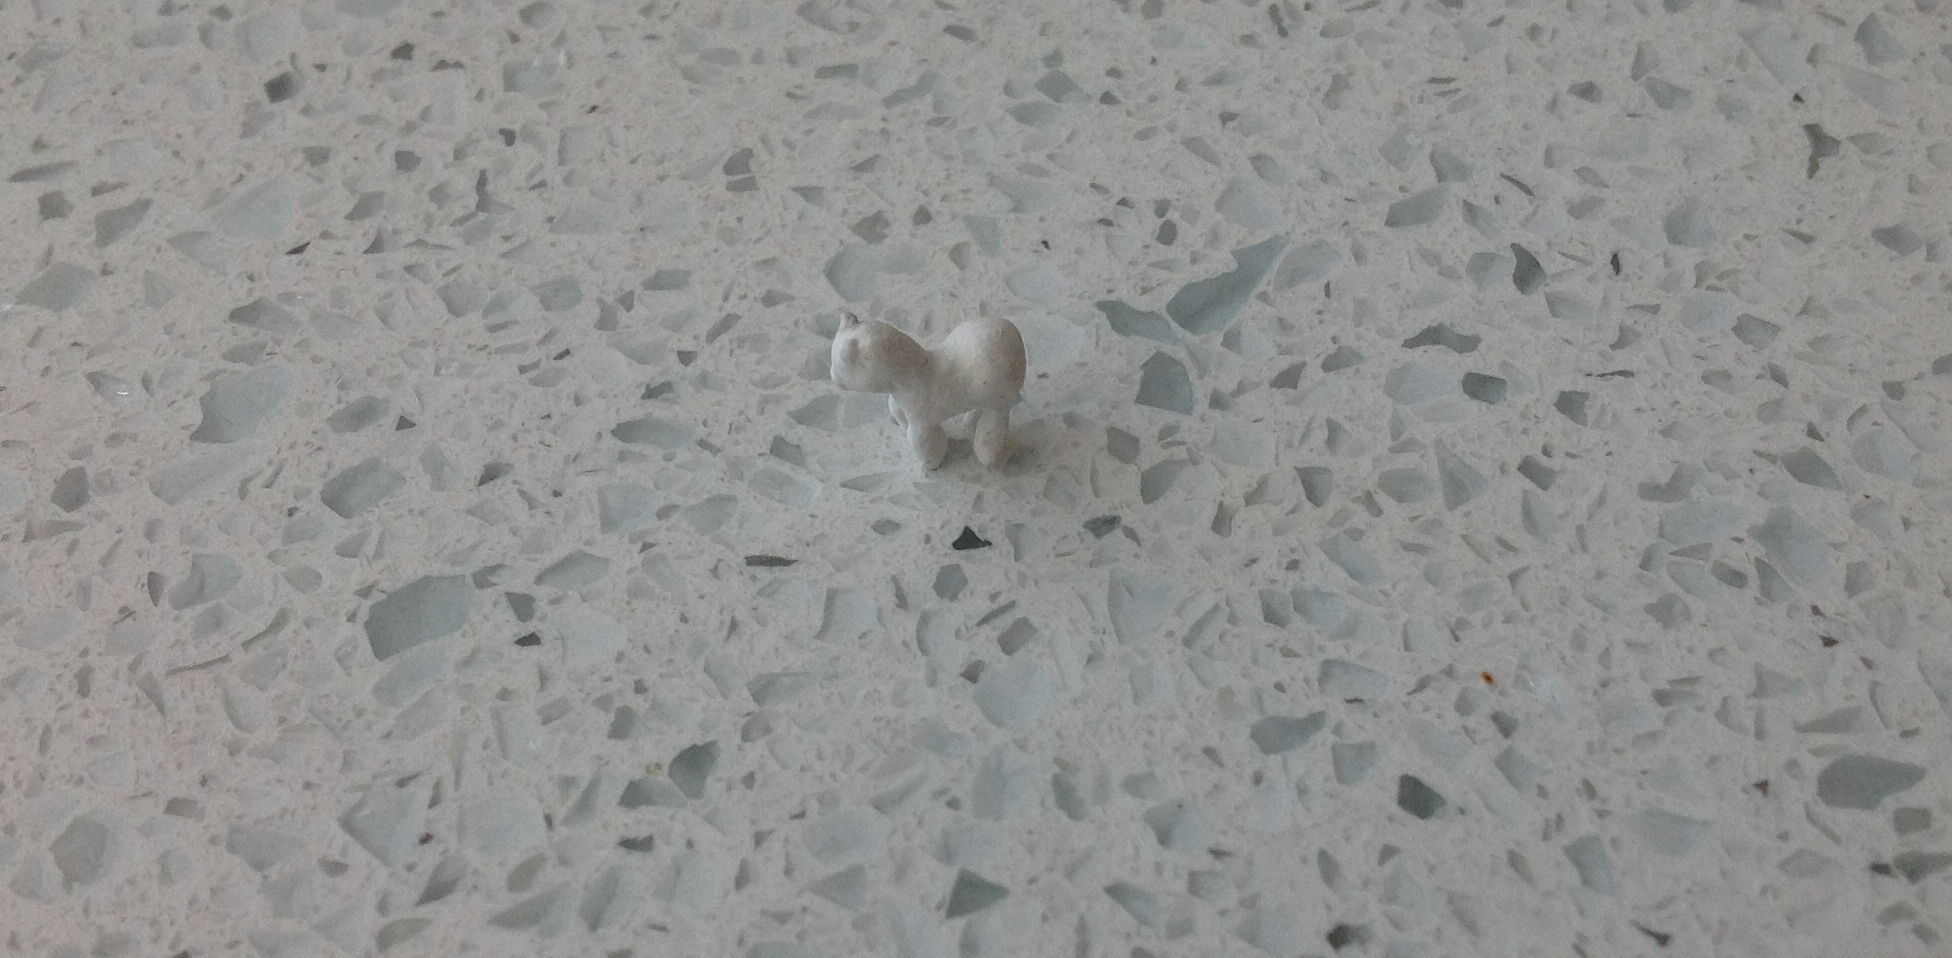
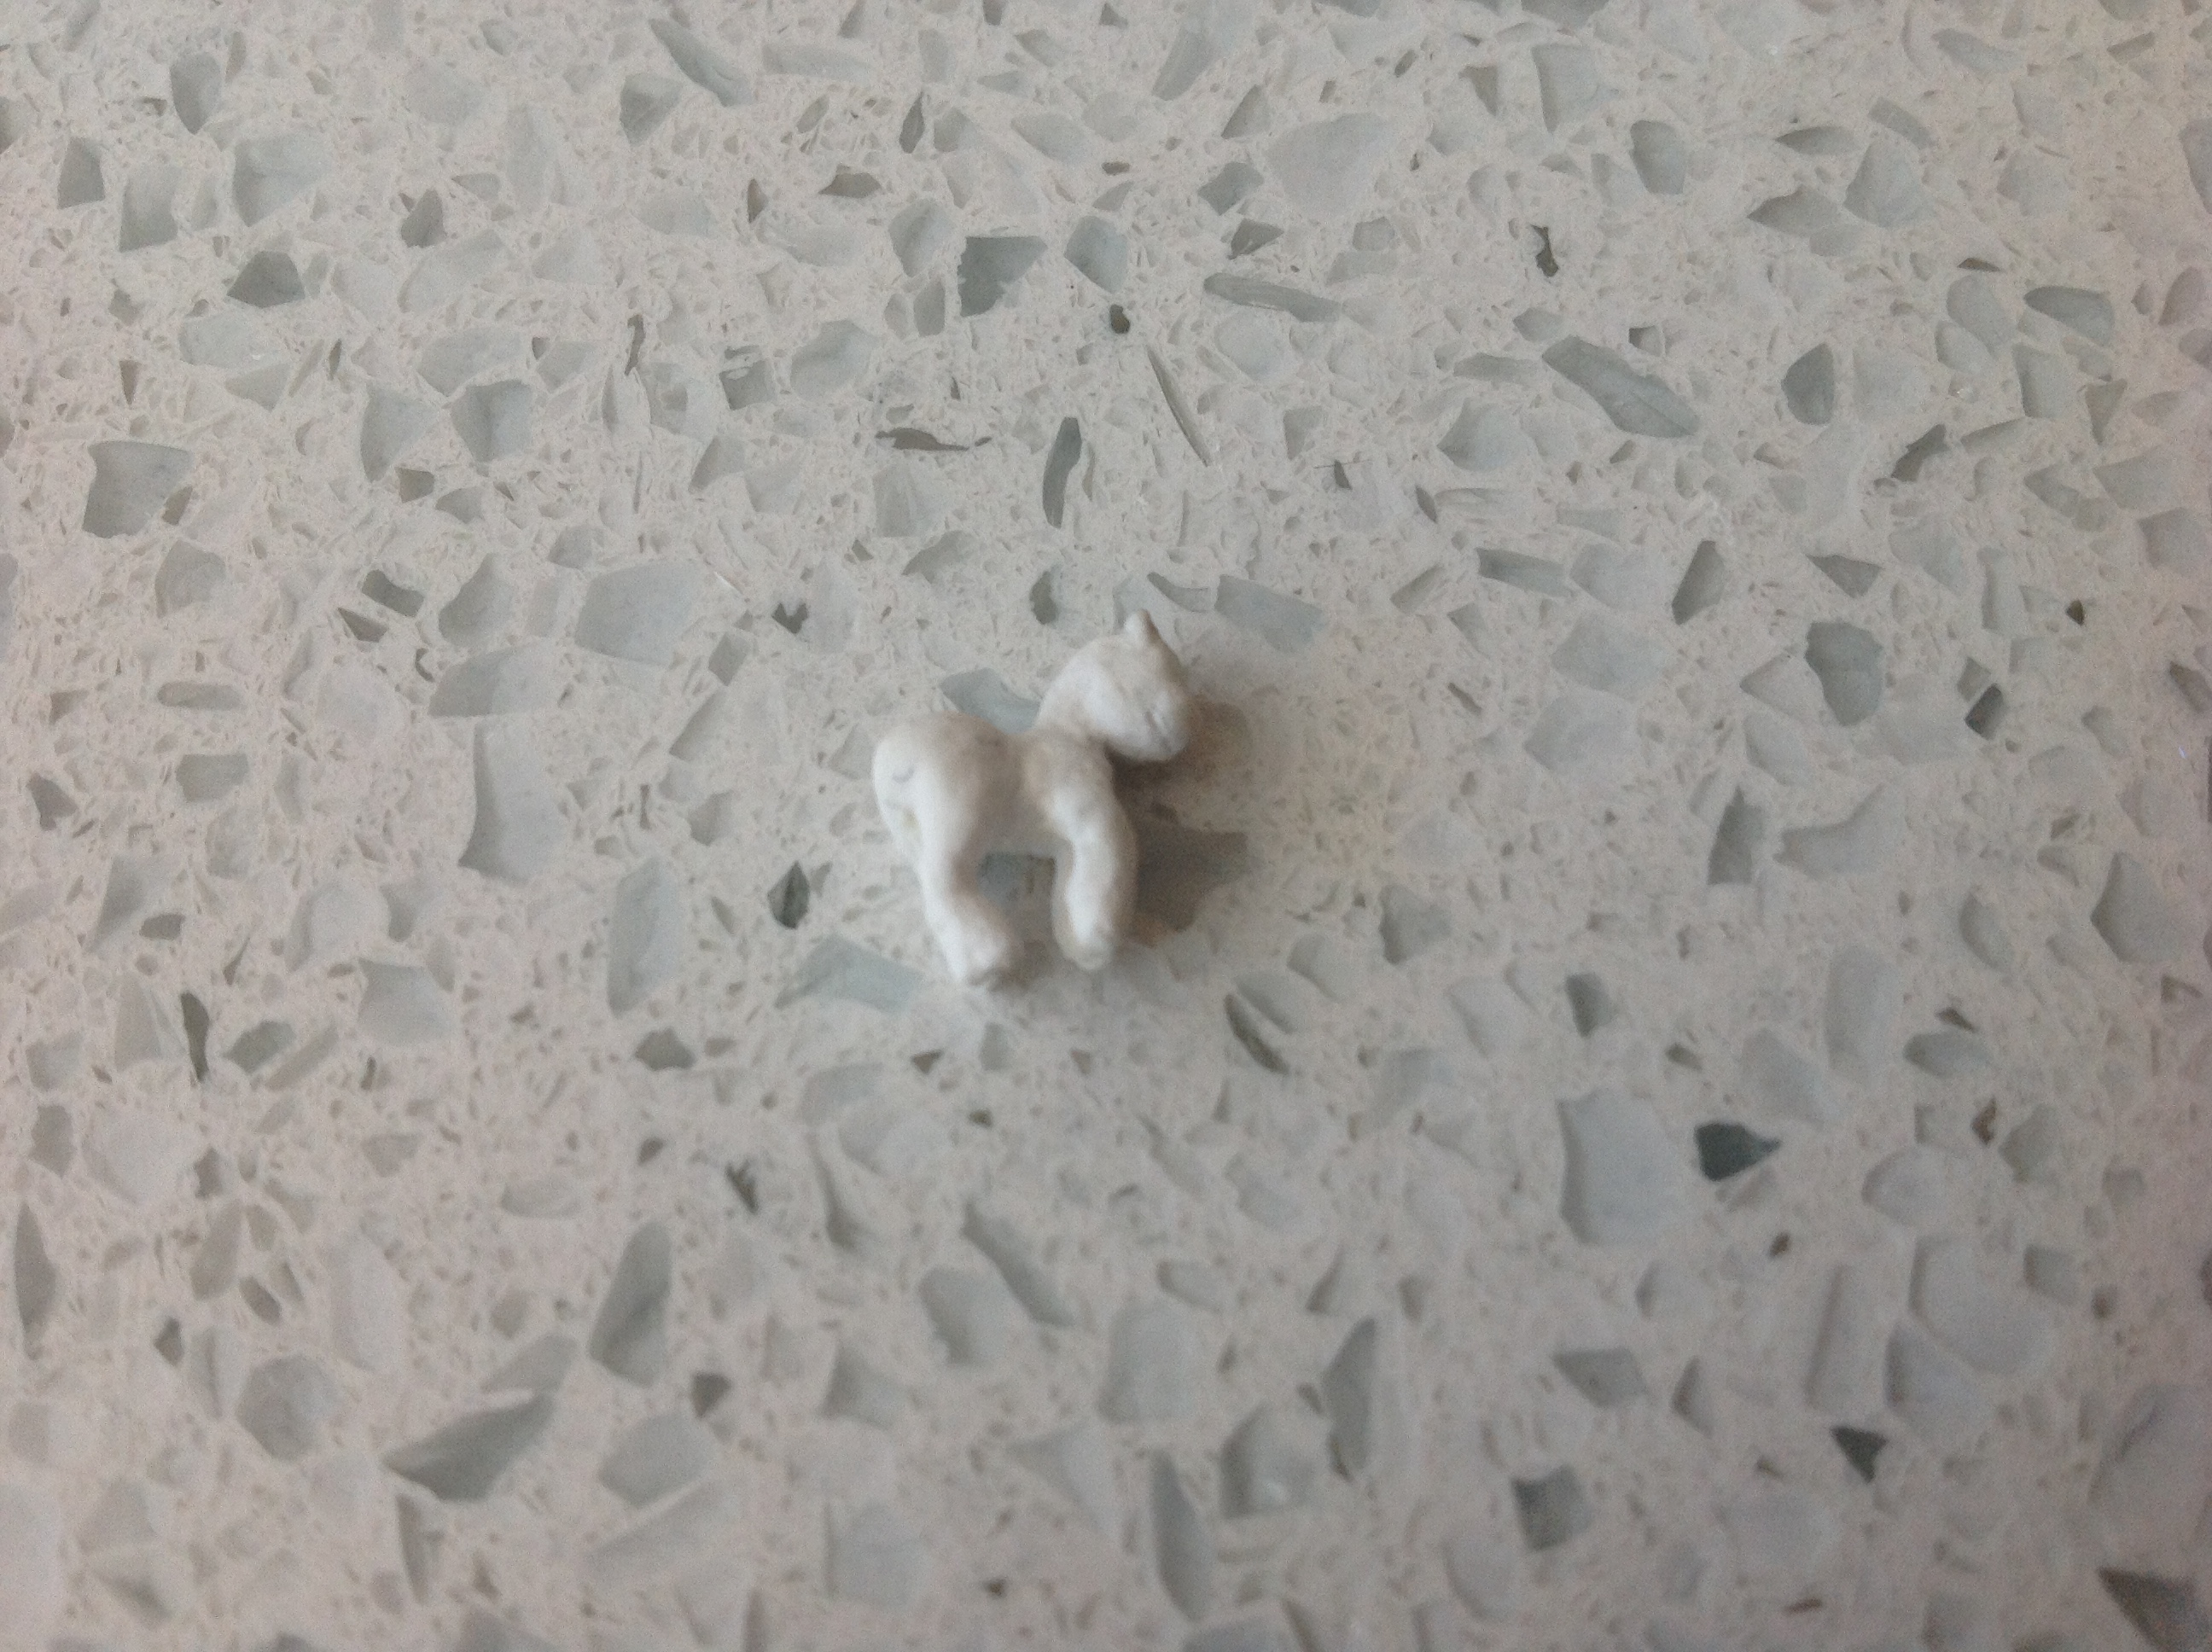
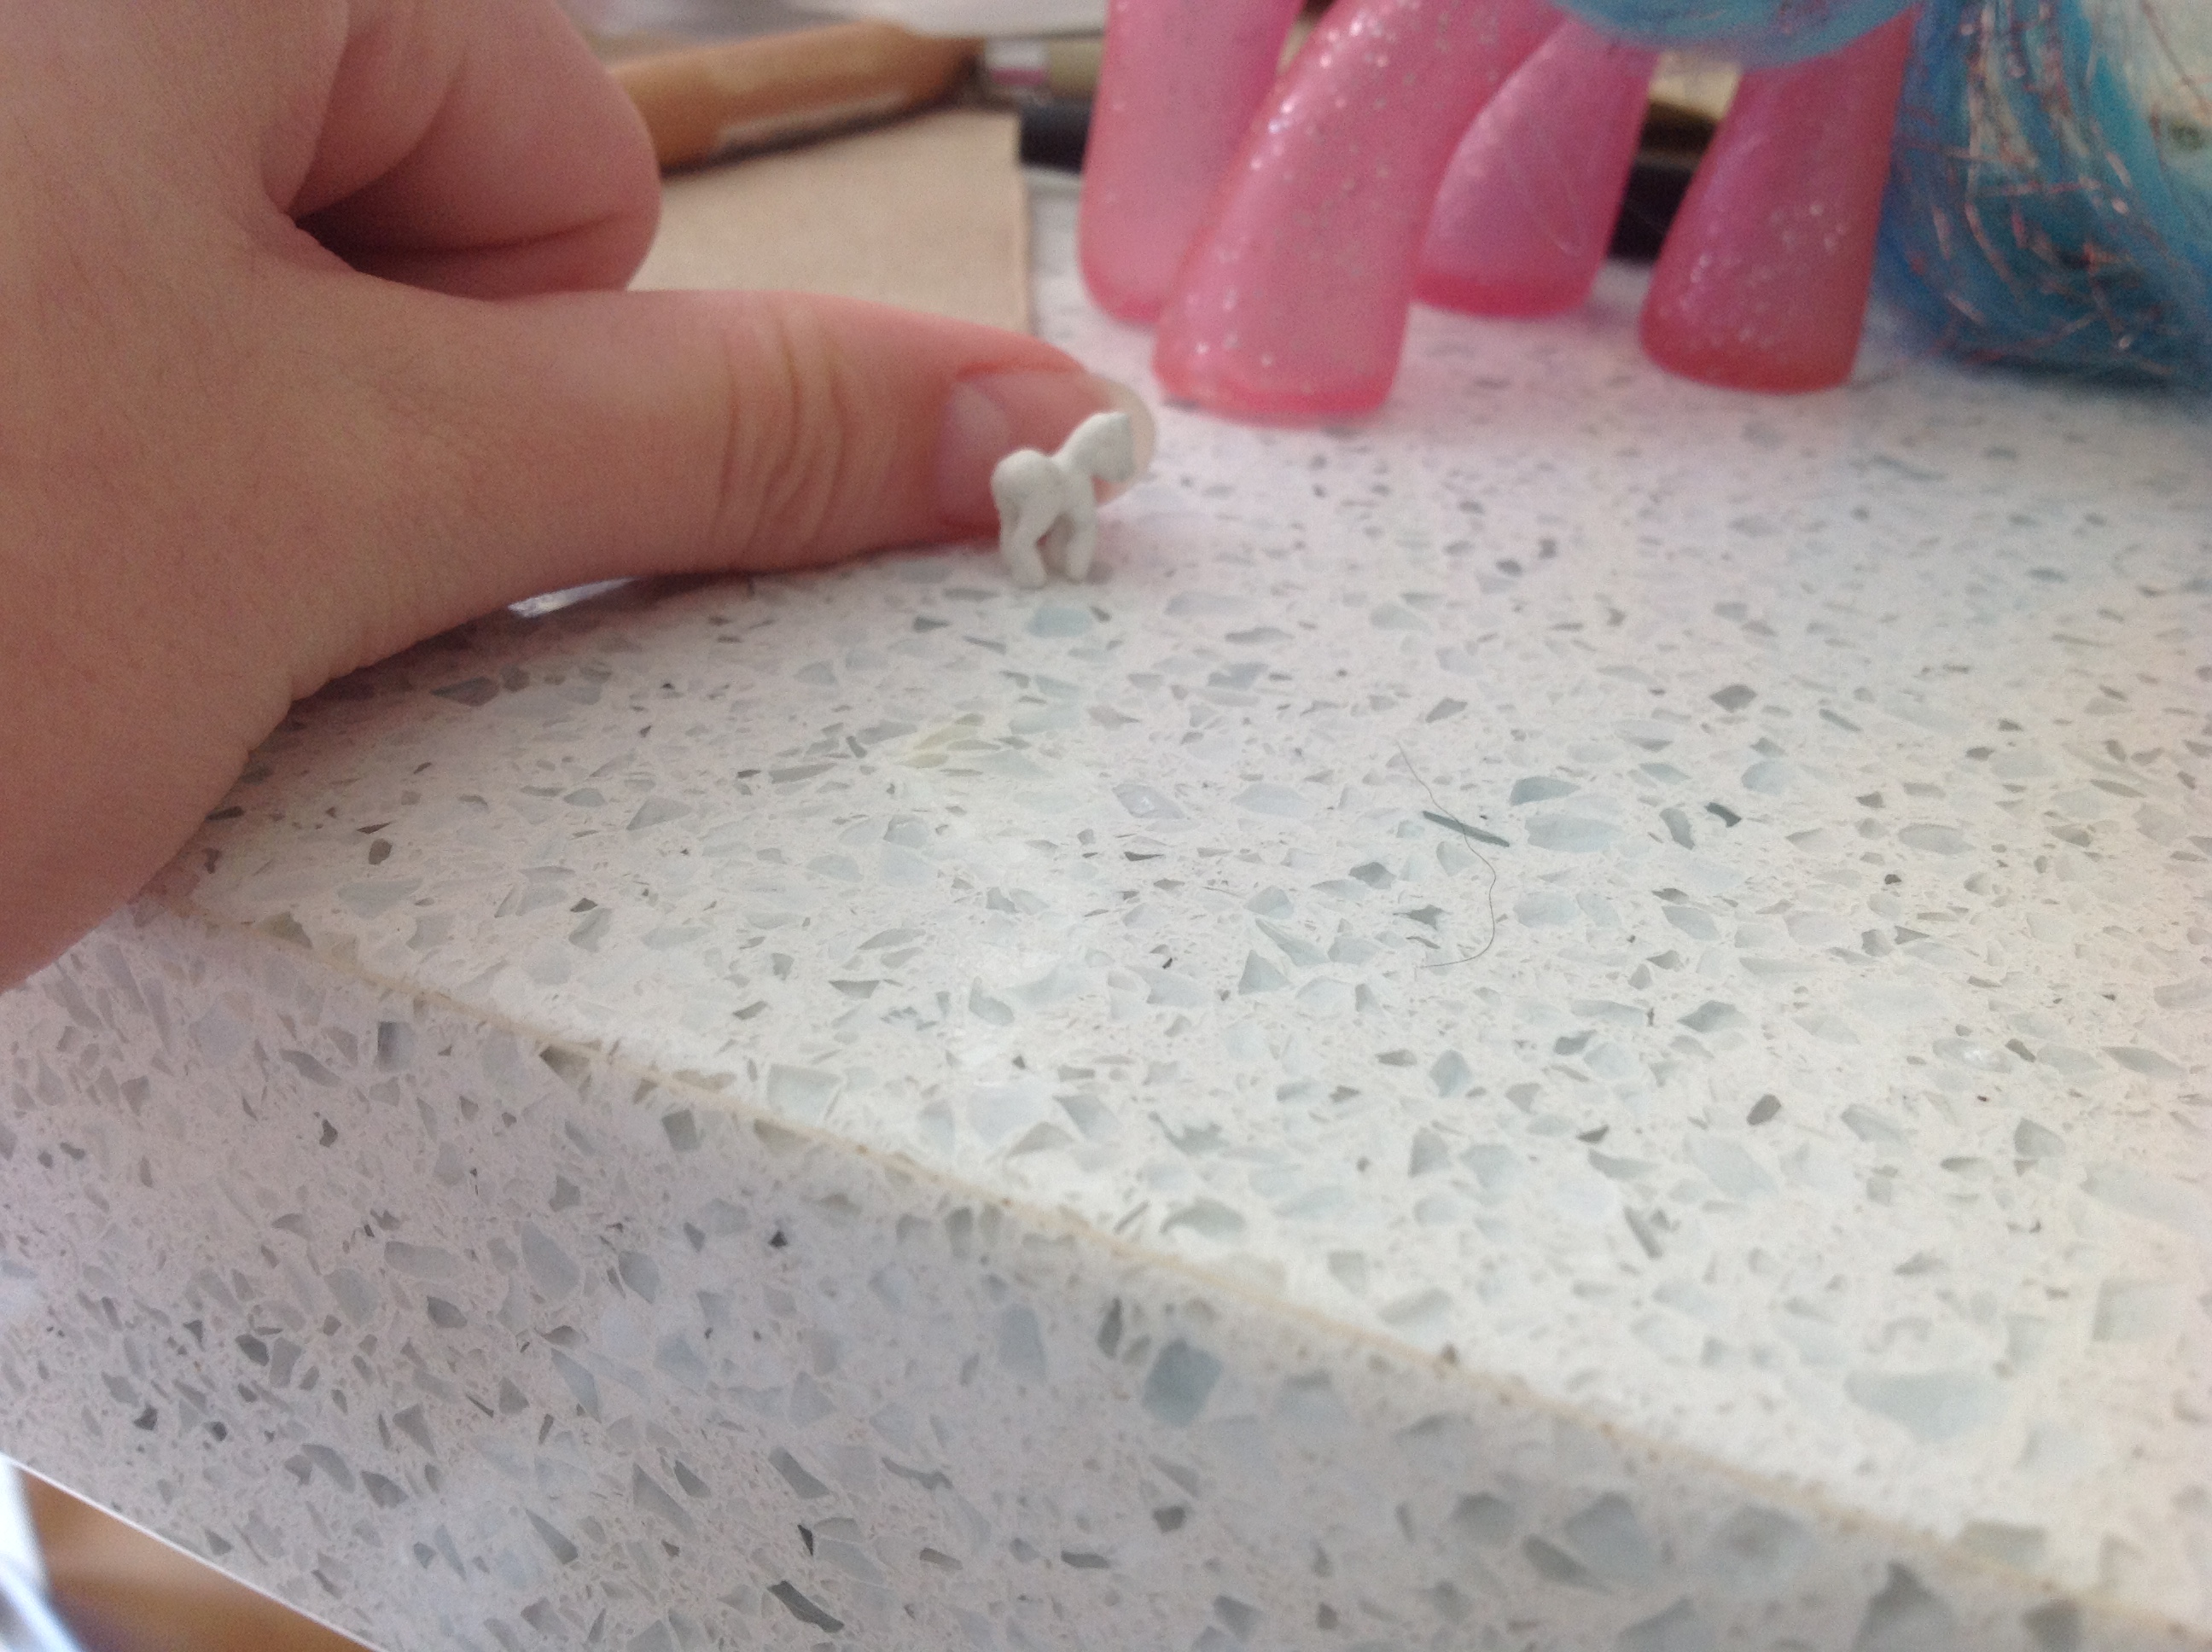
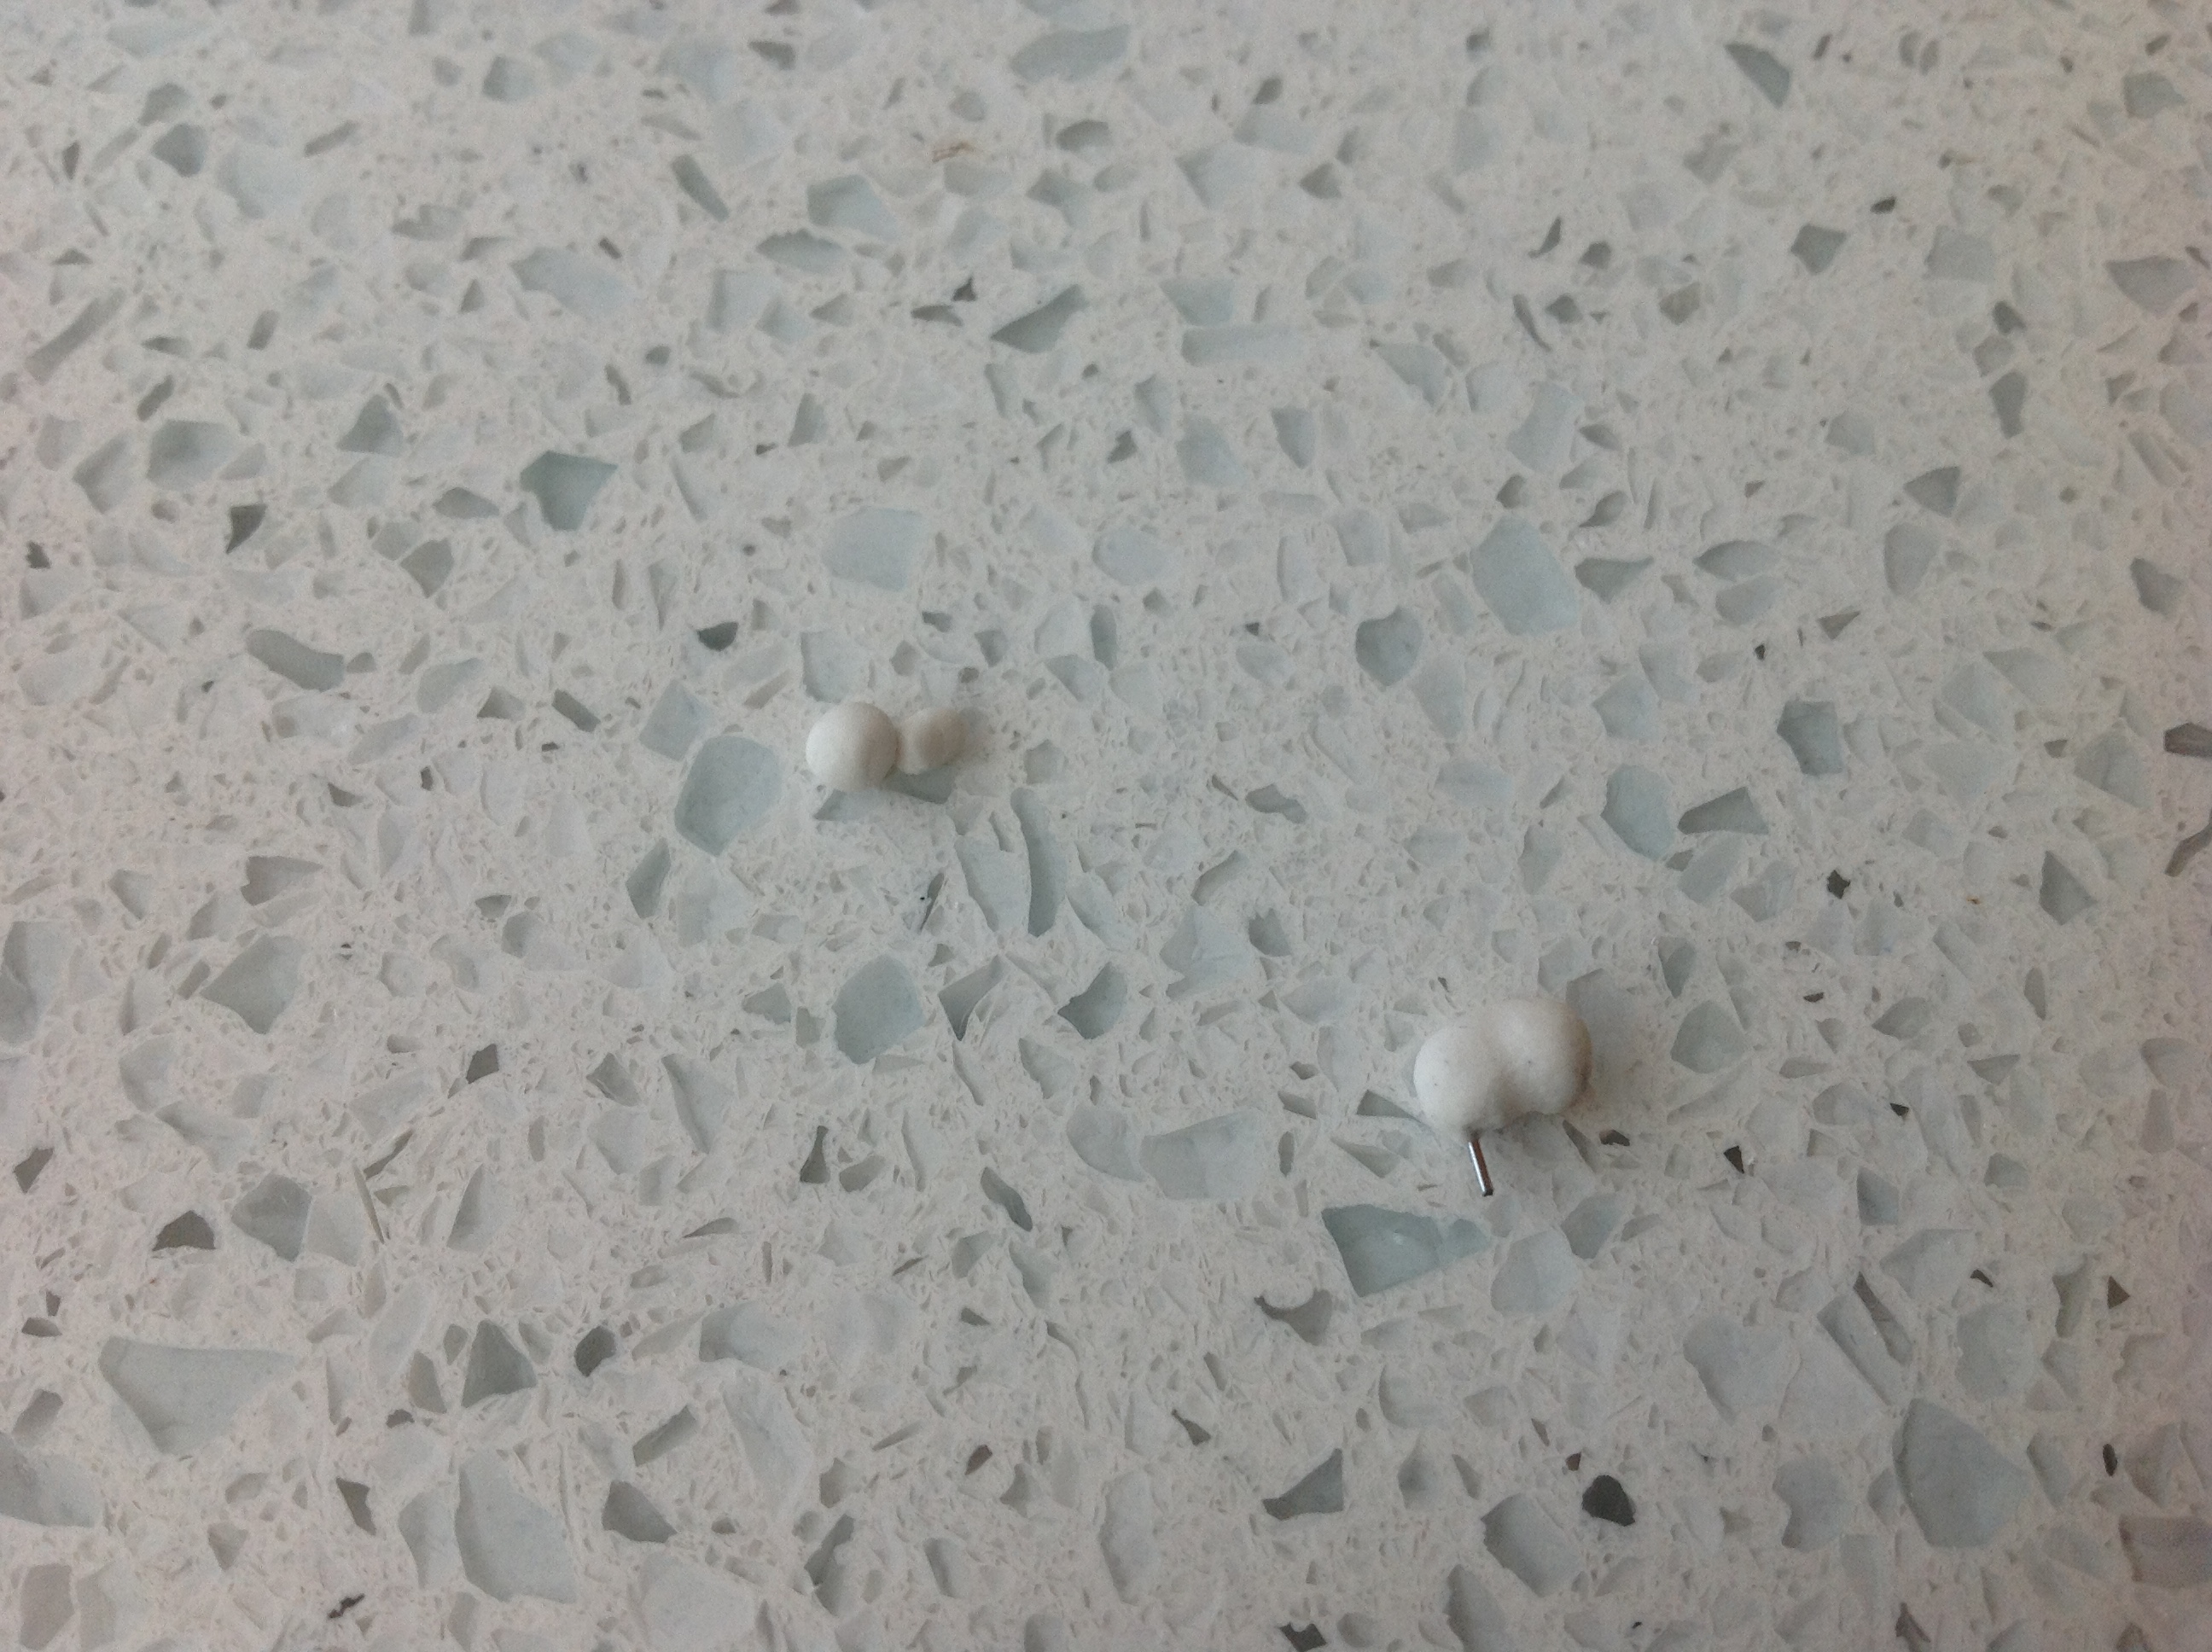
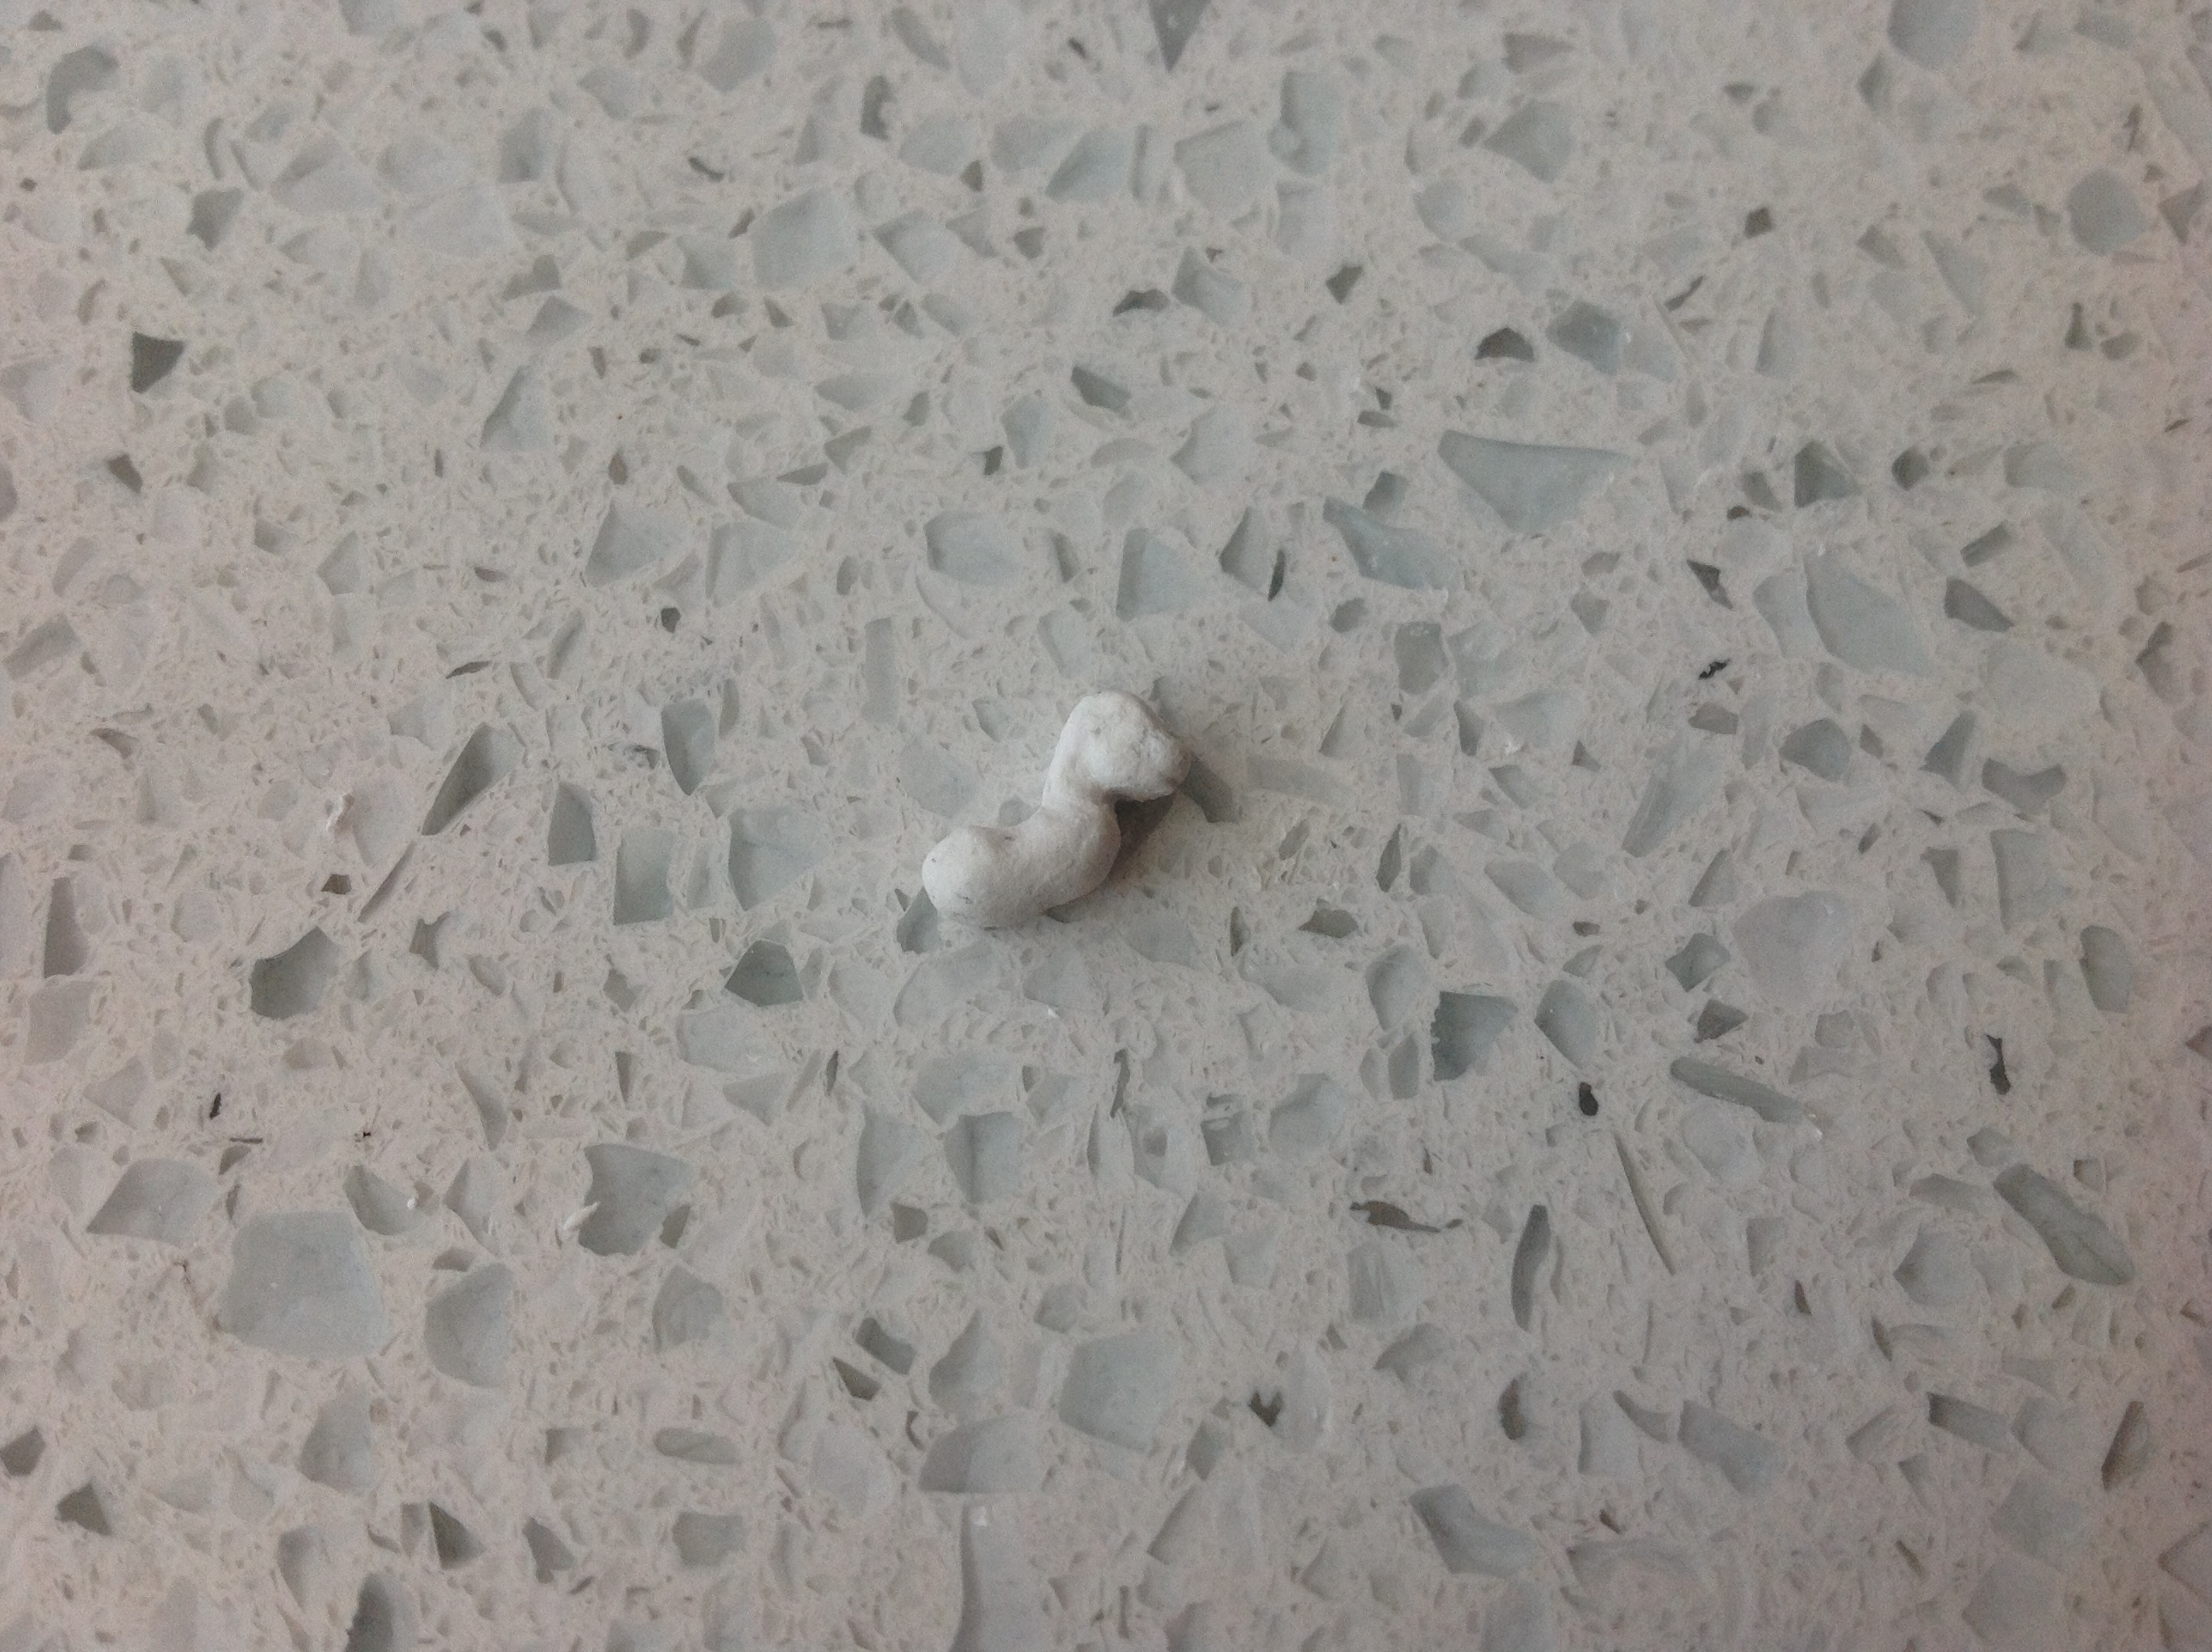
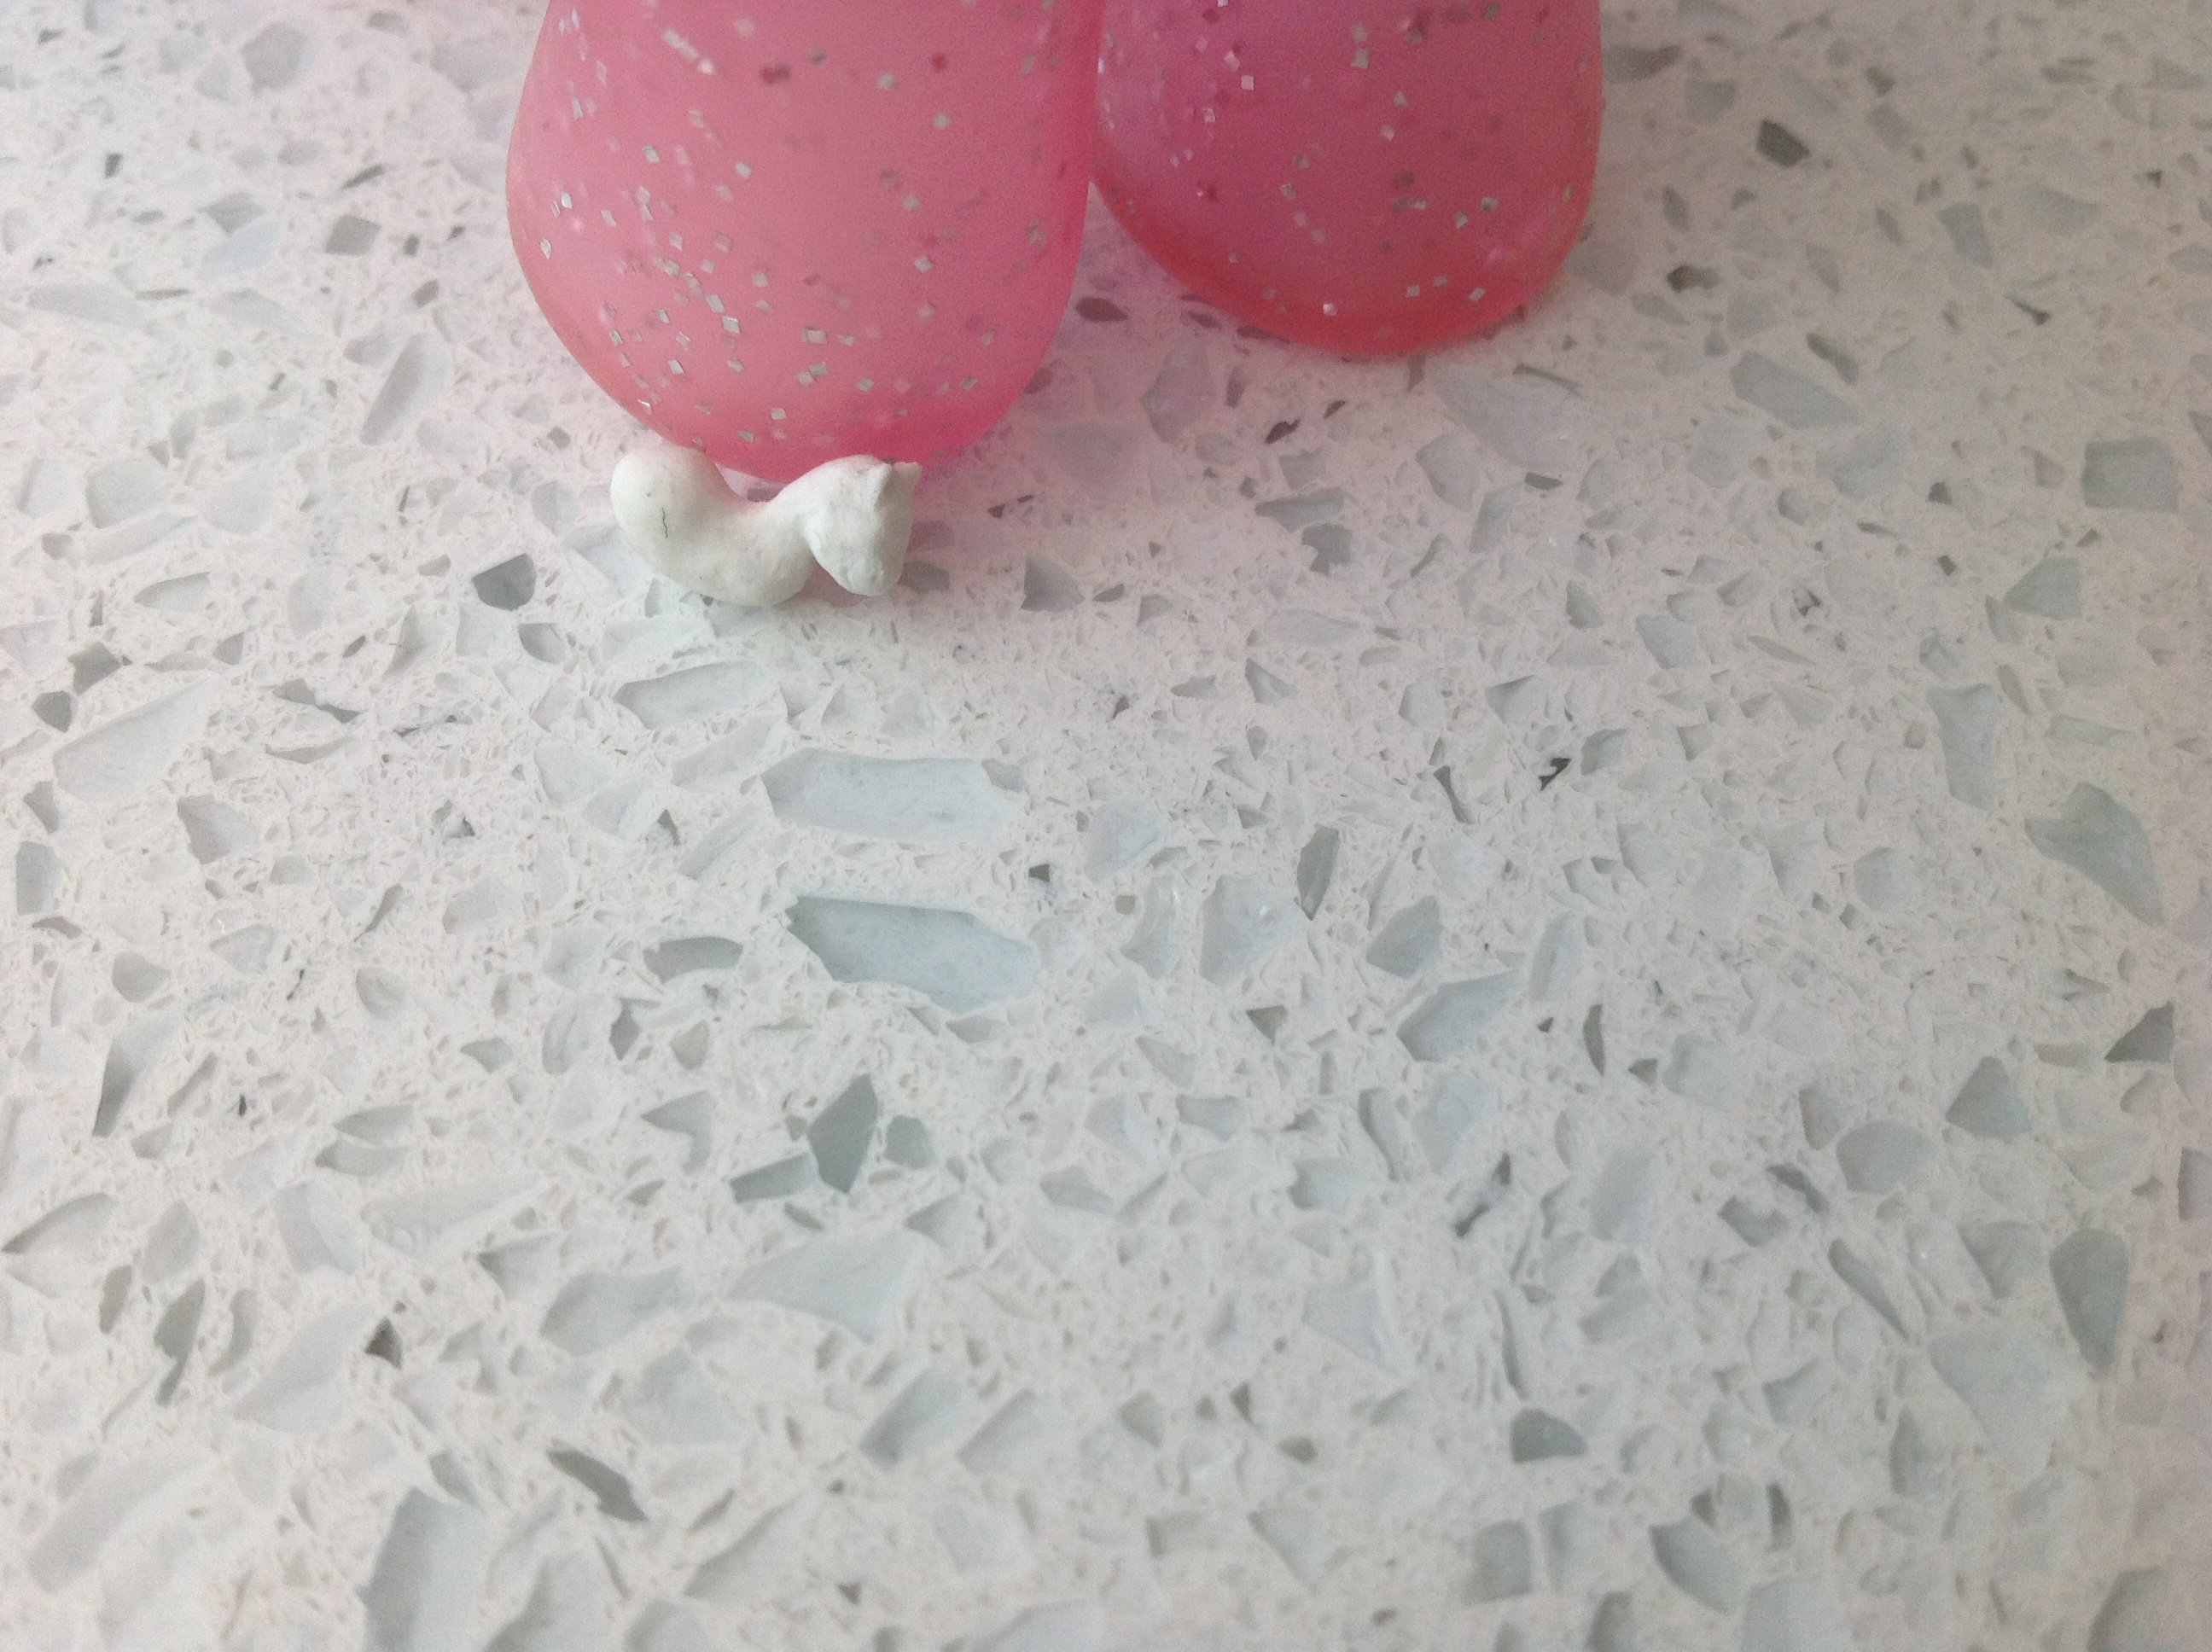
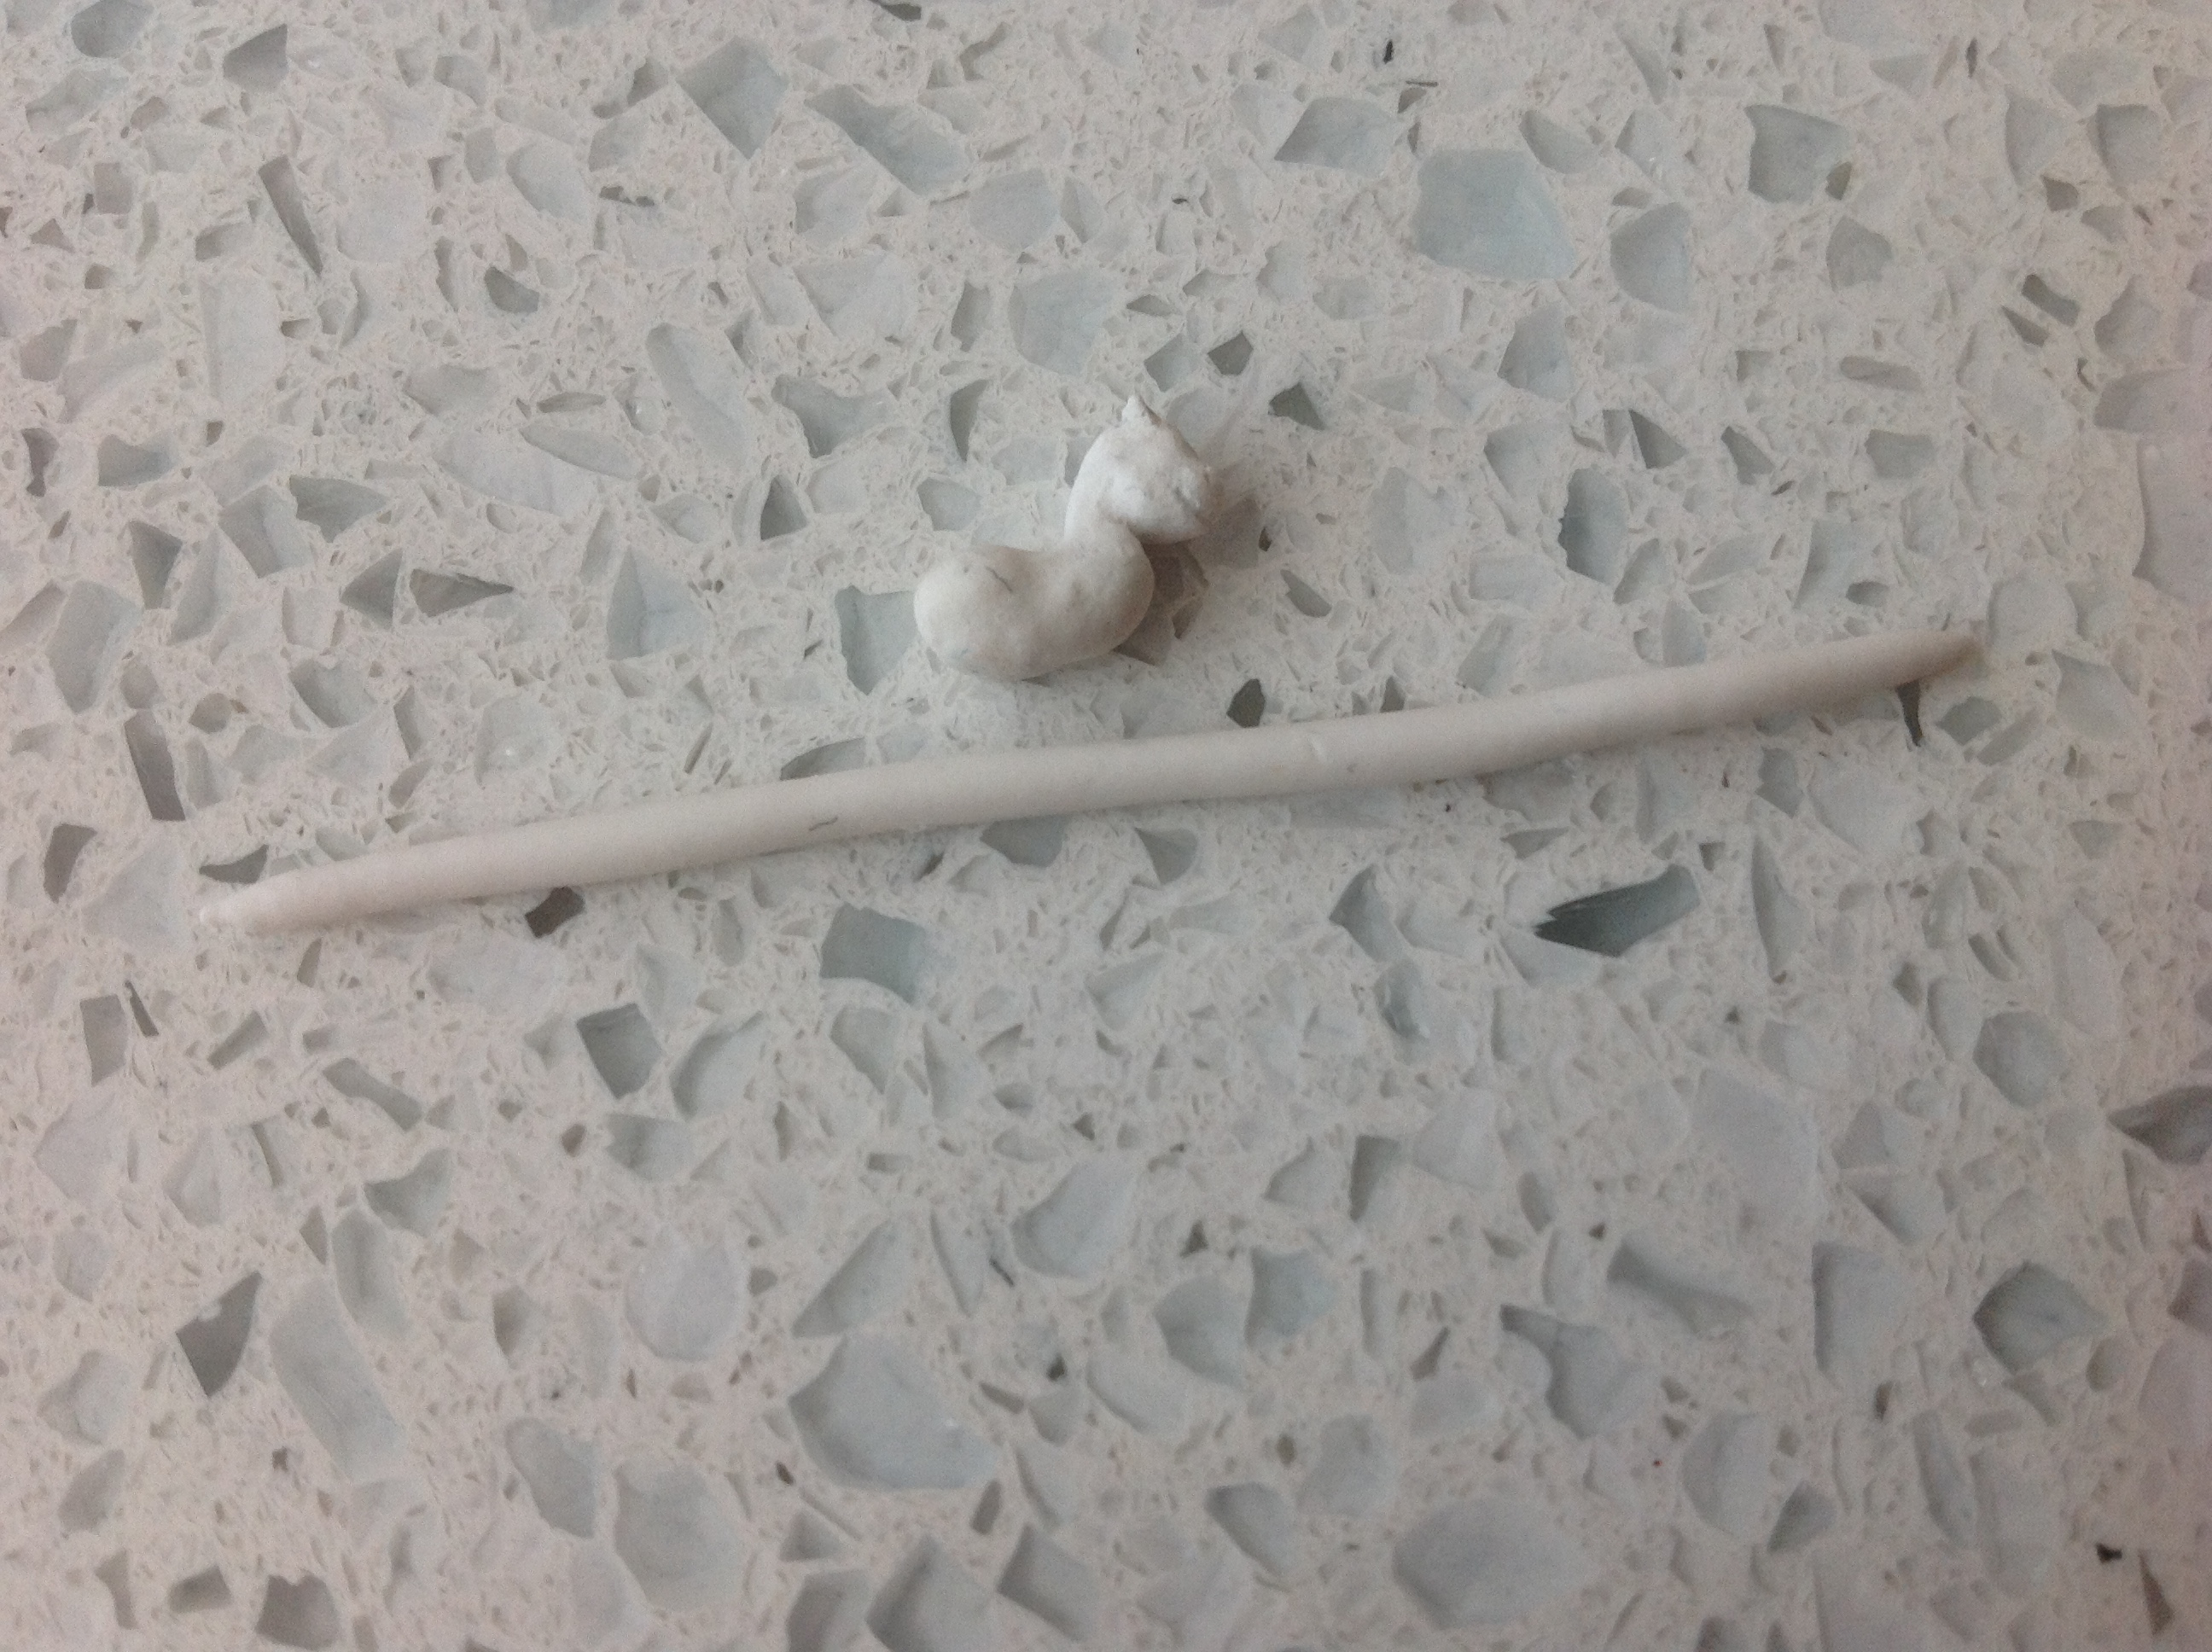
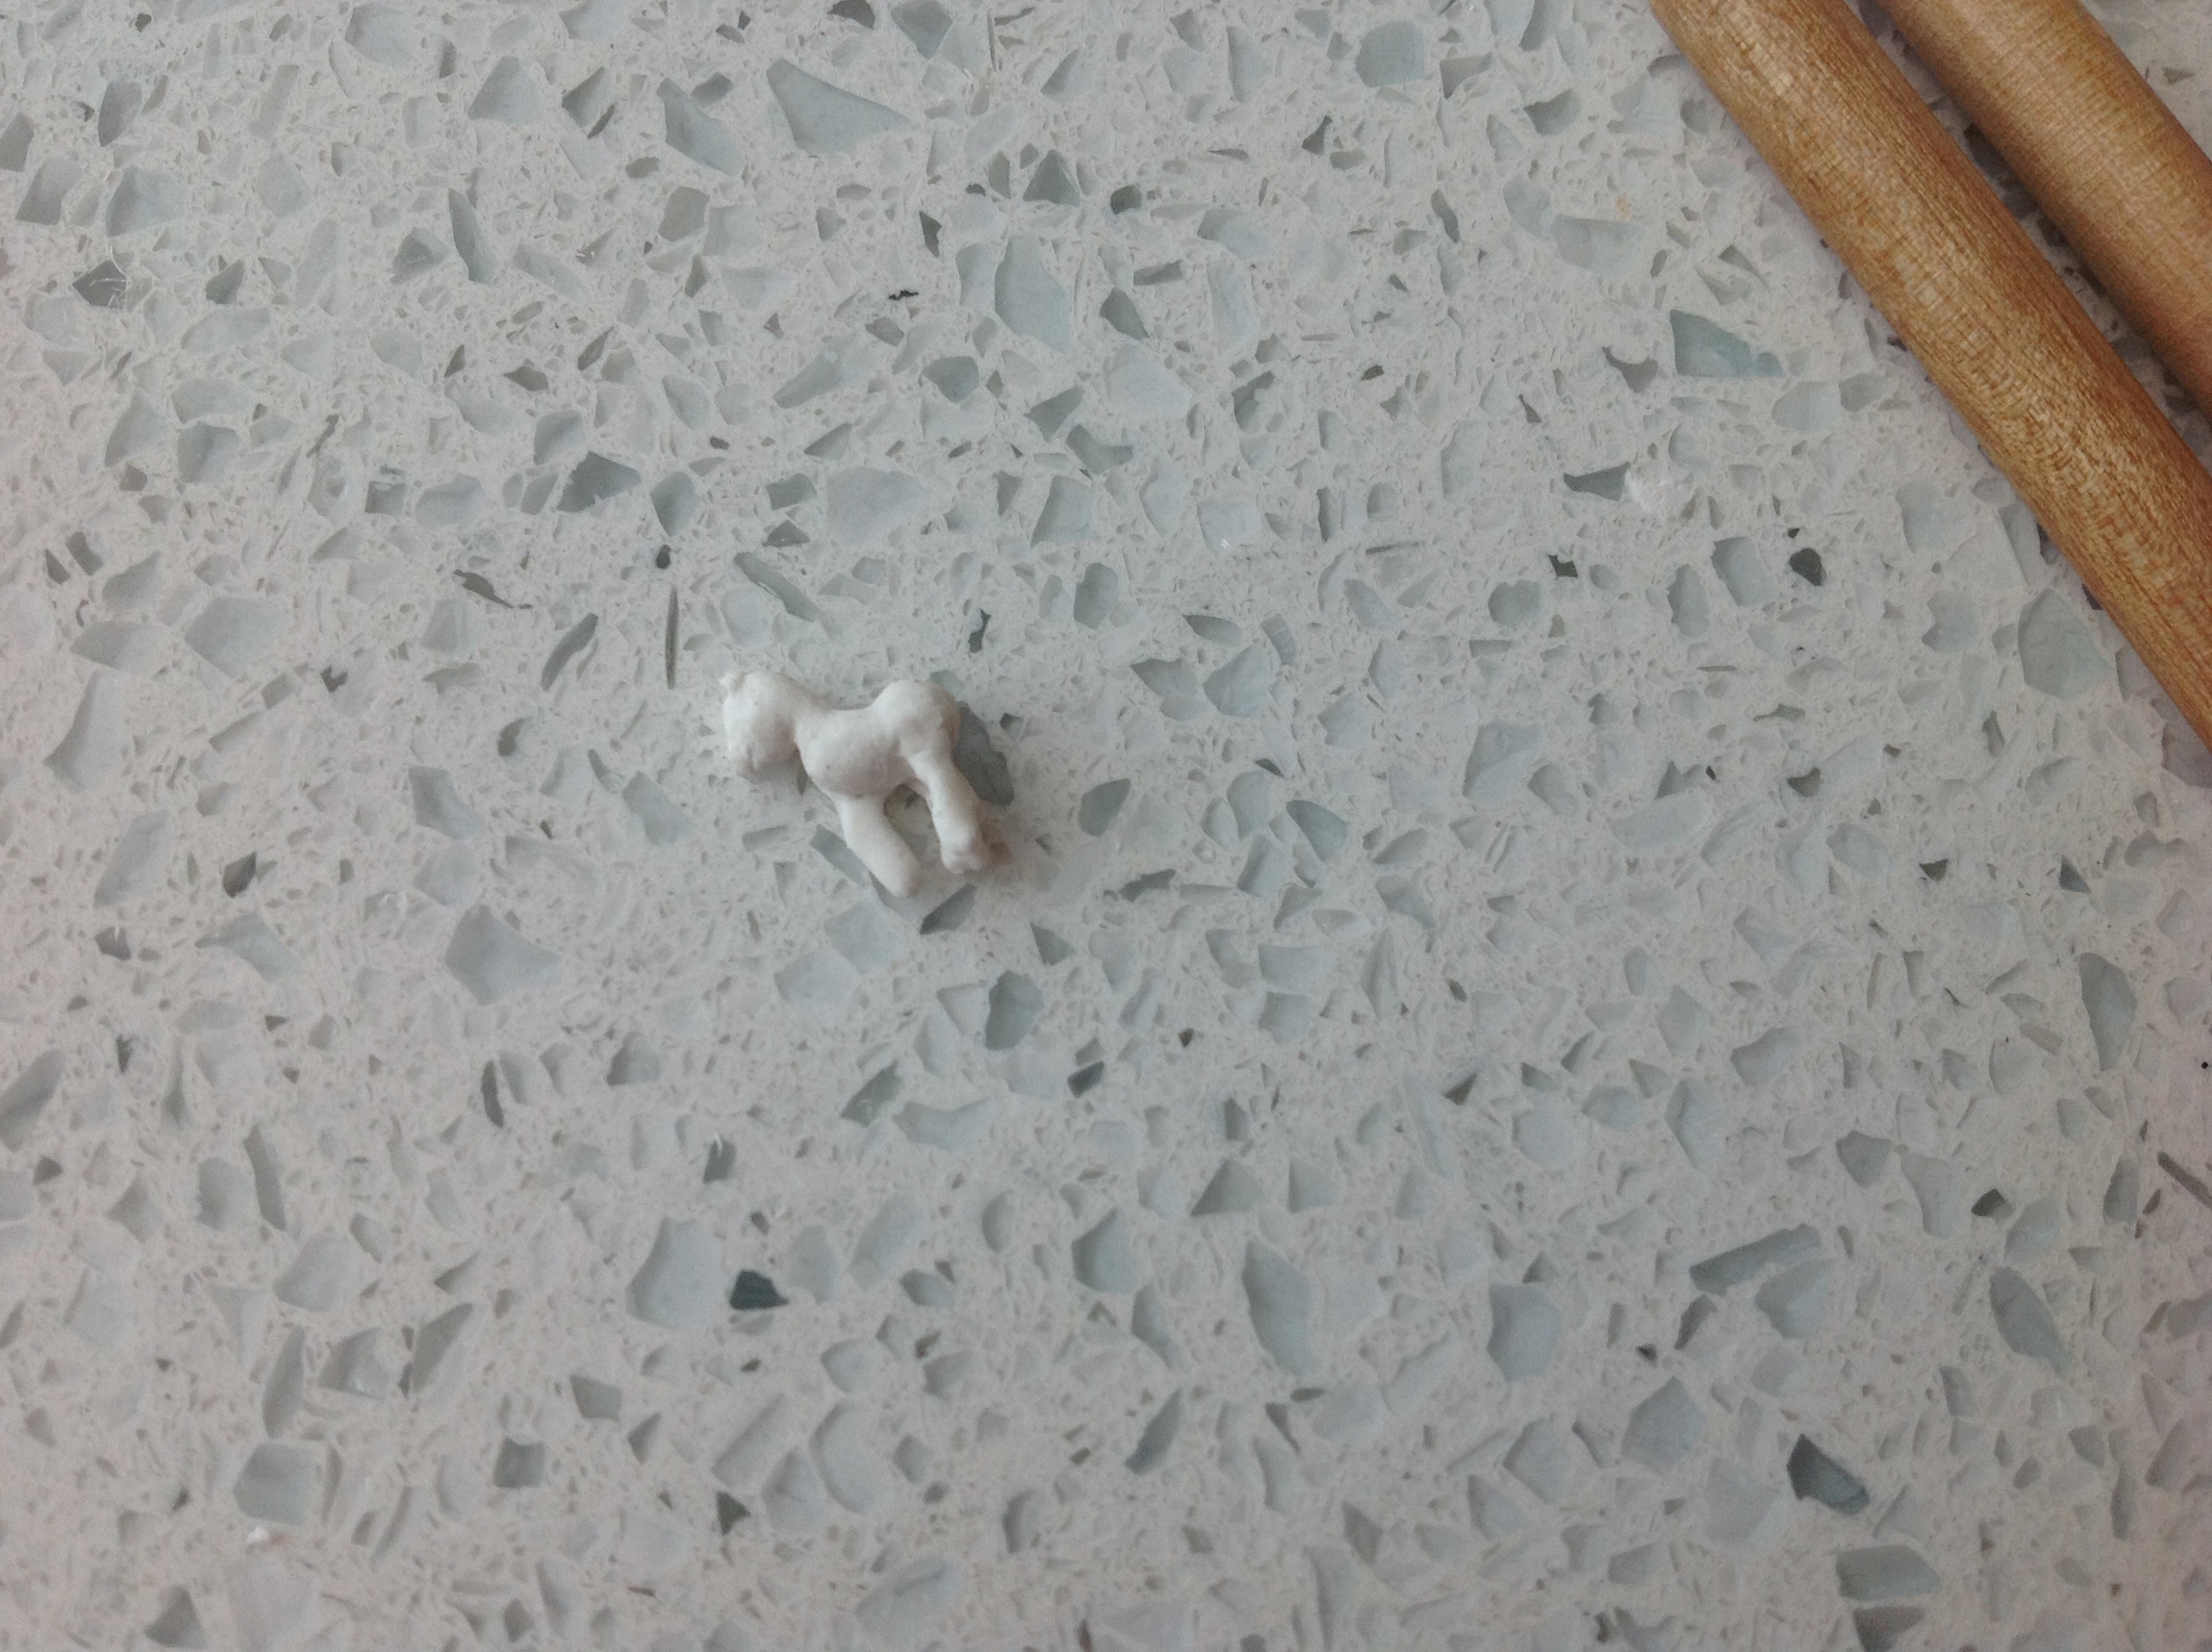
Finished body sculpt fifi
Tutorial
Finished body sculpt fifi
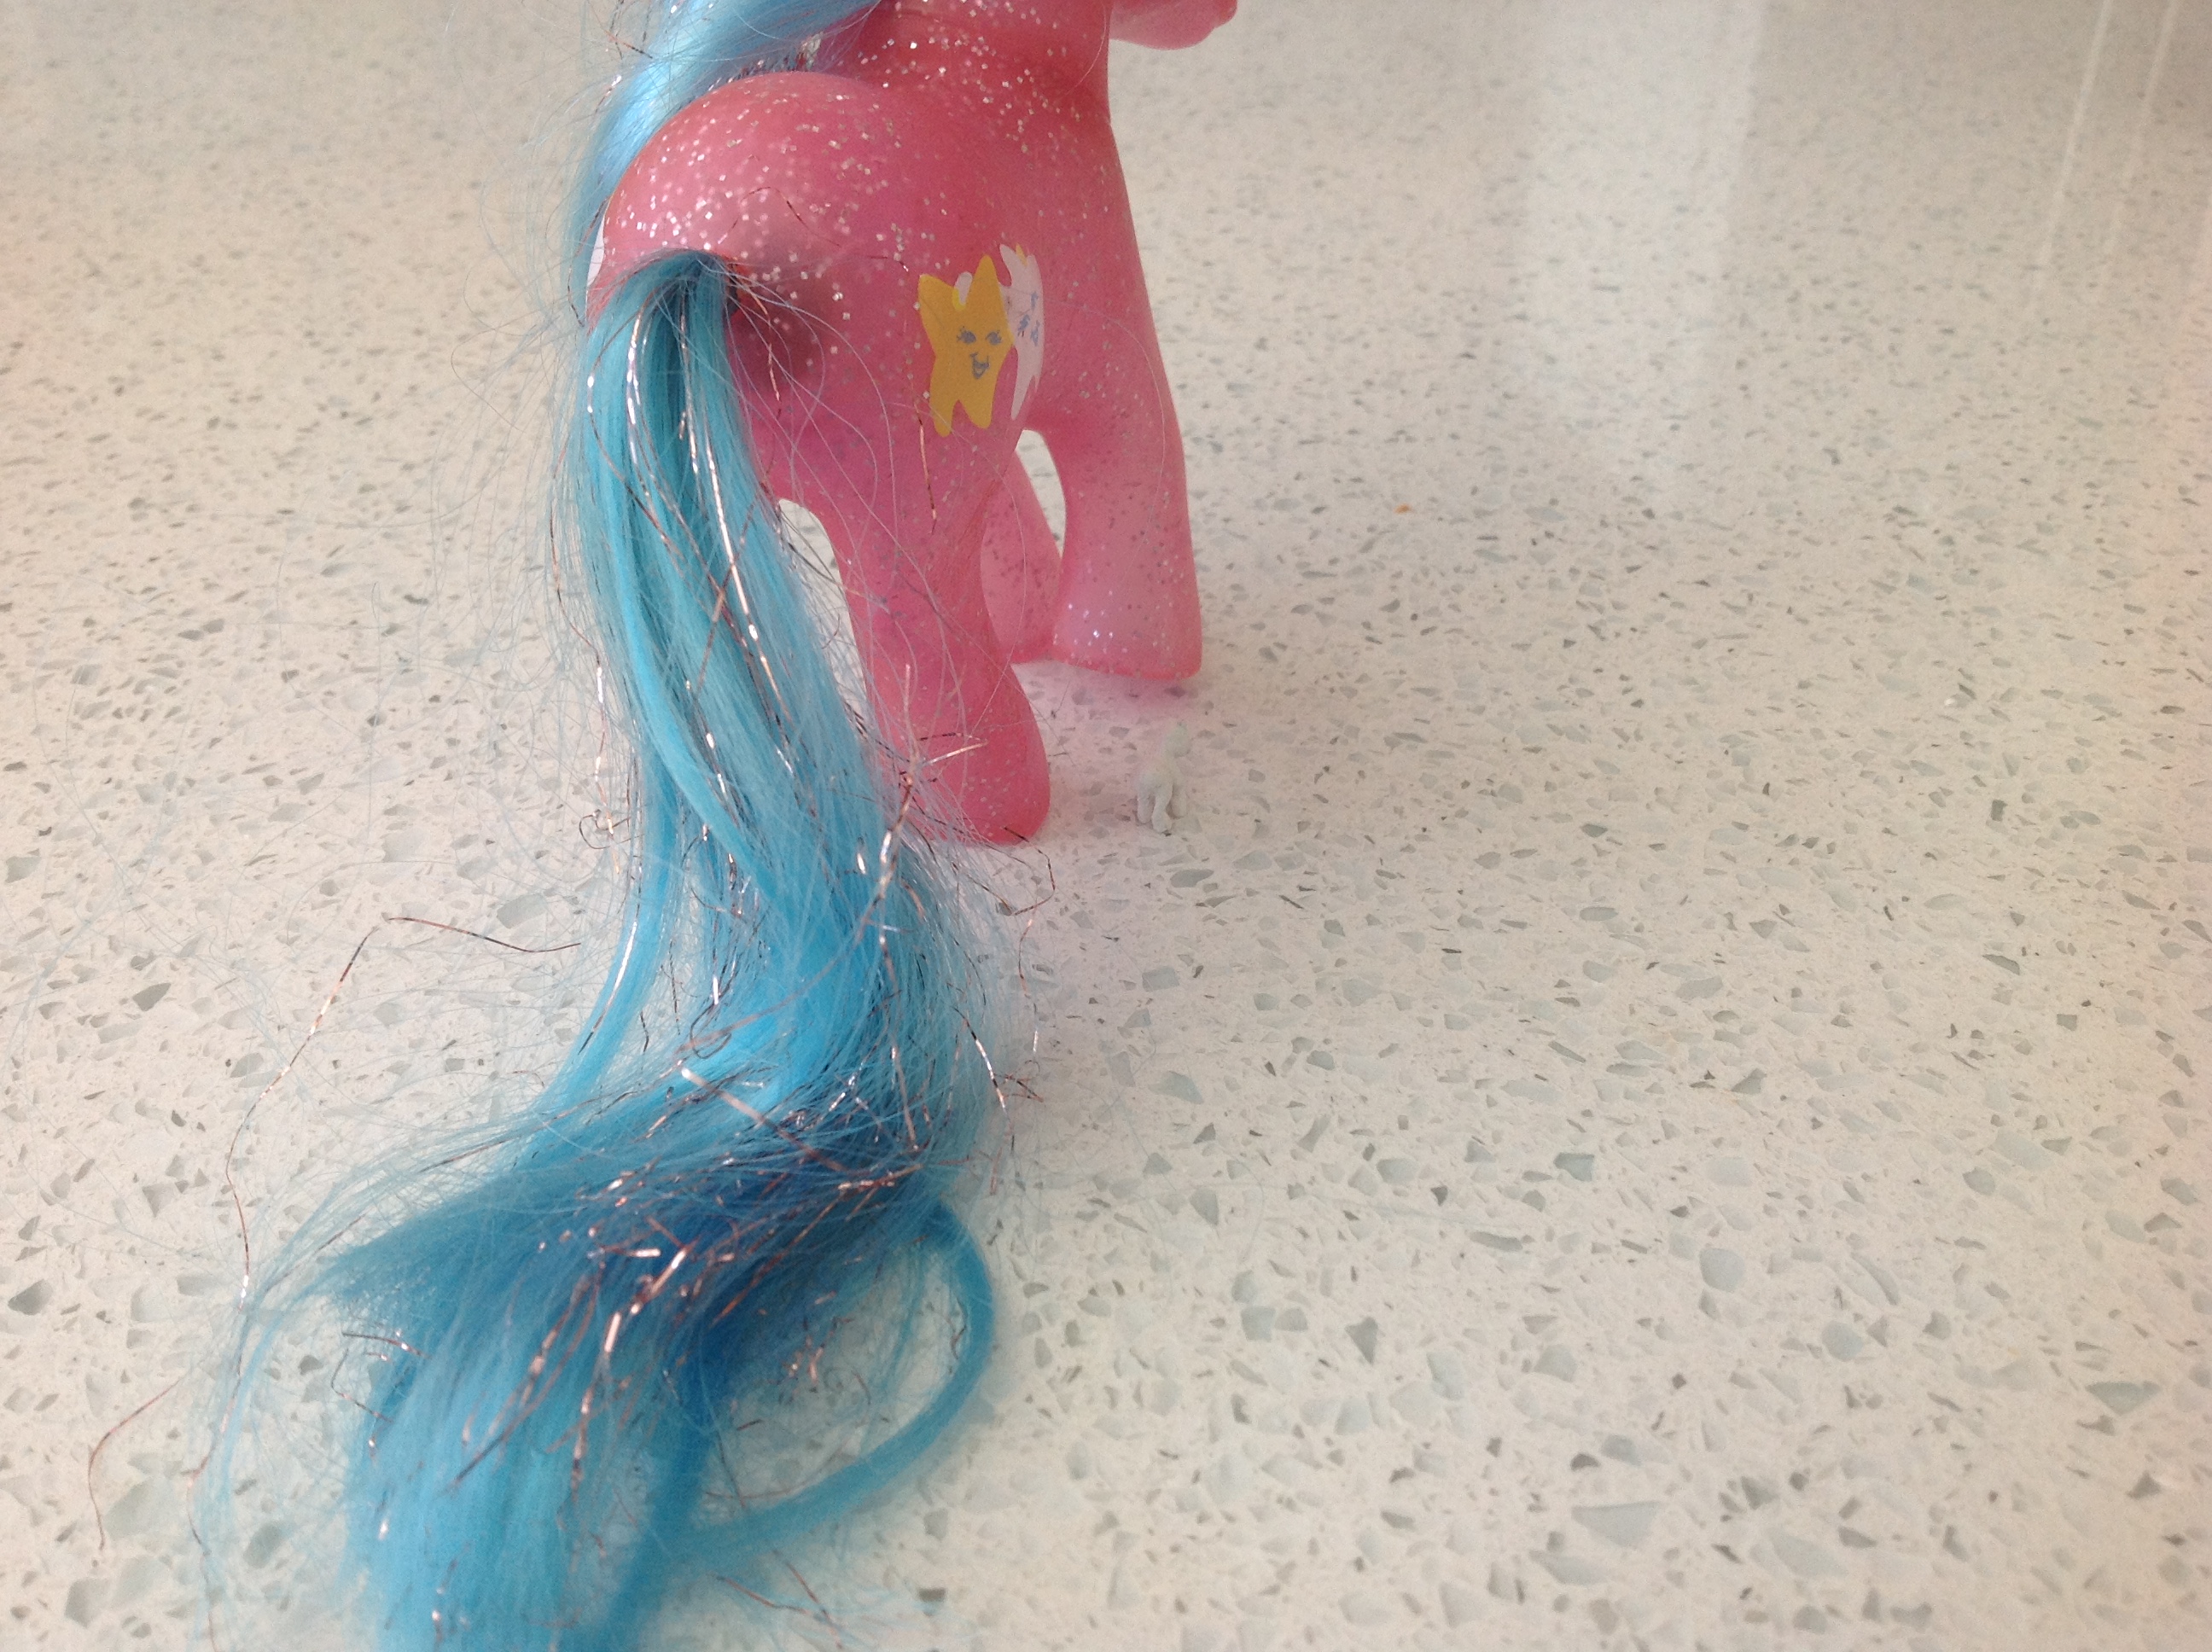
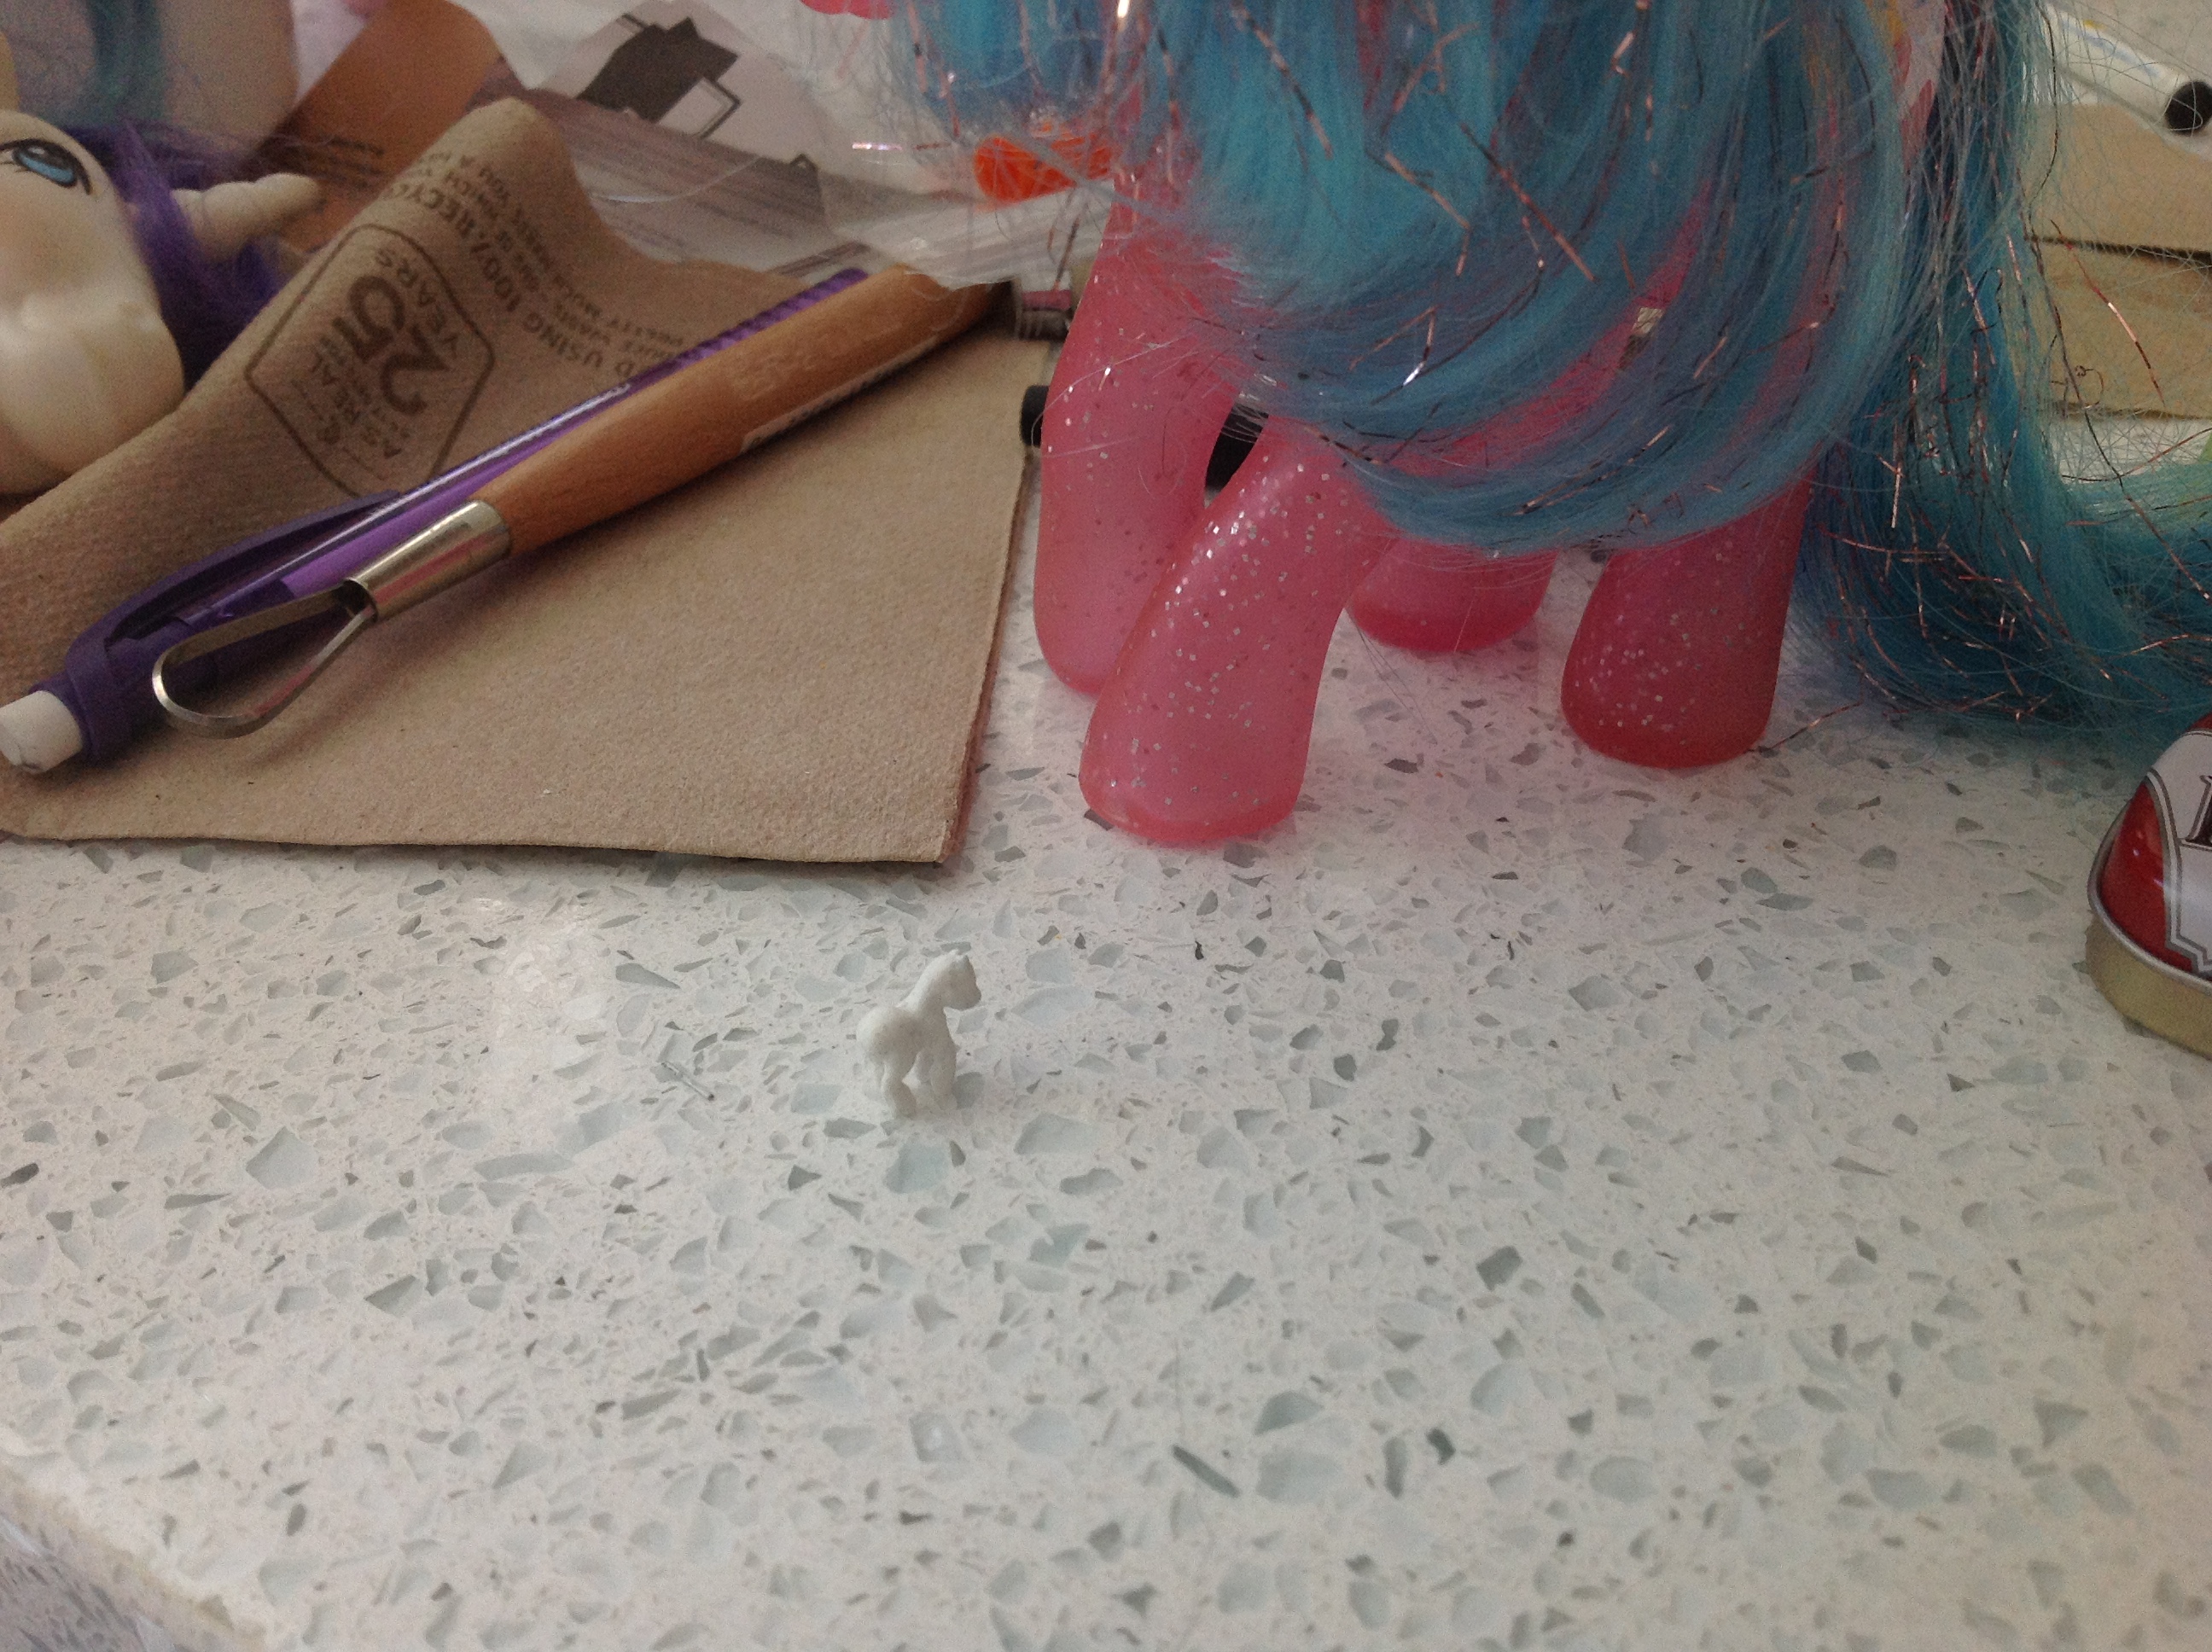
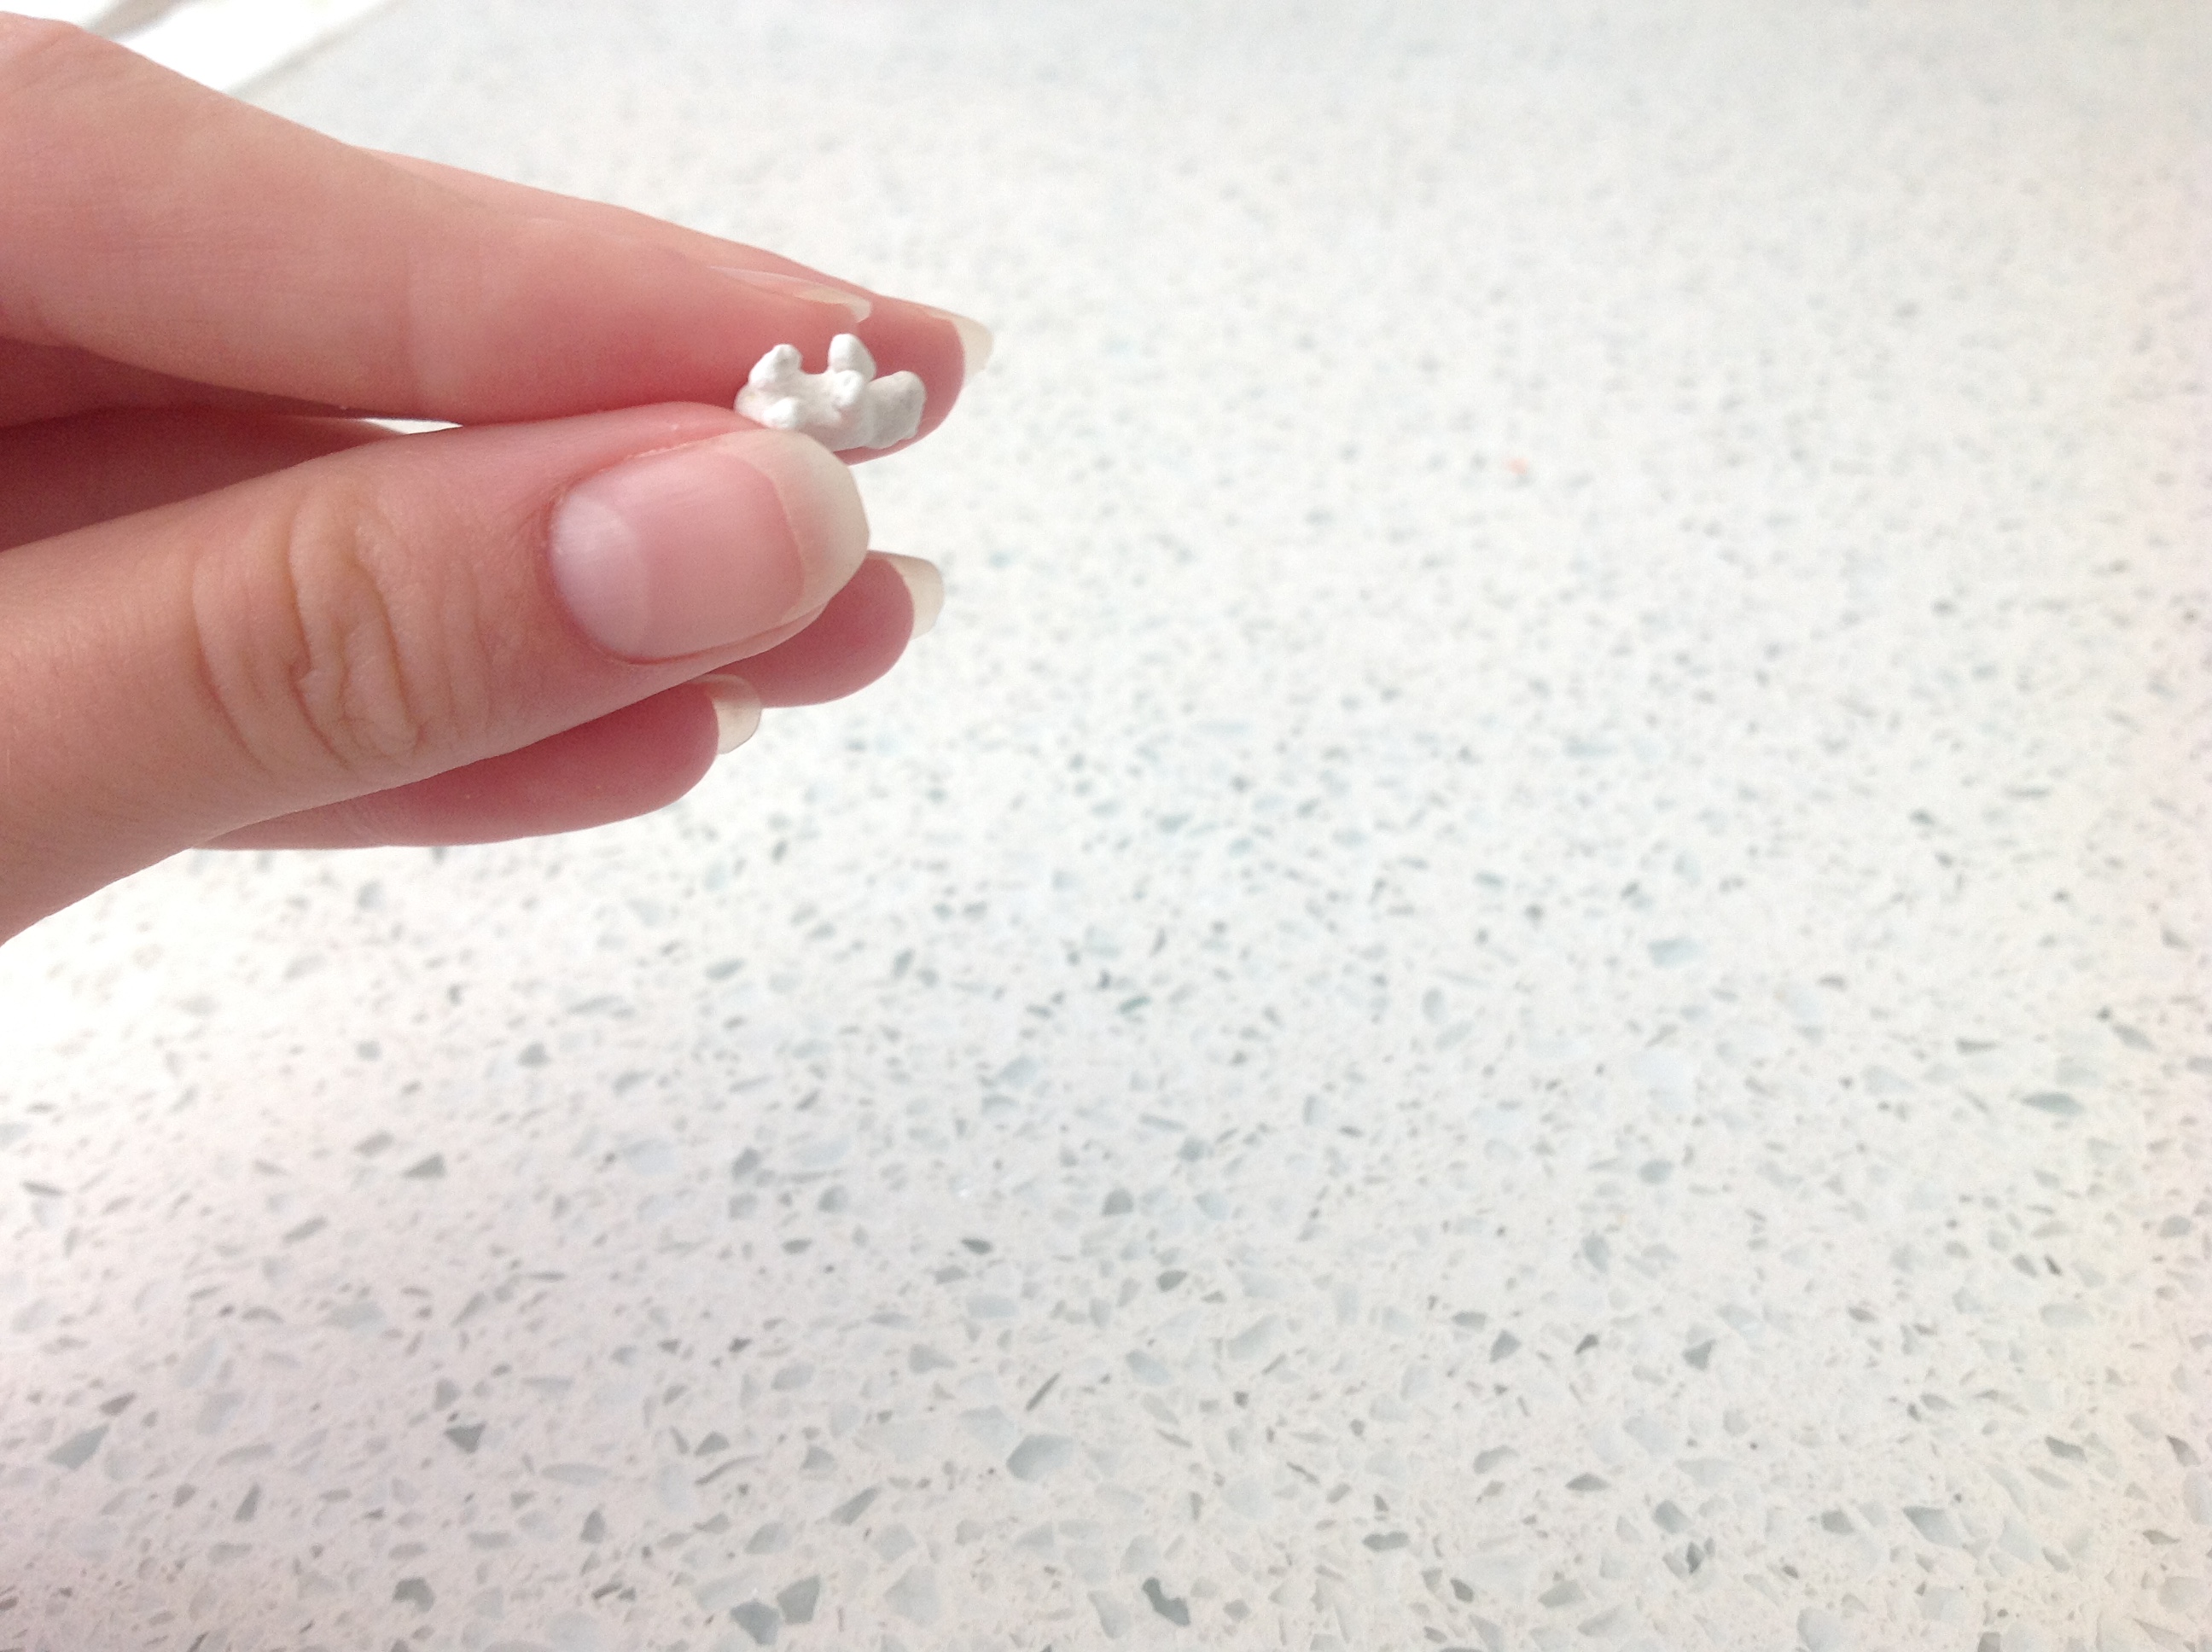
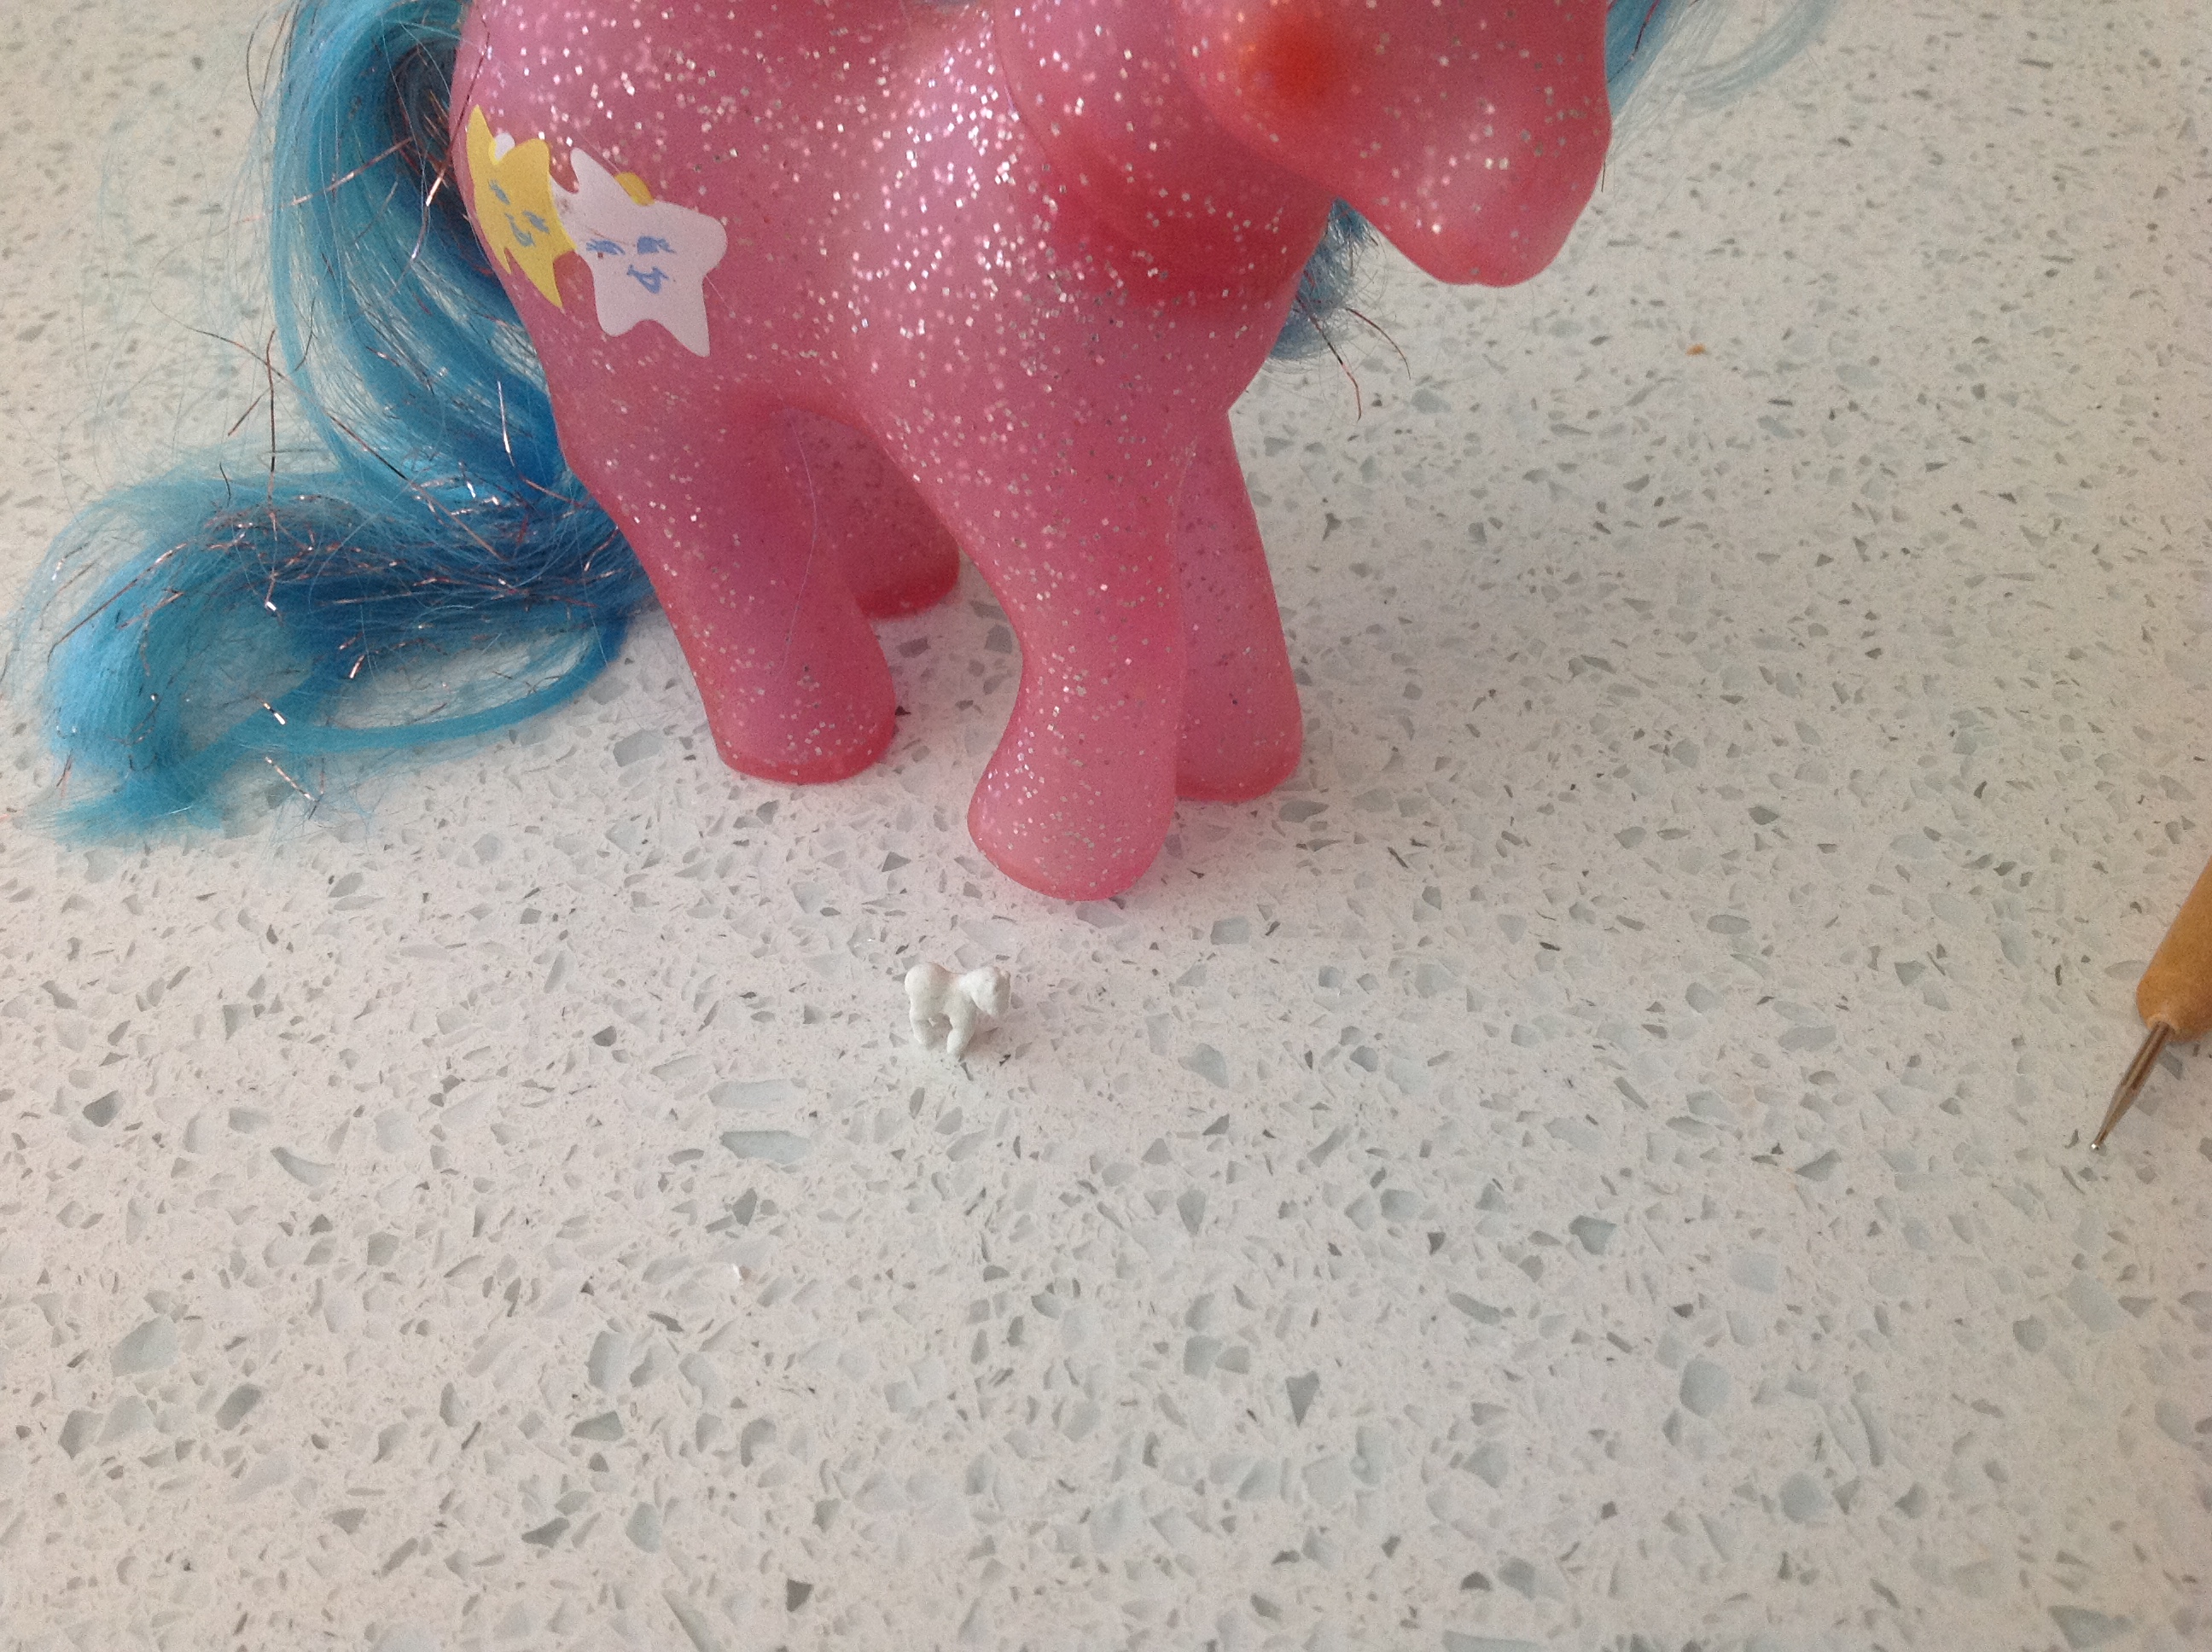
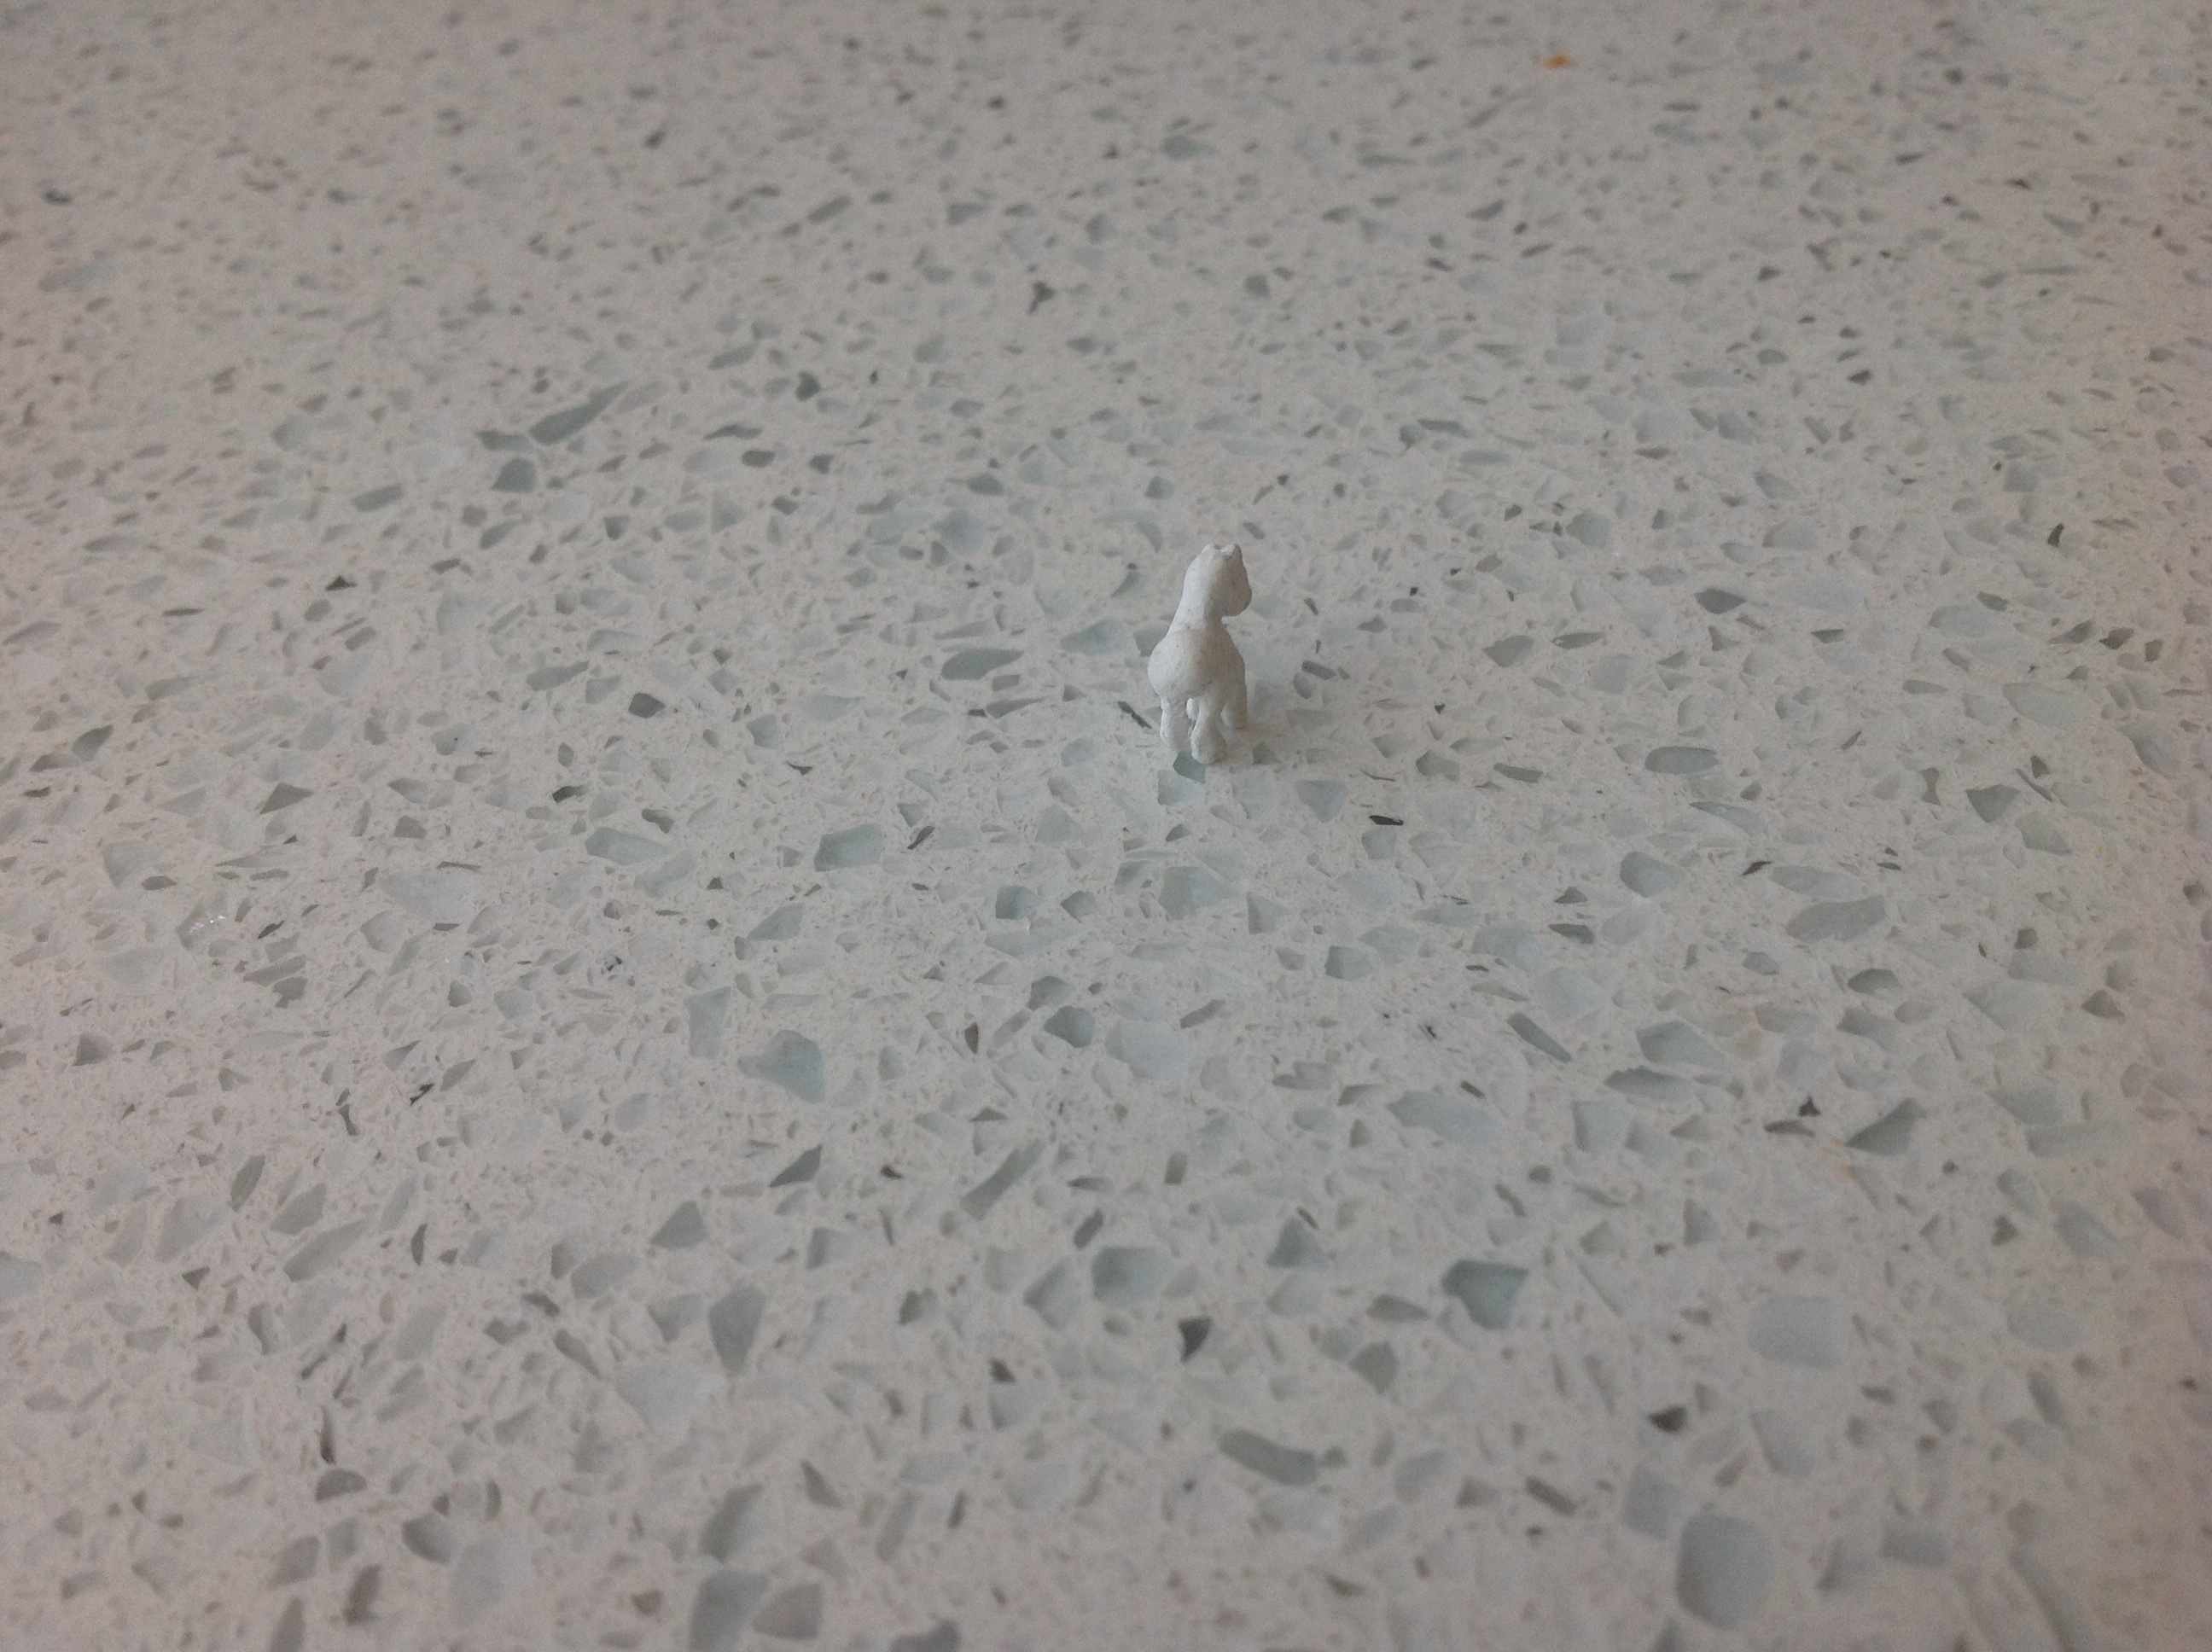
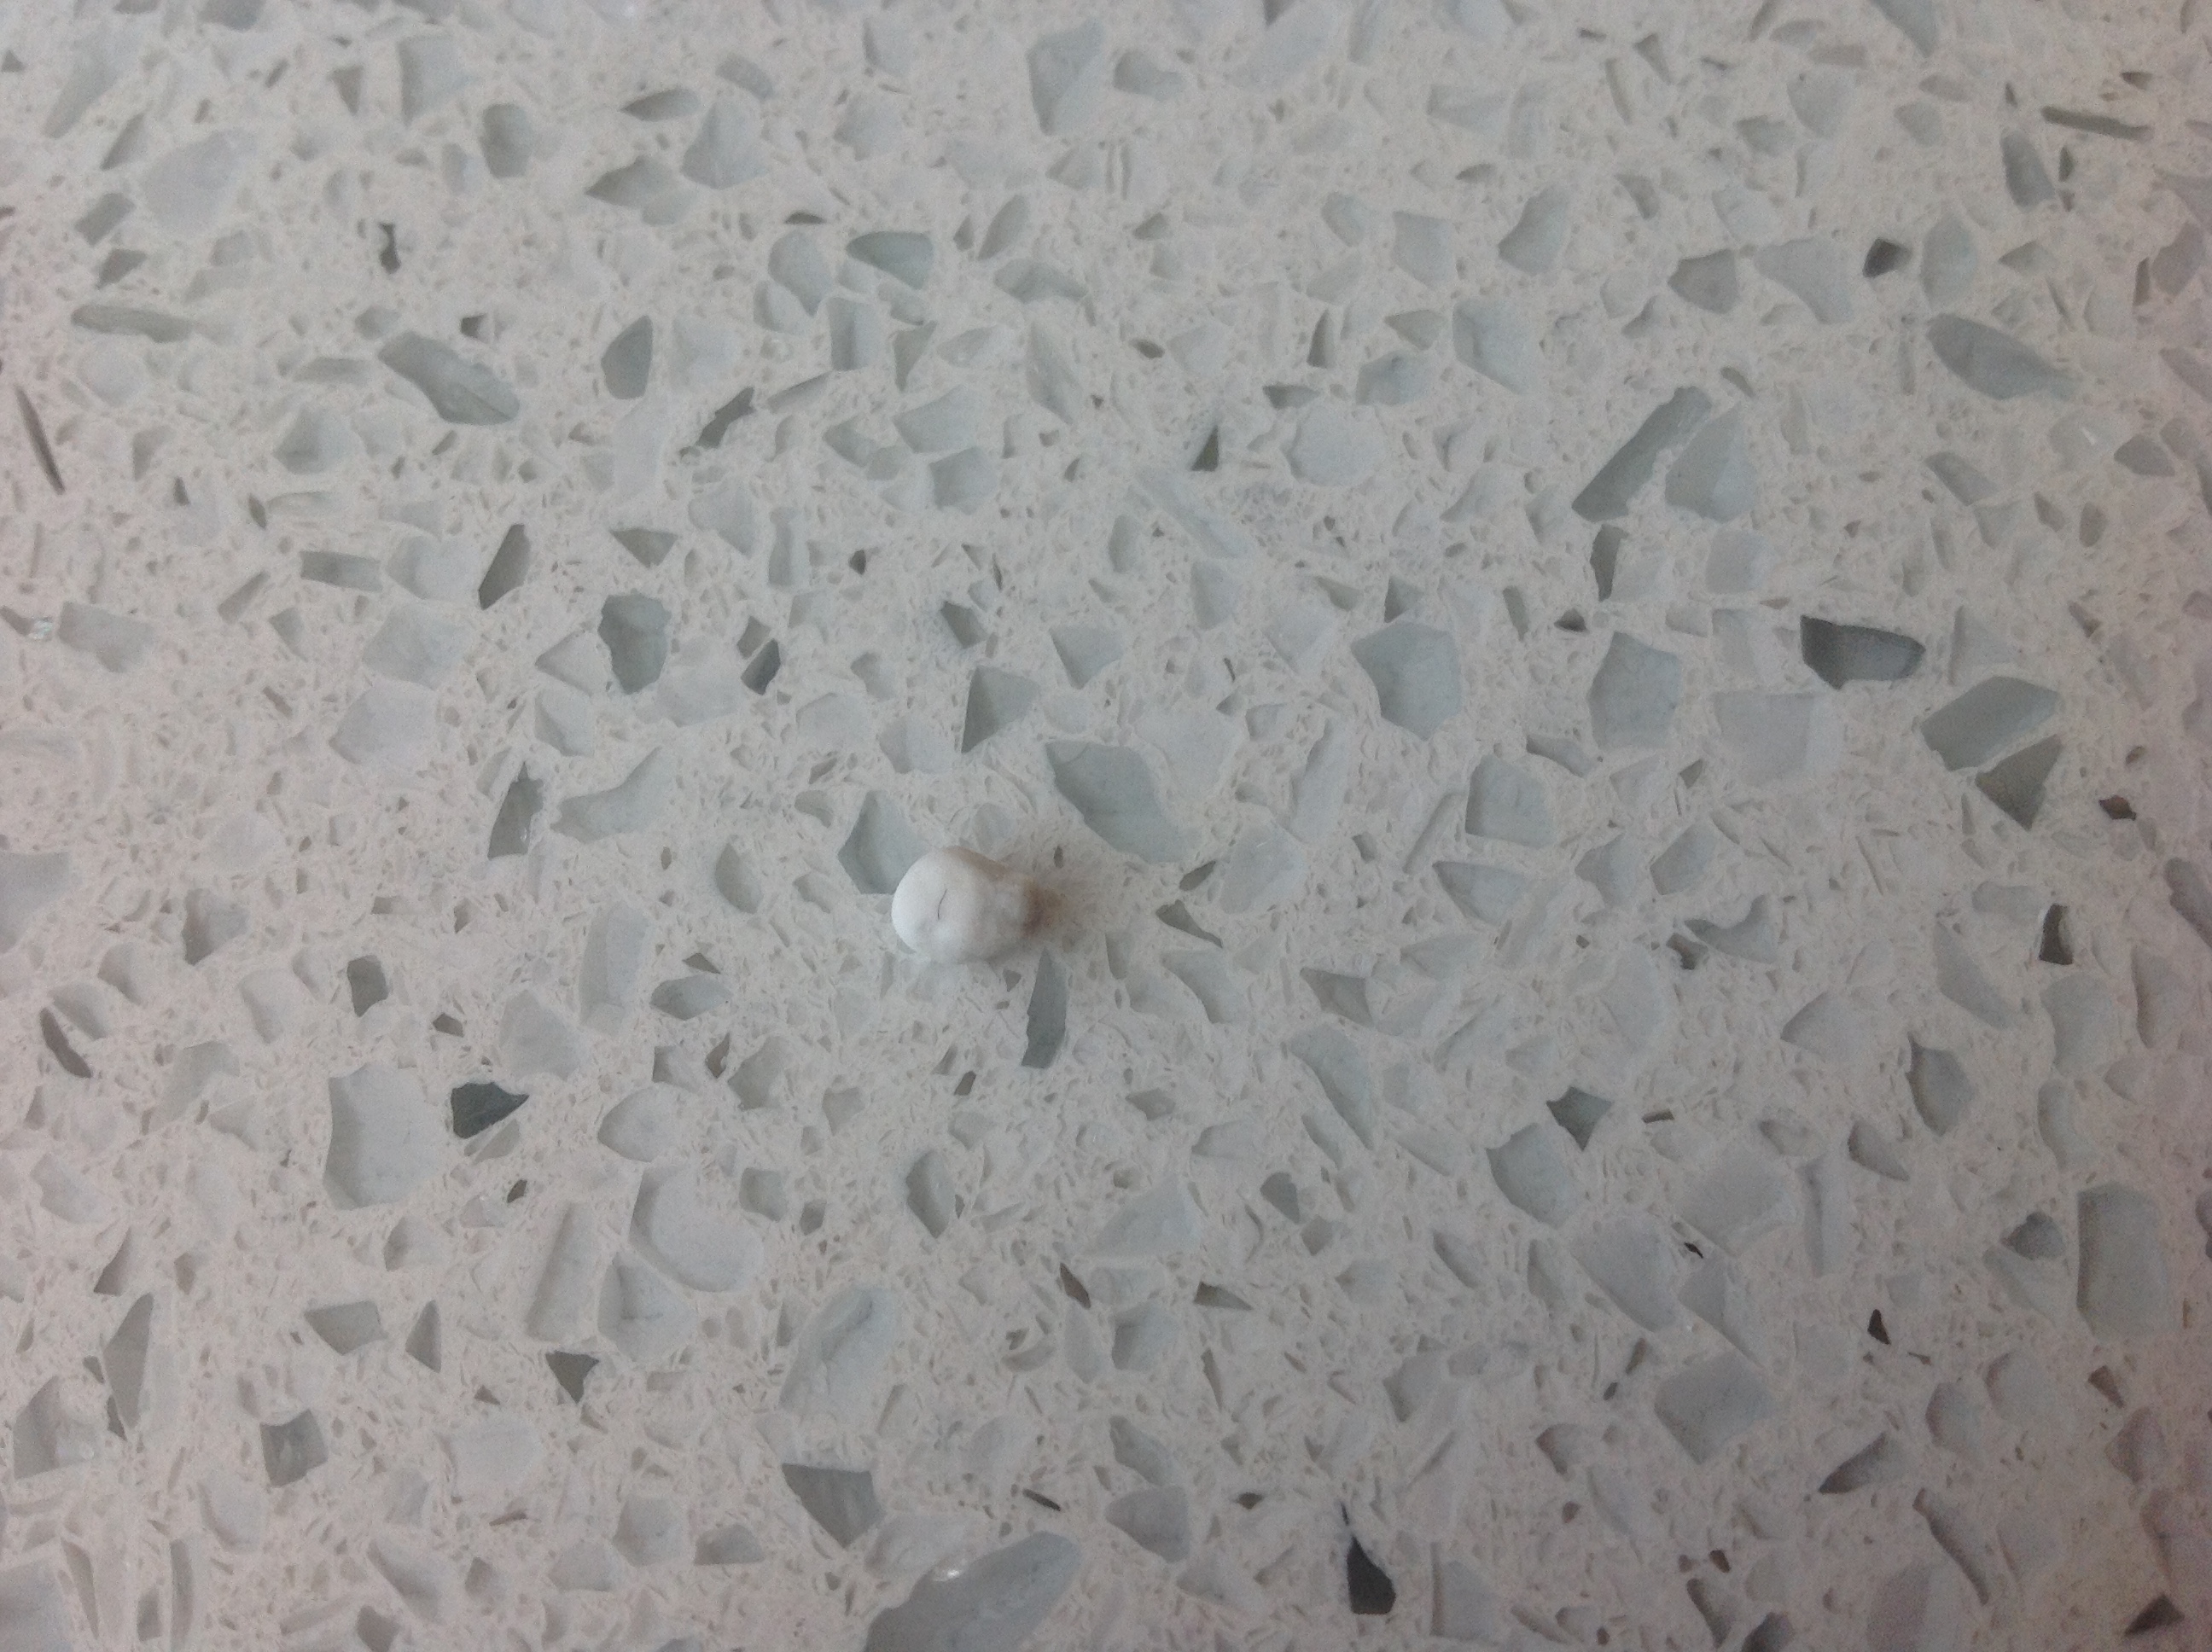
I wanted to do an actual G1 mini instead of a pony in my own style, so I chose to do the Sugarberry pose. You can see my reference pony (Stardancer) in a lot of pics ") I still need to do a lot of things to get to a finished pony who is all painted, has hair, etc but I have finished the body sculpt at least! She is smaller than my thumb. She is 1.1 centimeters tall.
I still need to do a lot of things to get to a finished pony who is all painted, has hair, etc but I have finished the body sculpt at least! She is smaller than my thumb. She is 1.1 centimeters tall.

I still need to do a lot of things to get to a finished pony who is all painted, has hair, etc but I have finished the body sculpt at least! She is smaller than my thumb. She is 1.1 centimeters tall.
Tutorial
This tutorial explains how I did things. If you want to see how I made her or want to make a mini pony yourself, I hope you find it useful or even just enjoy it I have split it into two parts: Tips + tools and Sculpting.
Tips and Tools
Sculpting
I have split it into two parts: Tips + tools and Sculpting.Tips and Tools
I like making mini ponies for a variety of reasons, mostly because they are rewarding and save clay. There are various tools that you will find very useful, and some tips you should know. Firstly, the tools!
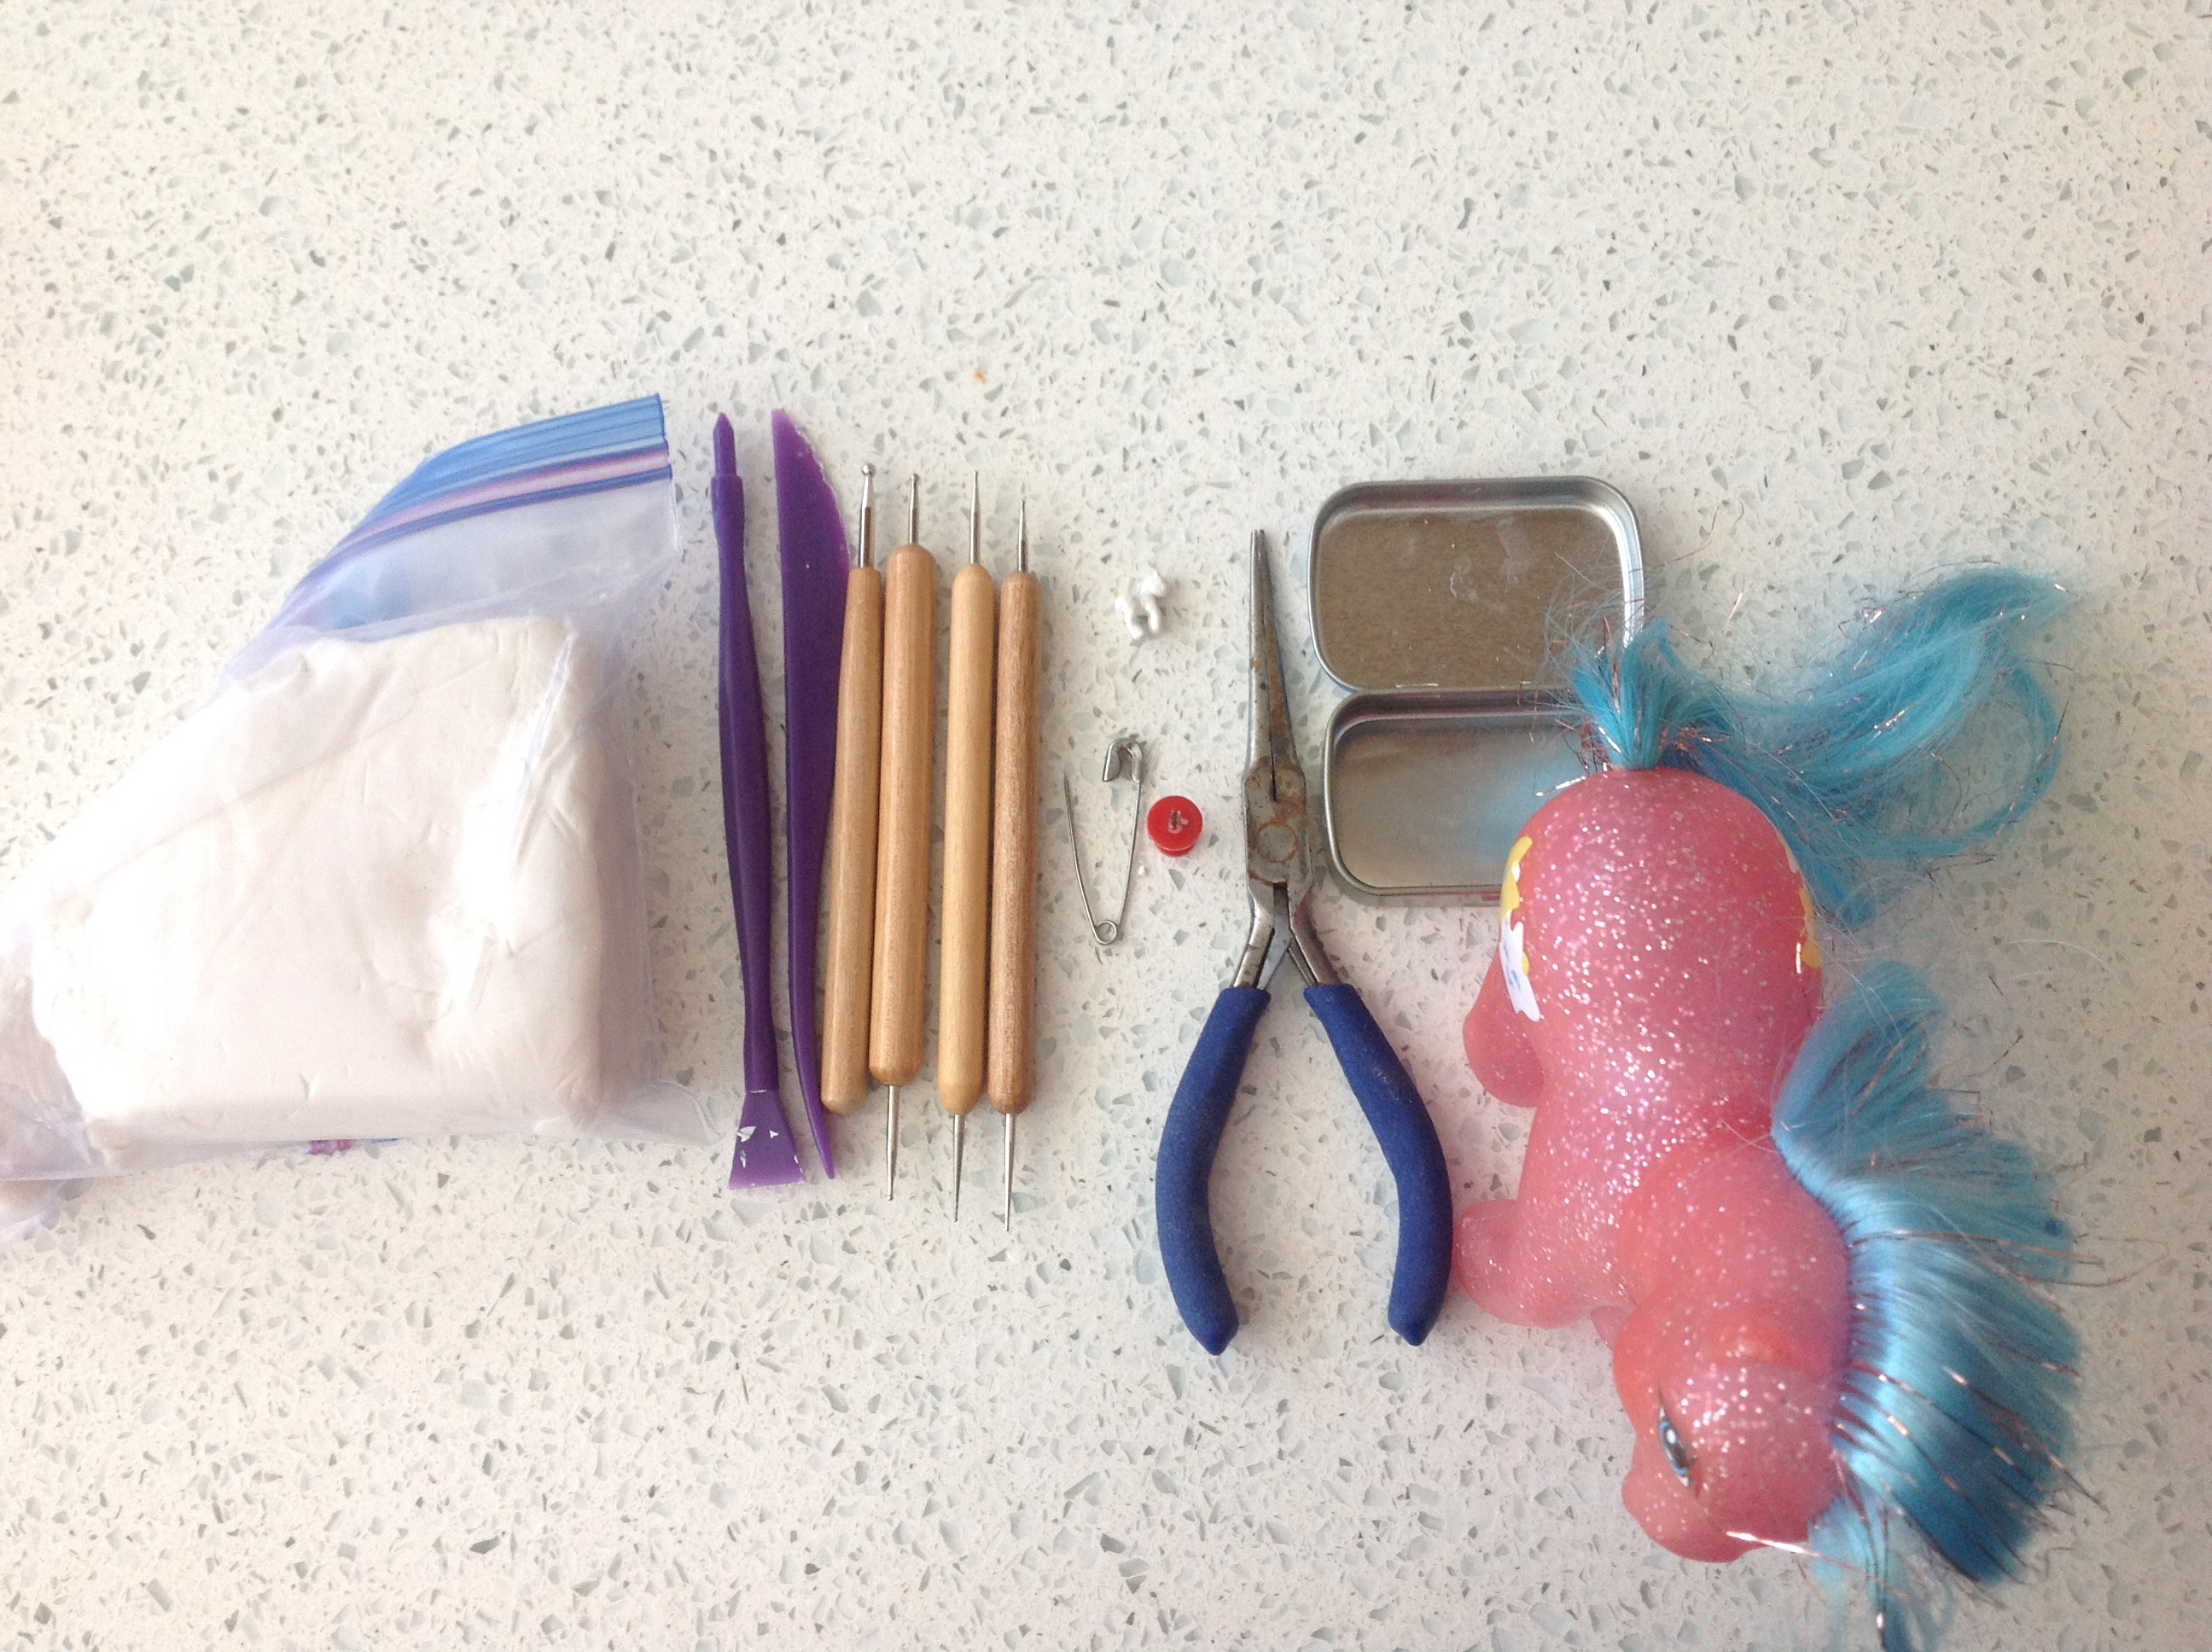
From left to right we have...
Clay
The type of clay you use is important. I prefer air dray clay over polymer clay. It is much easier to sculpt with because you have the advantage of water. You can change the hardness of the clay, smooth it out, easily attach parts, re-wet it if dry, etc. With polymer clay it's harder to smooth out clay and add detail. Air dry clay actually dries faster because of how small it is too. Of course you can use whatever you want, but I recommend air dry clay. (It really doesn't matter which brand as long as it's not crap!)
Clay tools
Dotting tools will be very useful. You can use them to blend, shape, and add water. You should also have a knife around to cut clay. Sharp objects like push puns and safety pins can be used to create detail like the mouth and nostrils. It's also good to have pliers around (not to hold the pony though, if your clay is like mine it will chew the clay up)
Water tin
Having an accessible place for water is needed because water is your best friend. If you don't have water the clay will dry out quickly. I use an Altoids tin, but you can use whatever you have around!
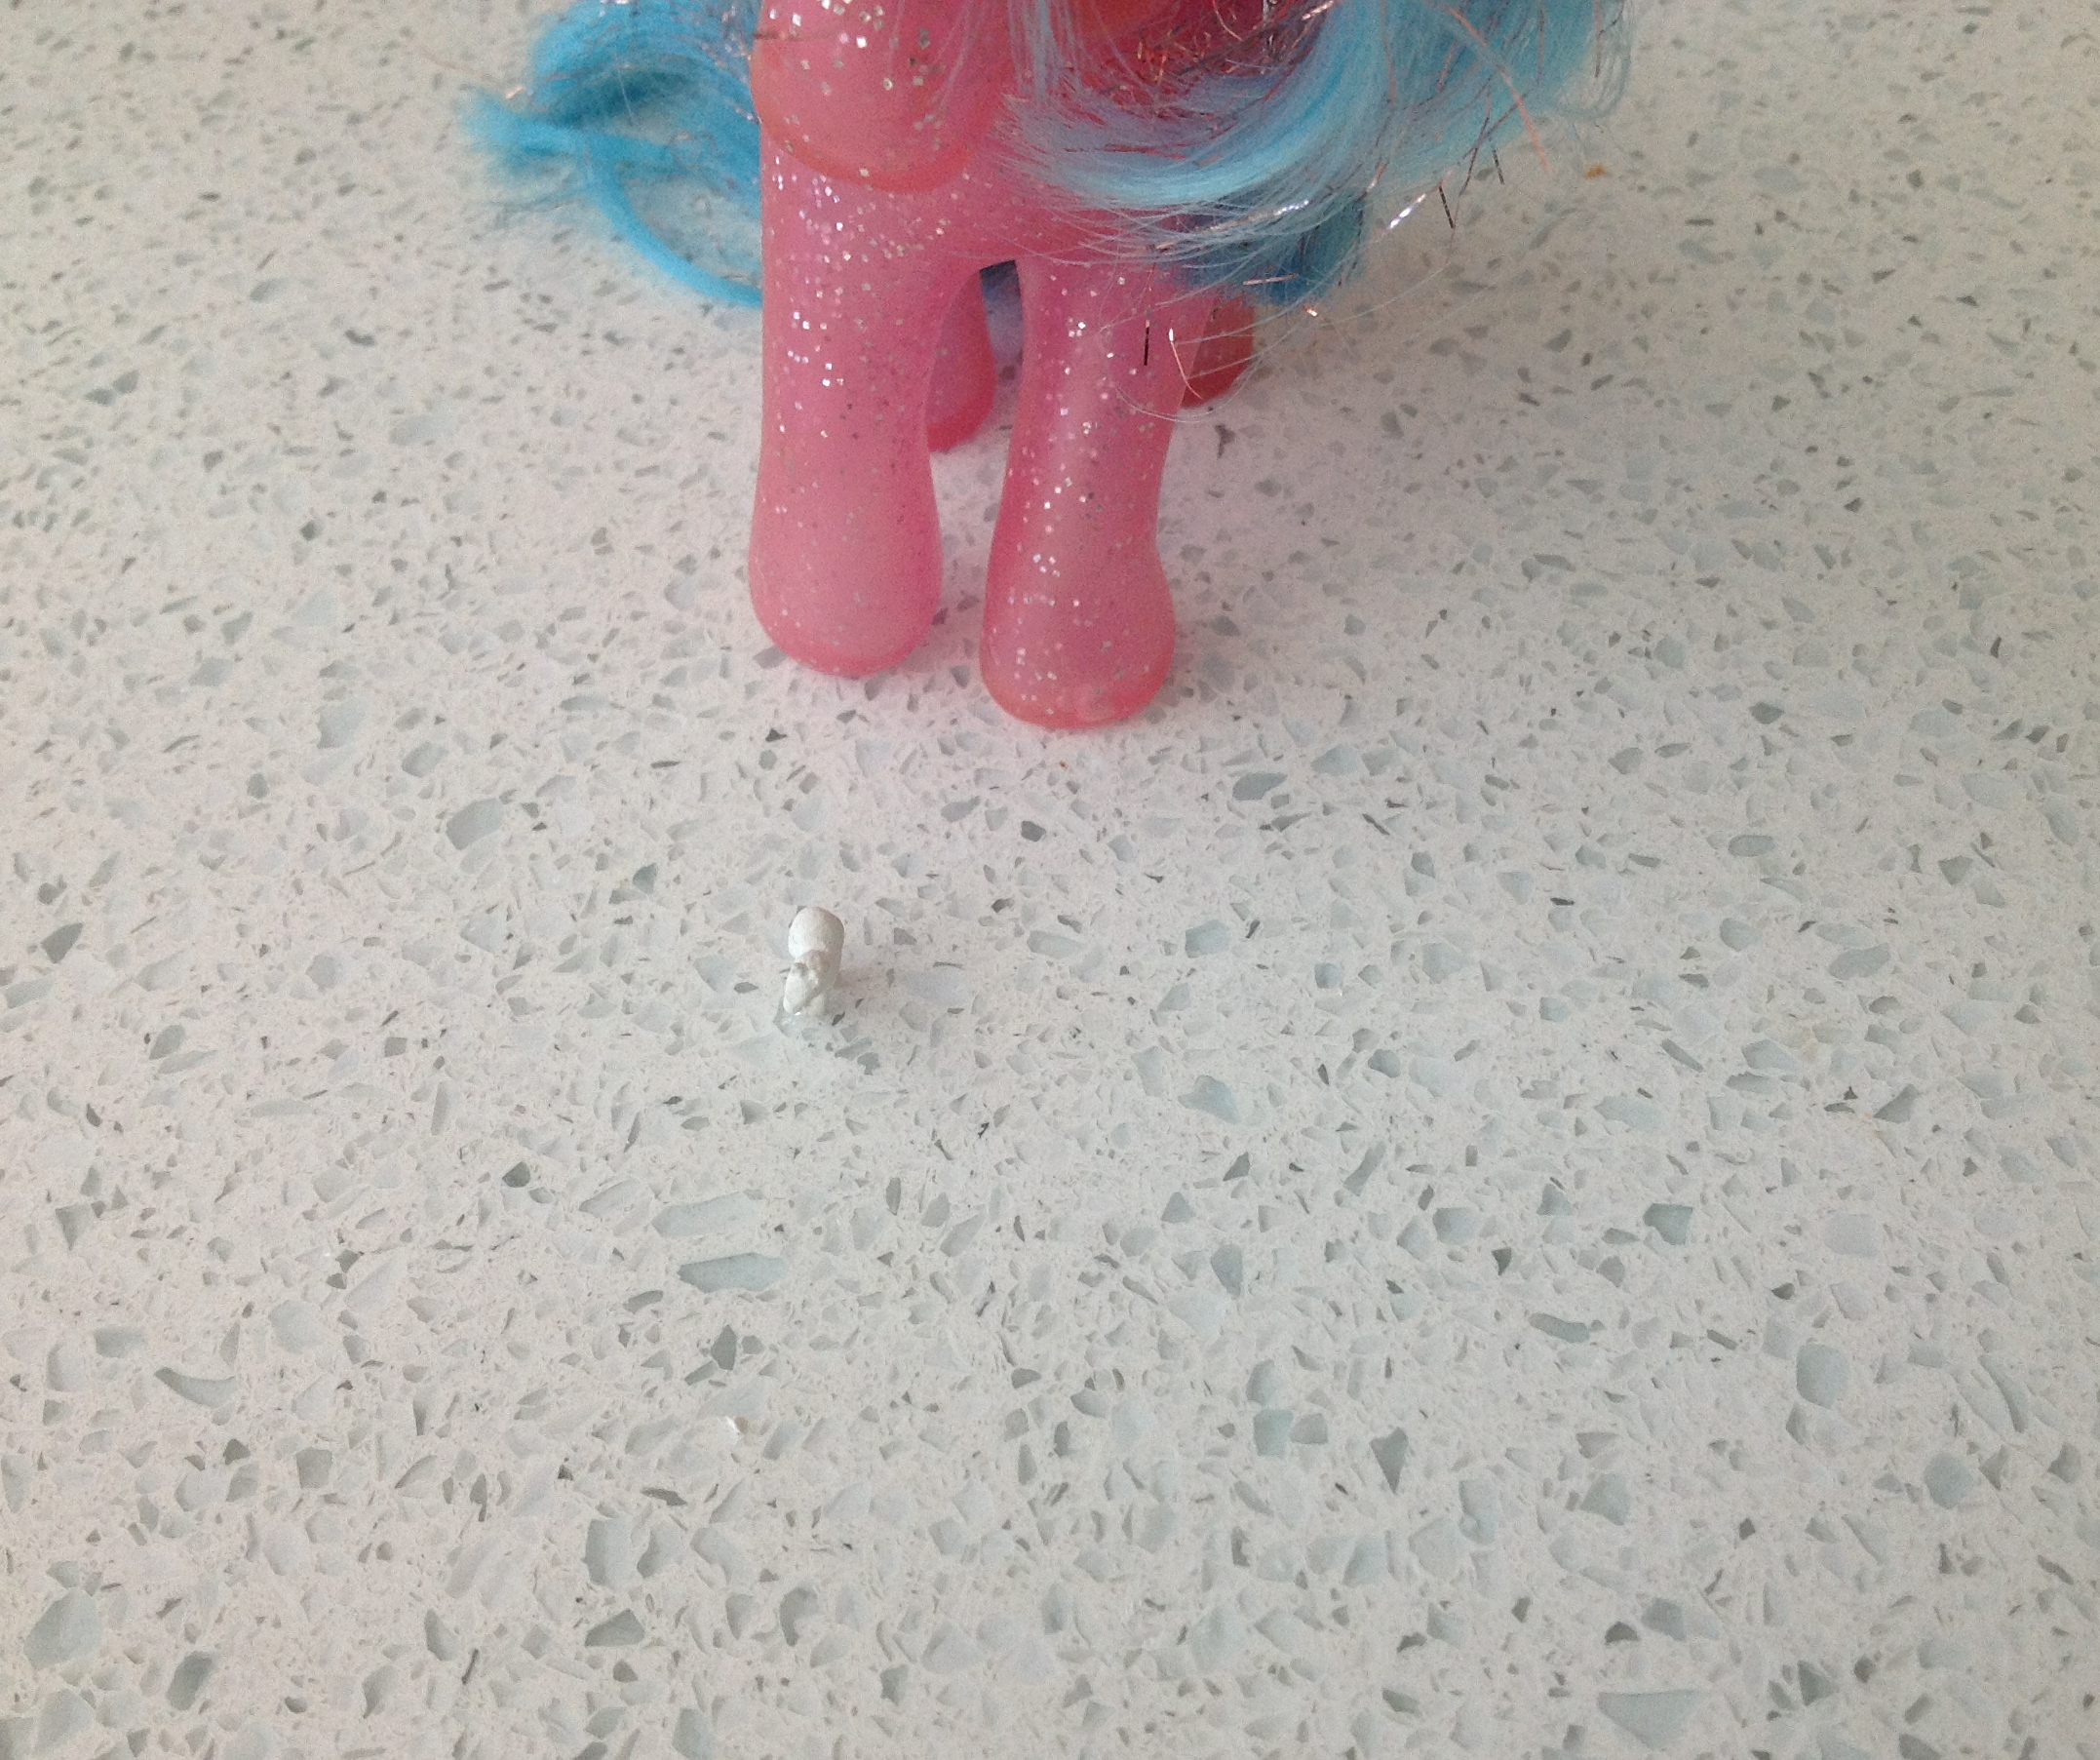
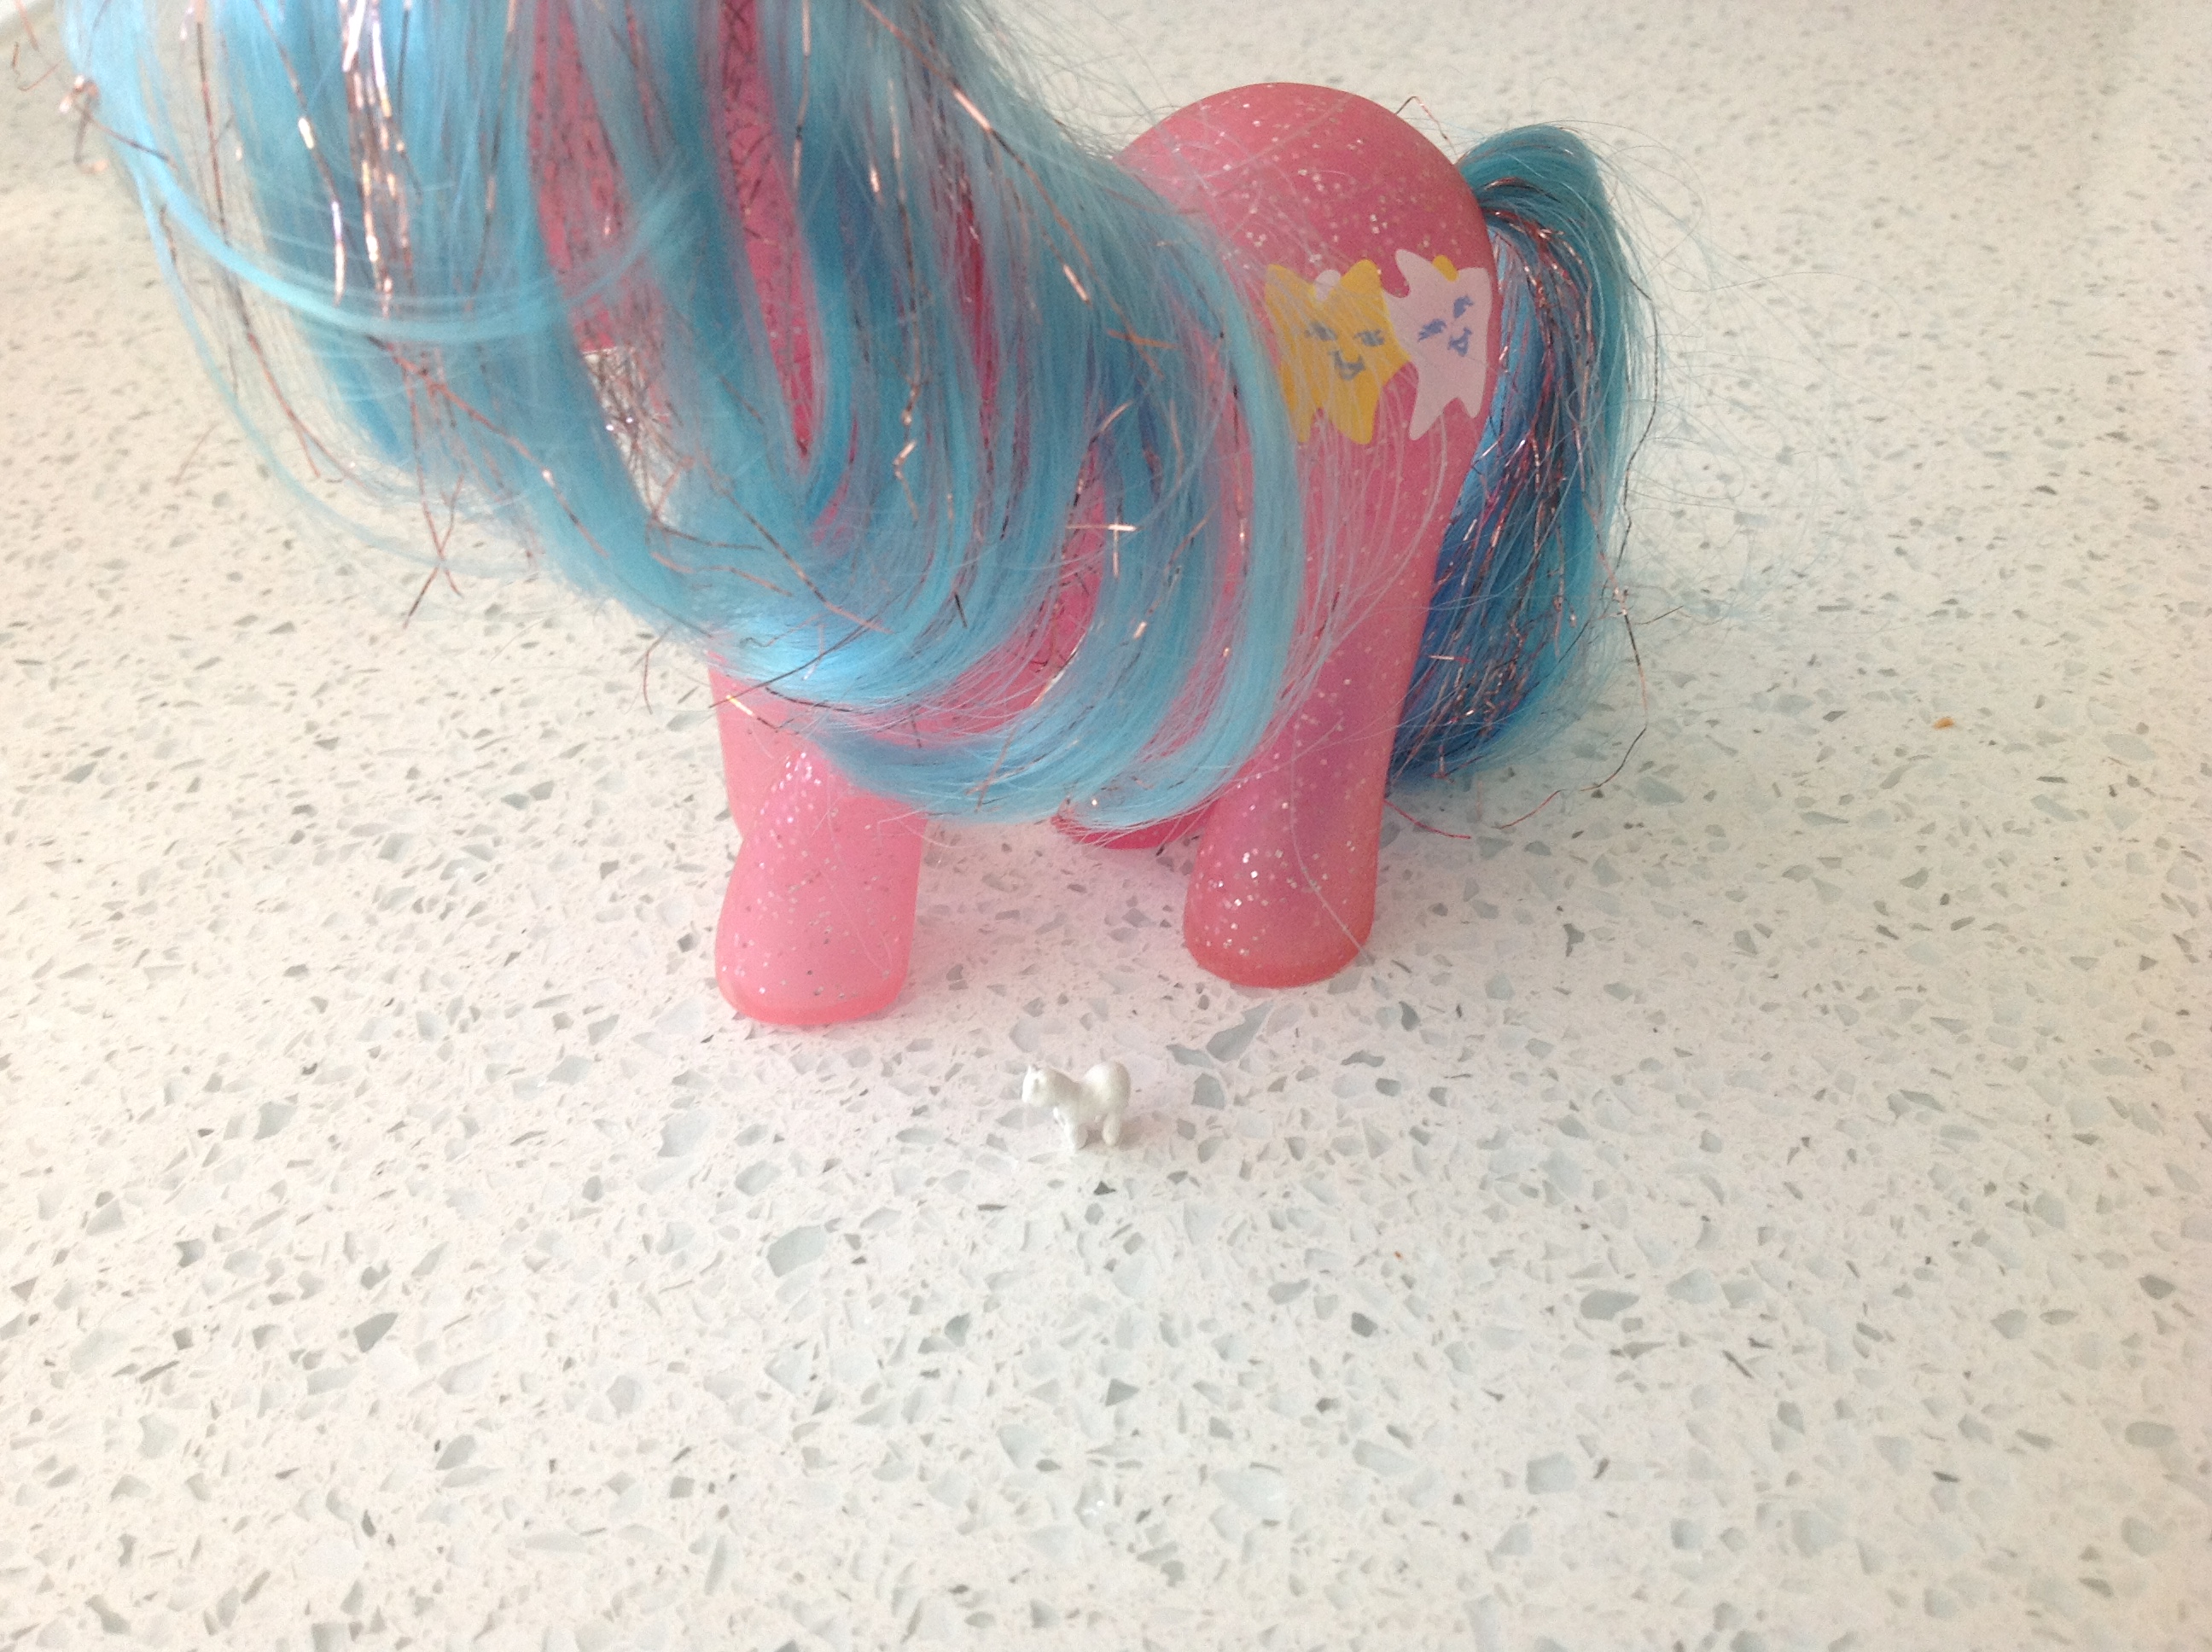
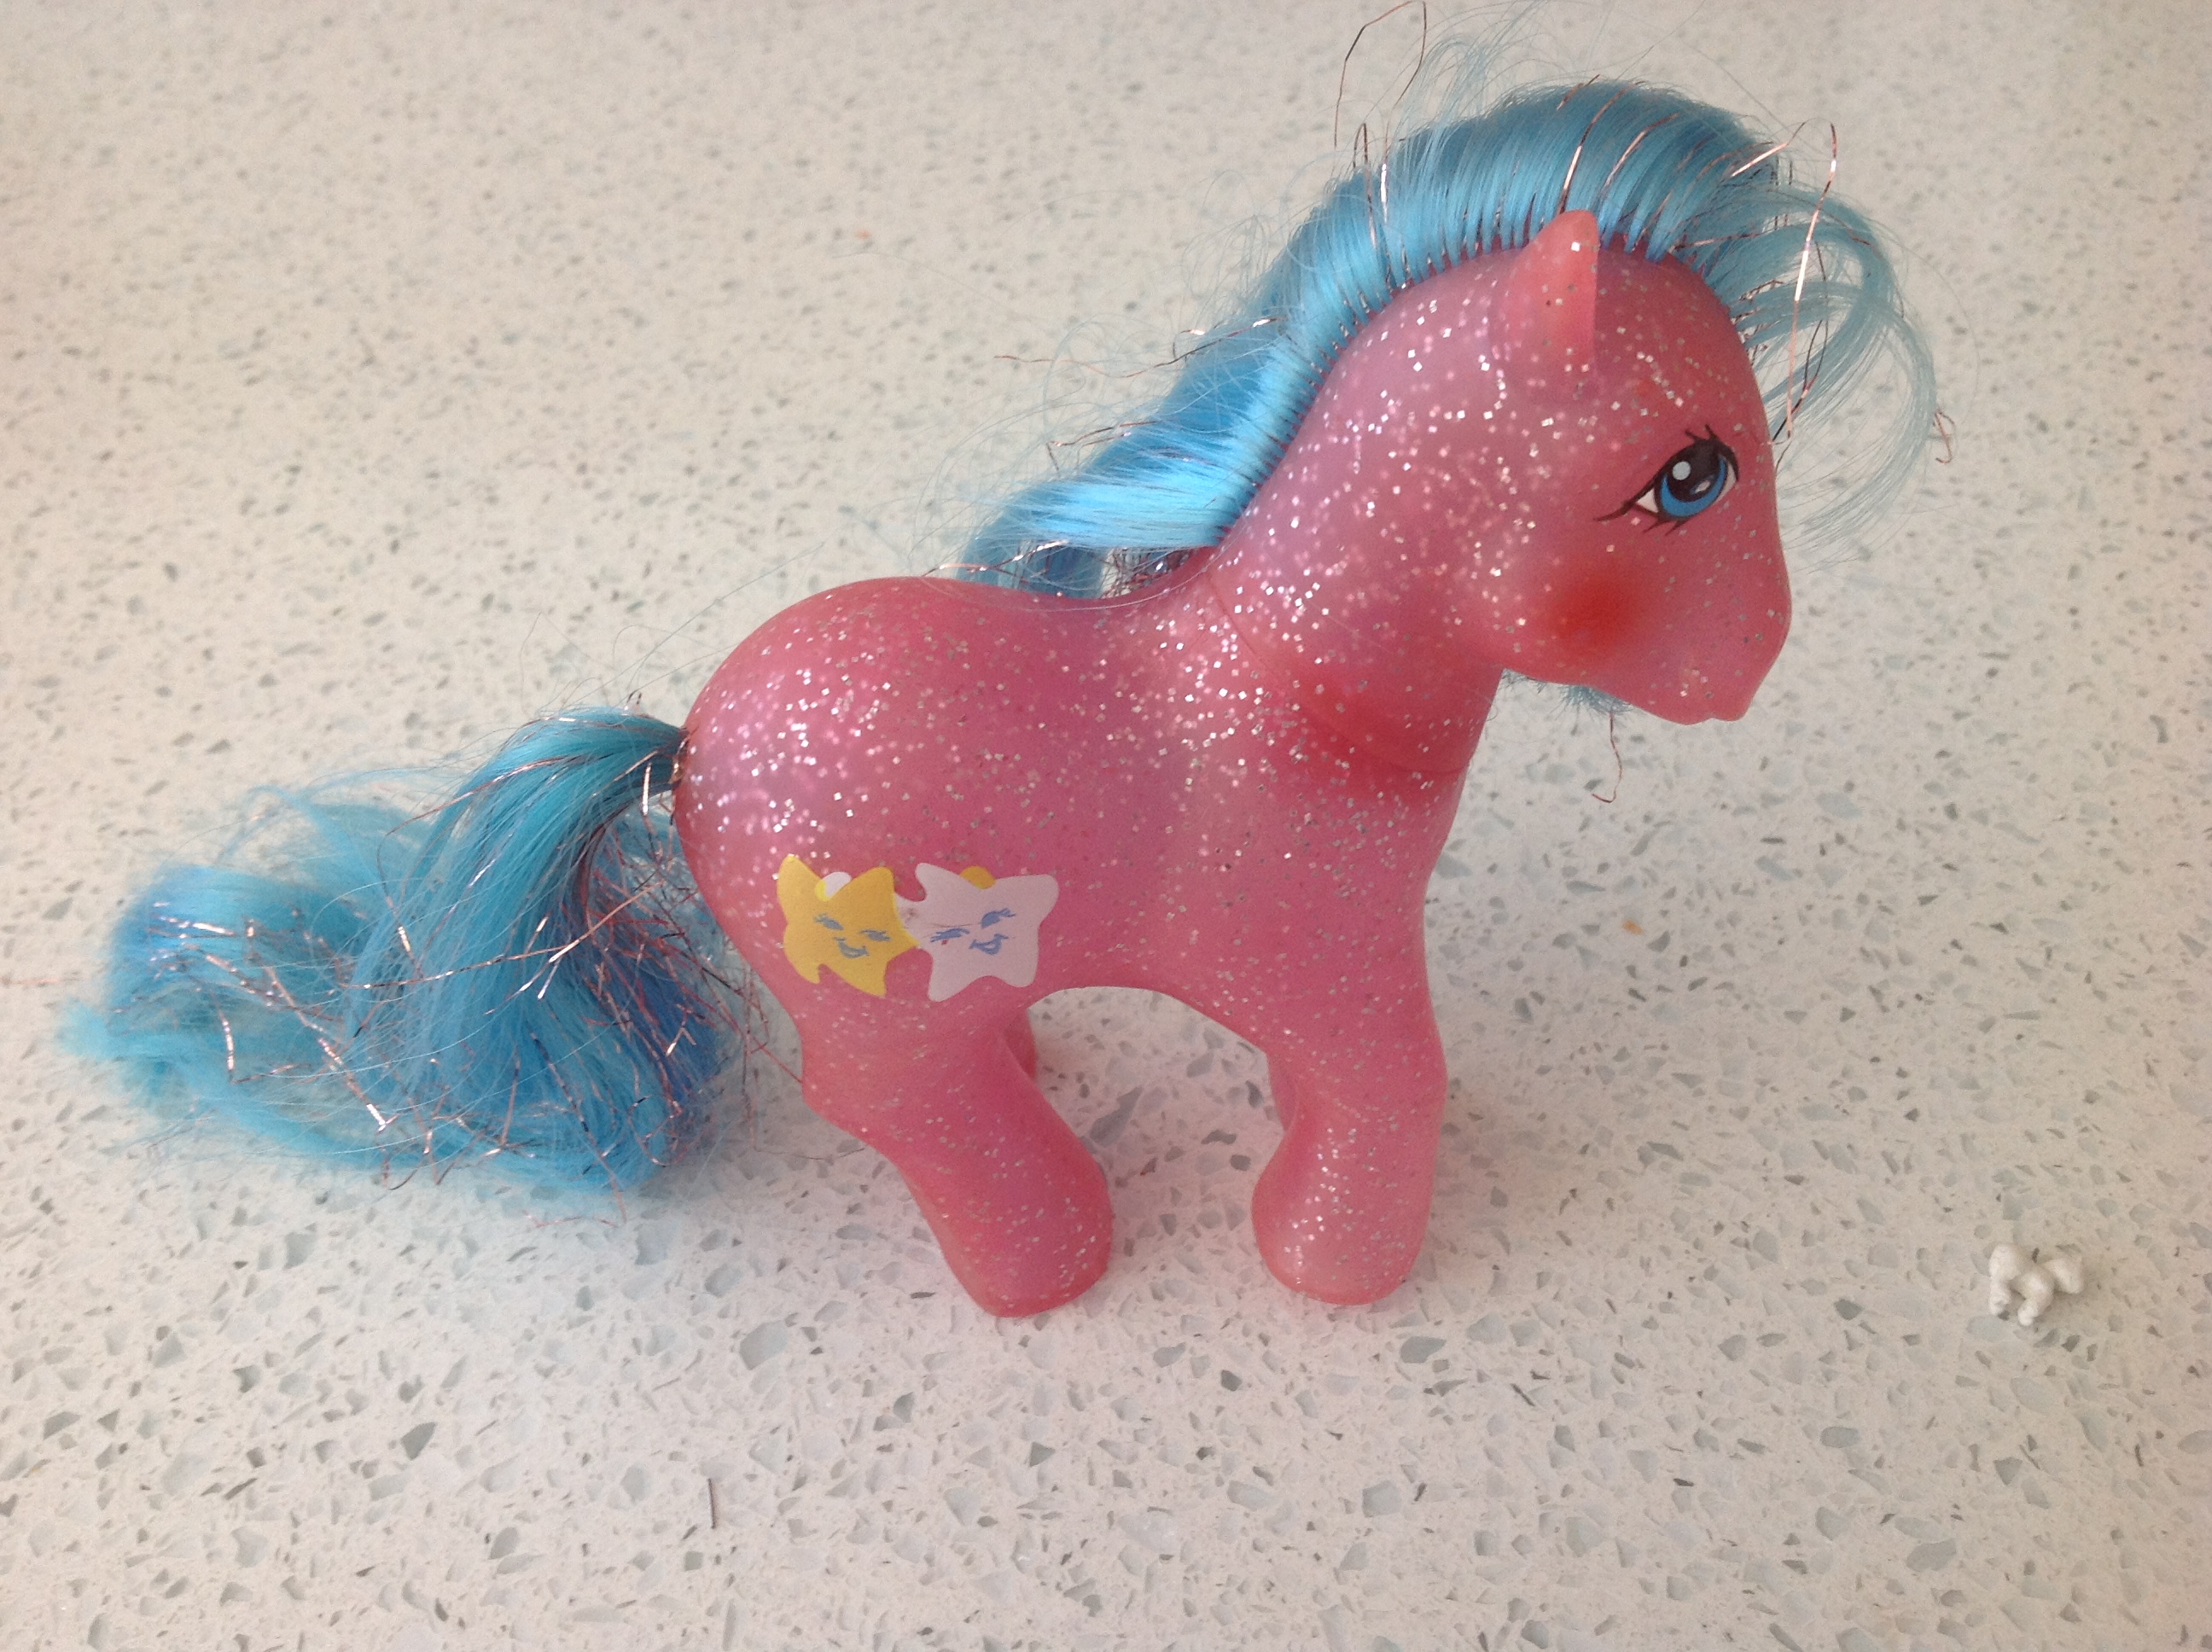
Reference pony
If you are copying a pose or even just G1 proportions, having a pony in front of you to look at and see if your sculpt matches is nice. I would suggest having a real pony in the pose you want in hand, but if you don't have that pose you can do a google search for a common pony in that pose so you have multiple angles.
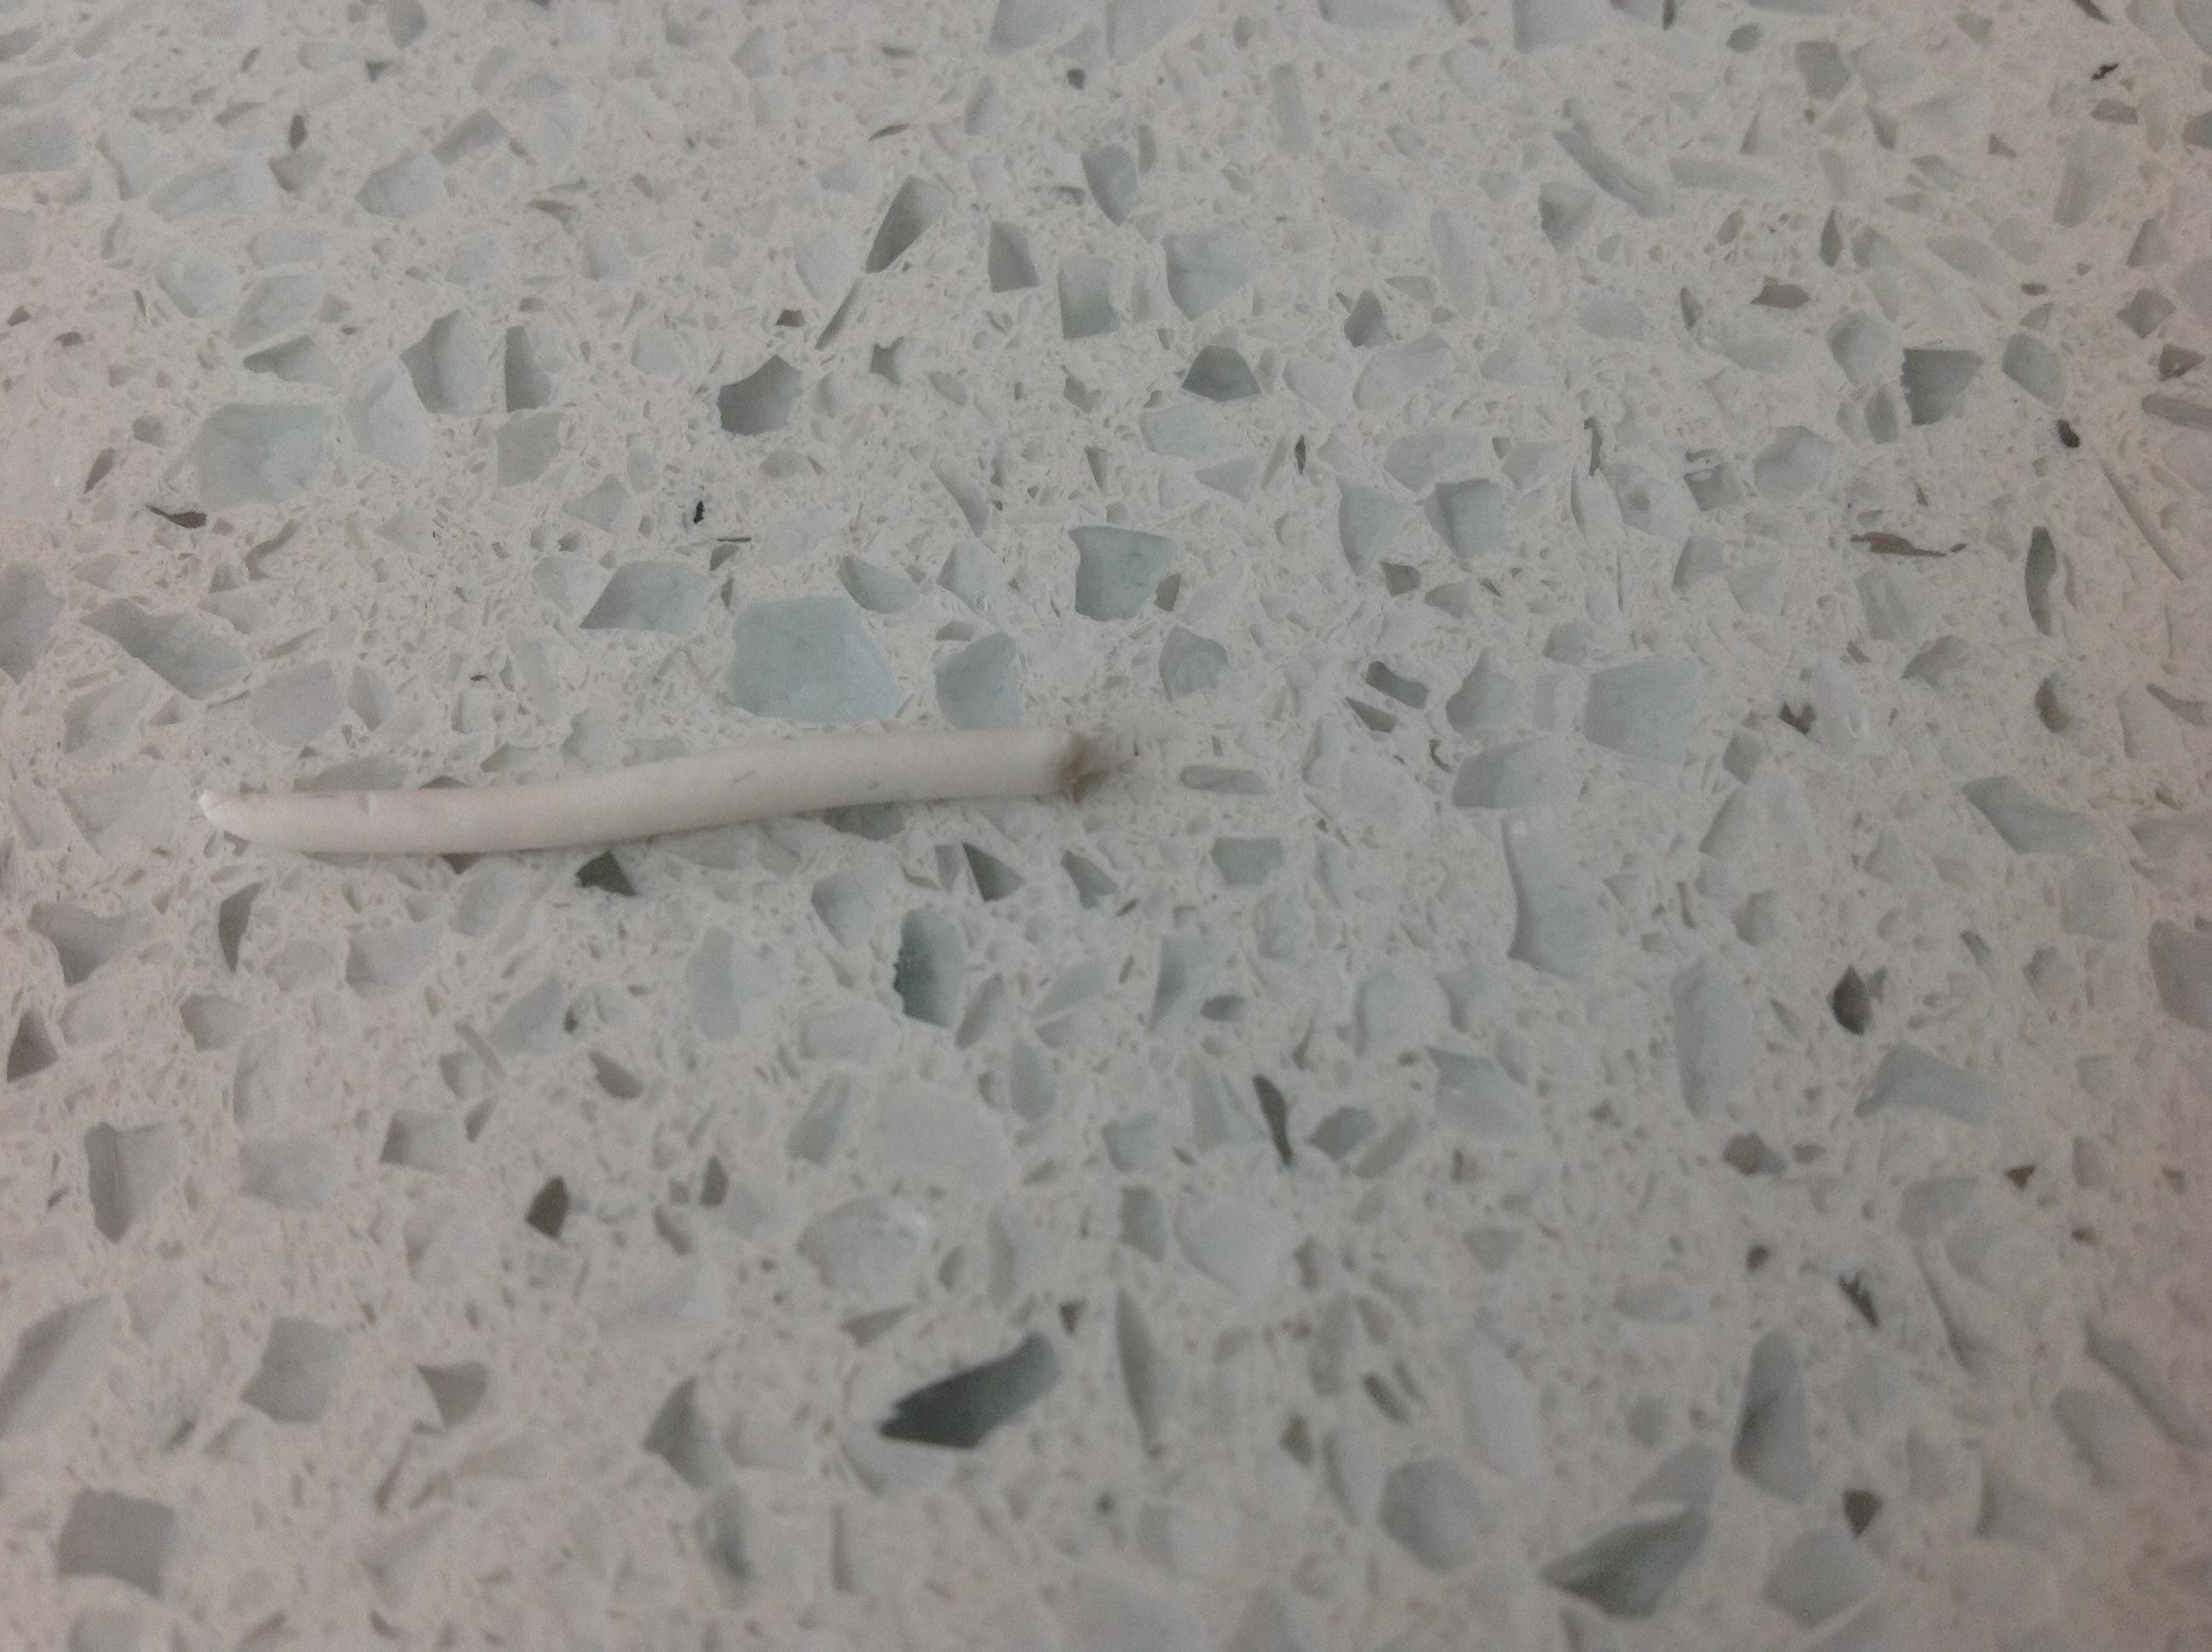
Not pictured are staples. You can cut them and use them as an armature or use them to add details and paint things.
Alright, that's the majority of the tools you will need! You can always have more on hand, and you can find what tools work best for you. I'd like to offer some tips so your crafting experience can be more enjoyable and less frustrating.
1. When working at your desk or your kitchen counter (like me) you risk dropping your pony all the way to the floor. I did this a lot. It was not fun and resulted in a lot of broken legs. You can prevent this by holding the pony above the desk/counter and scooting in so if you drop her she falls in your lap.
2. Take breaks. This might be obvious, but working on something so tiny can be frustrating, and at least for me, I find that when I'm frustrated I can't craft well and I'm not precise.
3. Be delicate and precise. This might be obvious too, but mini ponies are very fragile and one squeeze can undo hours of work. When I was attaching the head to the body, I held the body too tight and it broke. Not fun...
Now onto sculpting
From left to right we have...
Clay
The type of clay you use is important. I prefer air dray clay over polymer clay. It is much easier to sculpt with because you have the advantage of water. You can change the hardness of the clay, smooth it out, easily attach parts, re-wet it if dry, etc. With polymer clay it's harder to smooth out clay and add detail. Air dry clay actually dries faster because of how small it is too. Of course you can use whatever you want, but I recommend air dry clay. (It really doesn't matter which brand as long as it's not crap!)
Clay tools
Dotting tools will be very useful. You can use them to blend, shape, and add water. You should also have a knife around to cut clay. Sharp objects like push puns and safety pins can be used to create detail like the mouth and nostrils. It's also good to have pliers around (not to hold the pony though, if your clay is like mine it will chew the clay up)
Water tin
Having an accessible place for water is needed because water is your best friend. If you don't have water the clay will dry out quickly. I use an Altoids tin, but you can use whatever you have around!
Reference pony
If you are copying a pose or even just G1 proportions, having a pony in front of you to look at and see if your sculpt matches is nice. I would suggest having a real pony in the pose you want in hand, but if you don't have that pose you can do a google search for a common pony in that pose so you have multiple angles.
Not pictured are staples. You can cut them and use them as an armature or use them to add details and paint things.
Alright, that's the majority of the tools you will need! You can always have more on hand, and you can find what tools work best for you. I'd like to offer some tips so your crafting experience can be more enjoyable and less frustrating.
1. When working at your desk or your kitchen counter (like me) you risk dropping your pony all the way to the floor. I did this a lot. It was not fun and resulted in a lot of broken legs. You can prevent this by holding the pony above the desk/counter and scooting in so if you drop her she falls in your lap.
2. Take breaks. This might be obvious, but working on something so tiny can be frustrating, and at least for me, I find that when I'm frustrated I can't craft well and I'm not precise.
3. Be delicate and precise. This might be obvious too, but mini ponies are very fragile and one squeeze can undo hours of work. When I was attaching the head to the body, I held the body too tight and it broke. Not fun...
Now onto sculpting
Sculpting
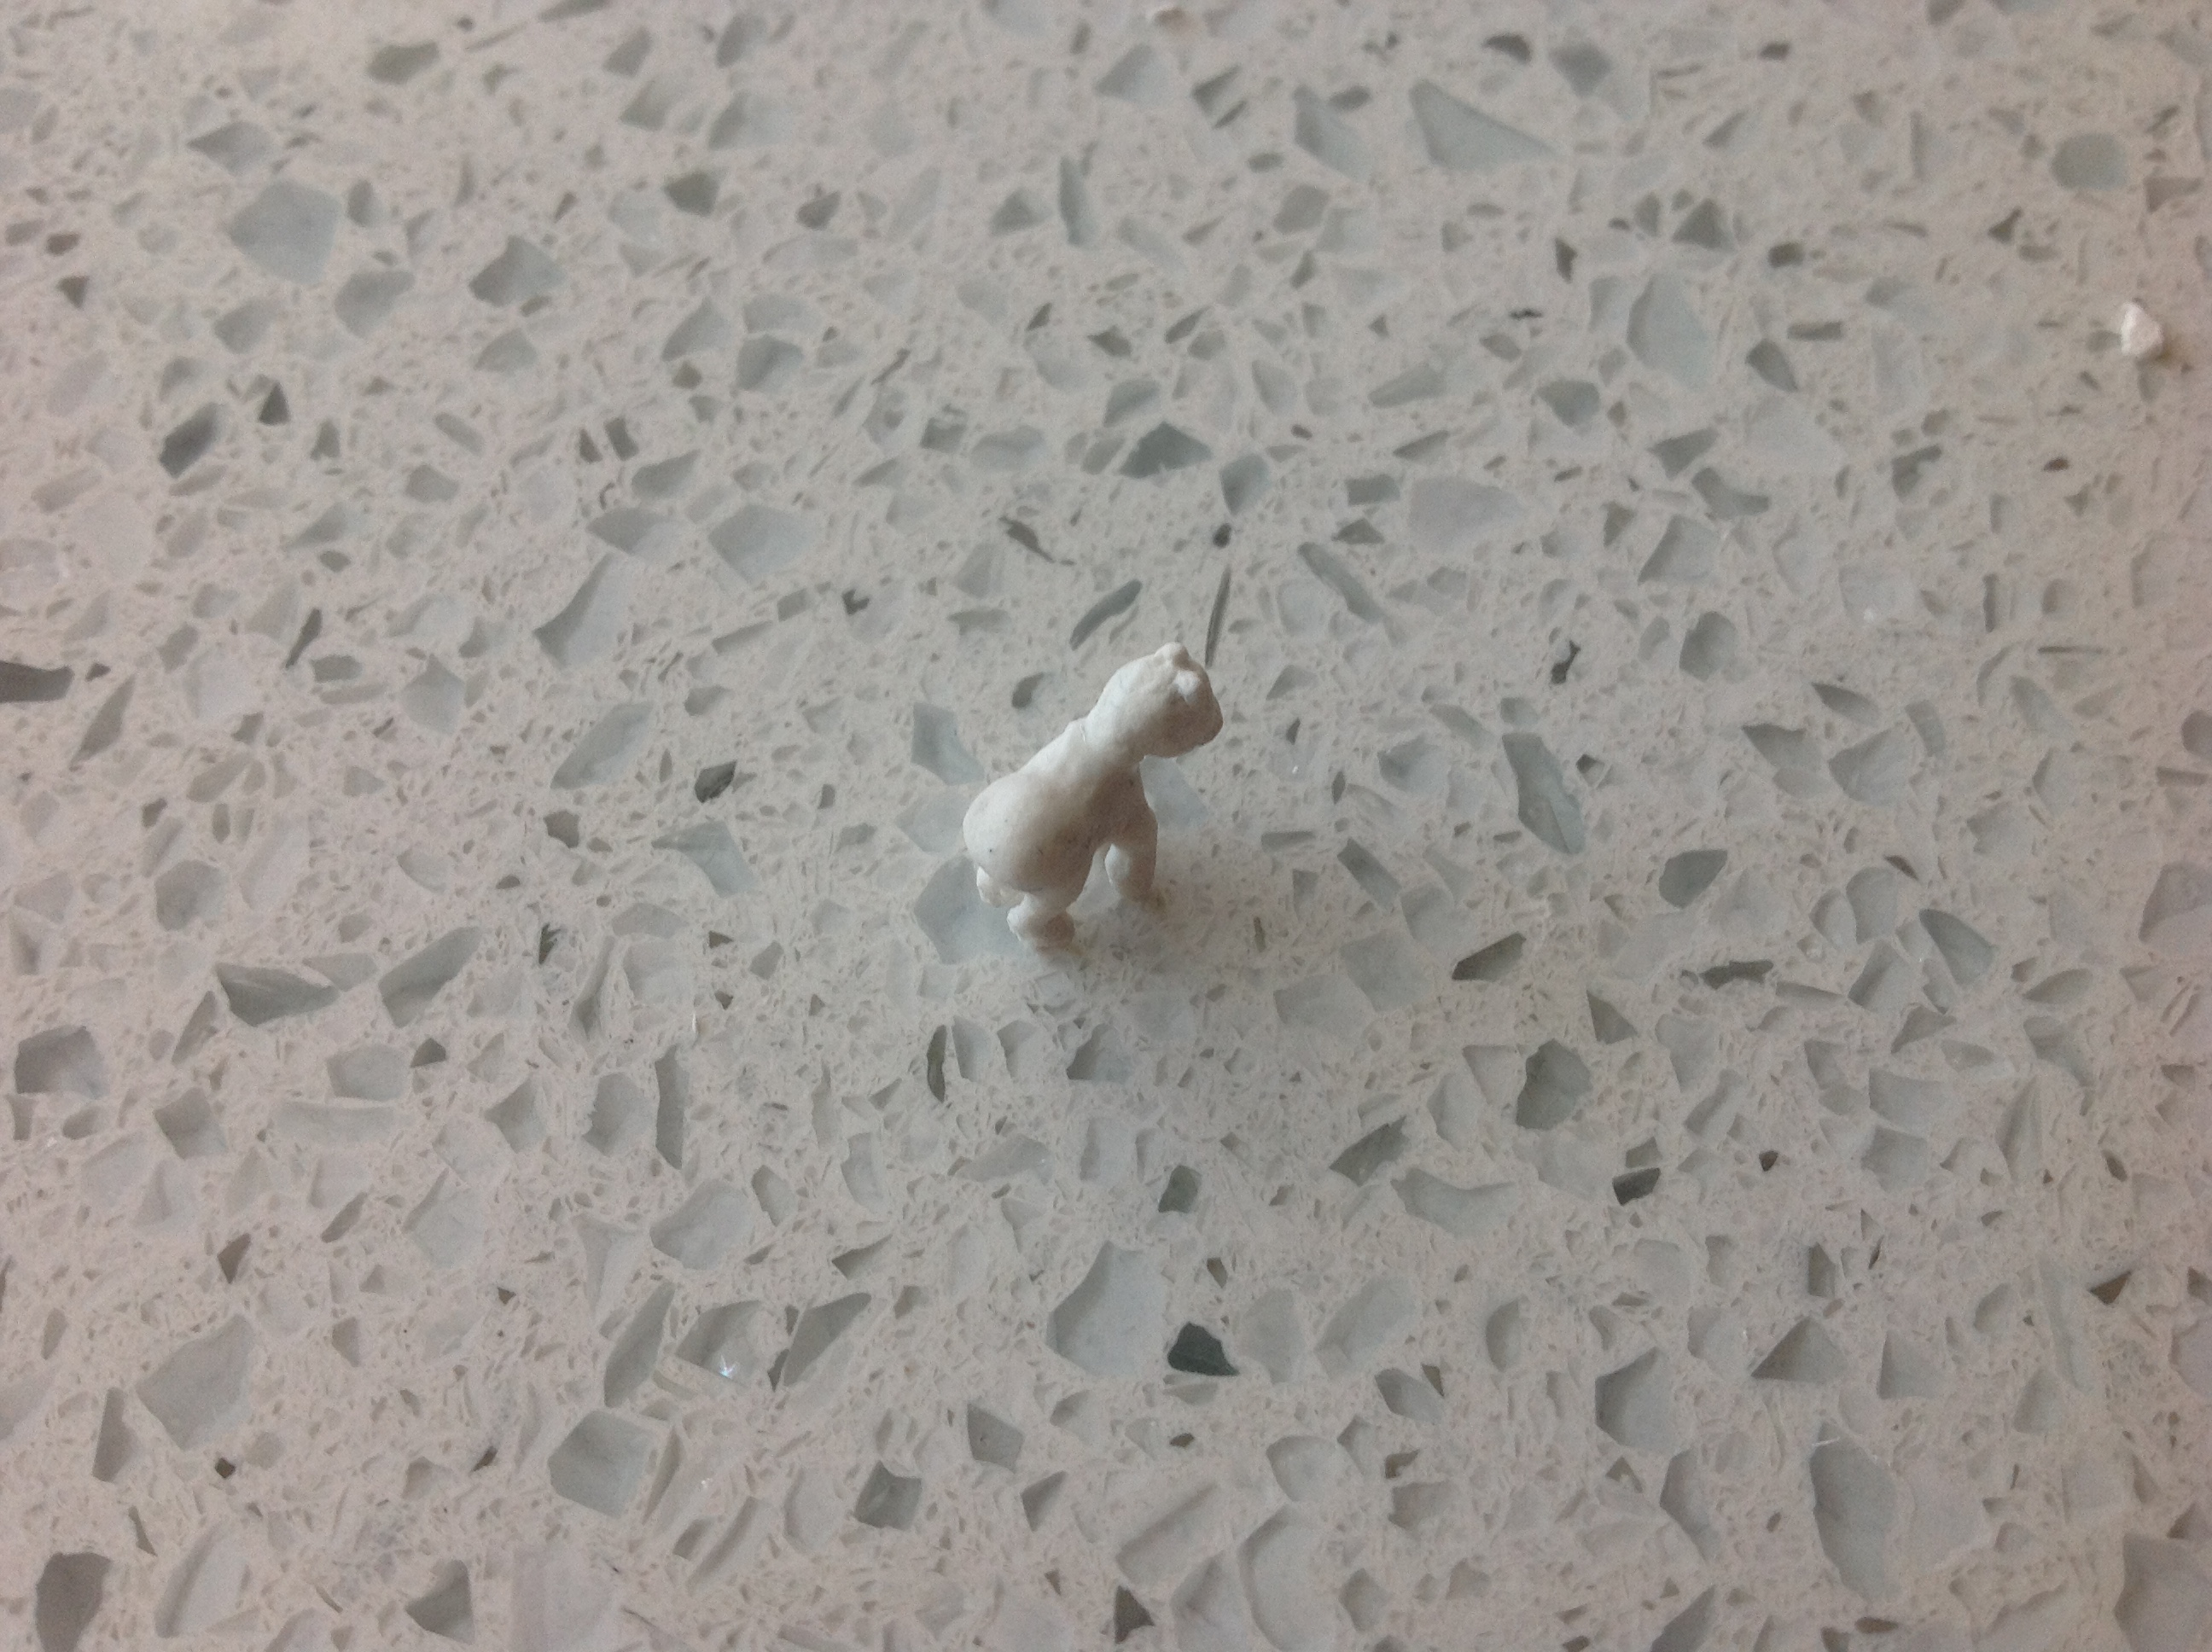
The first thing you want to do, before you even begin, is to pick a pony and pose. I picked the G1 Sugarberry Pose. To replicate the pony, knowledge of the anatomy is useful. Here is my pony:
A pony is basically made up of 3 circles and 5 rectangles. The rump is the biggest circle, the front is another, and the head is the smallest circle. The legs and muzzle are the rectangles. The back and belly are curved, and the hind legs have points and curves and the front legs have curves. The legs also vary in thickness, the base and hoof being bigger thicker than the middle. The neck gets thinner towards the head. Top portion of the bit that connects the head toward the muzzle is flat. The jaw is curved. Facing the front, the cheeks stick out. The ears are about as big as the cheeks and are turned slightly outwards. They resemble triangles.
I suggest you break your pony down like this so you can replicate the anatomy
With all your tools ready you can begin sculpting! I do my sculpts in order of least fragile to most fragile. First I make the body, then the head, then the legs. Let's start with the body!

Take a little oval of clay. You can roll it out into a log like shape.
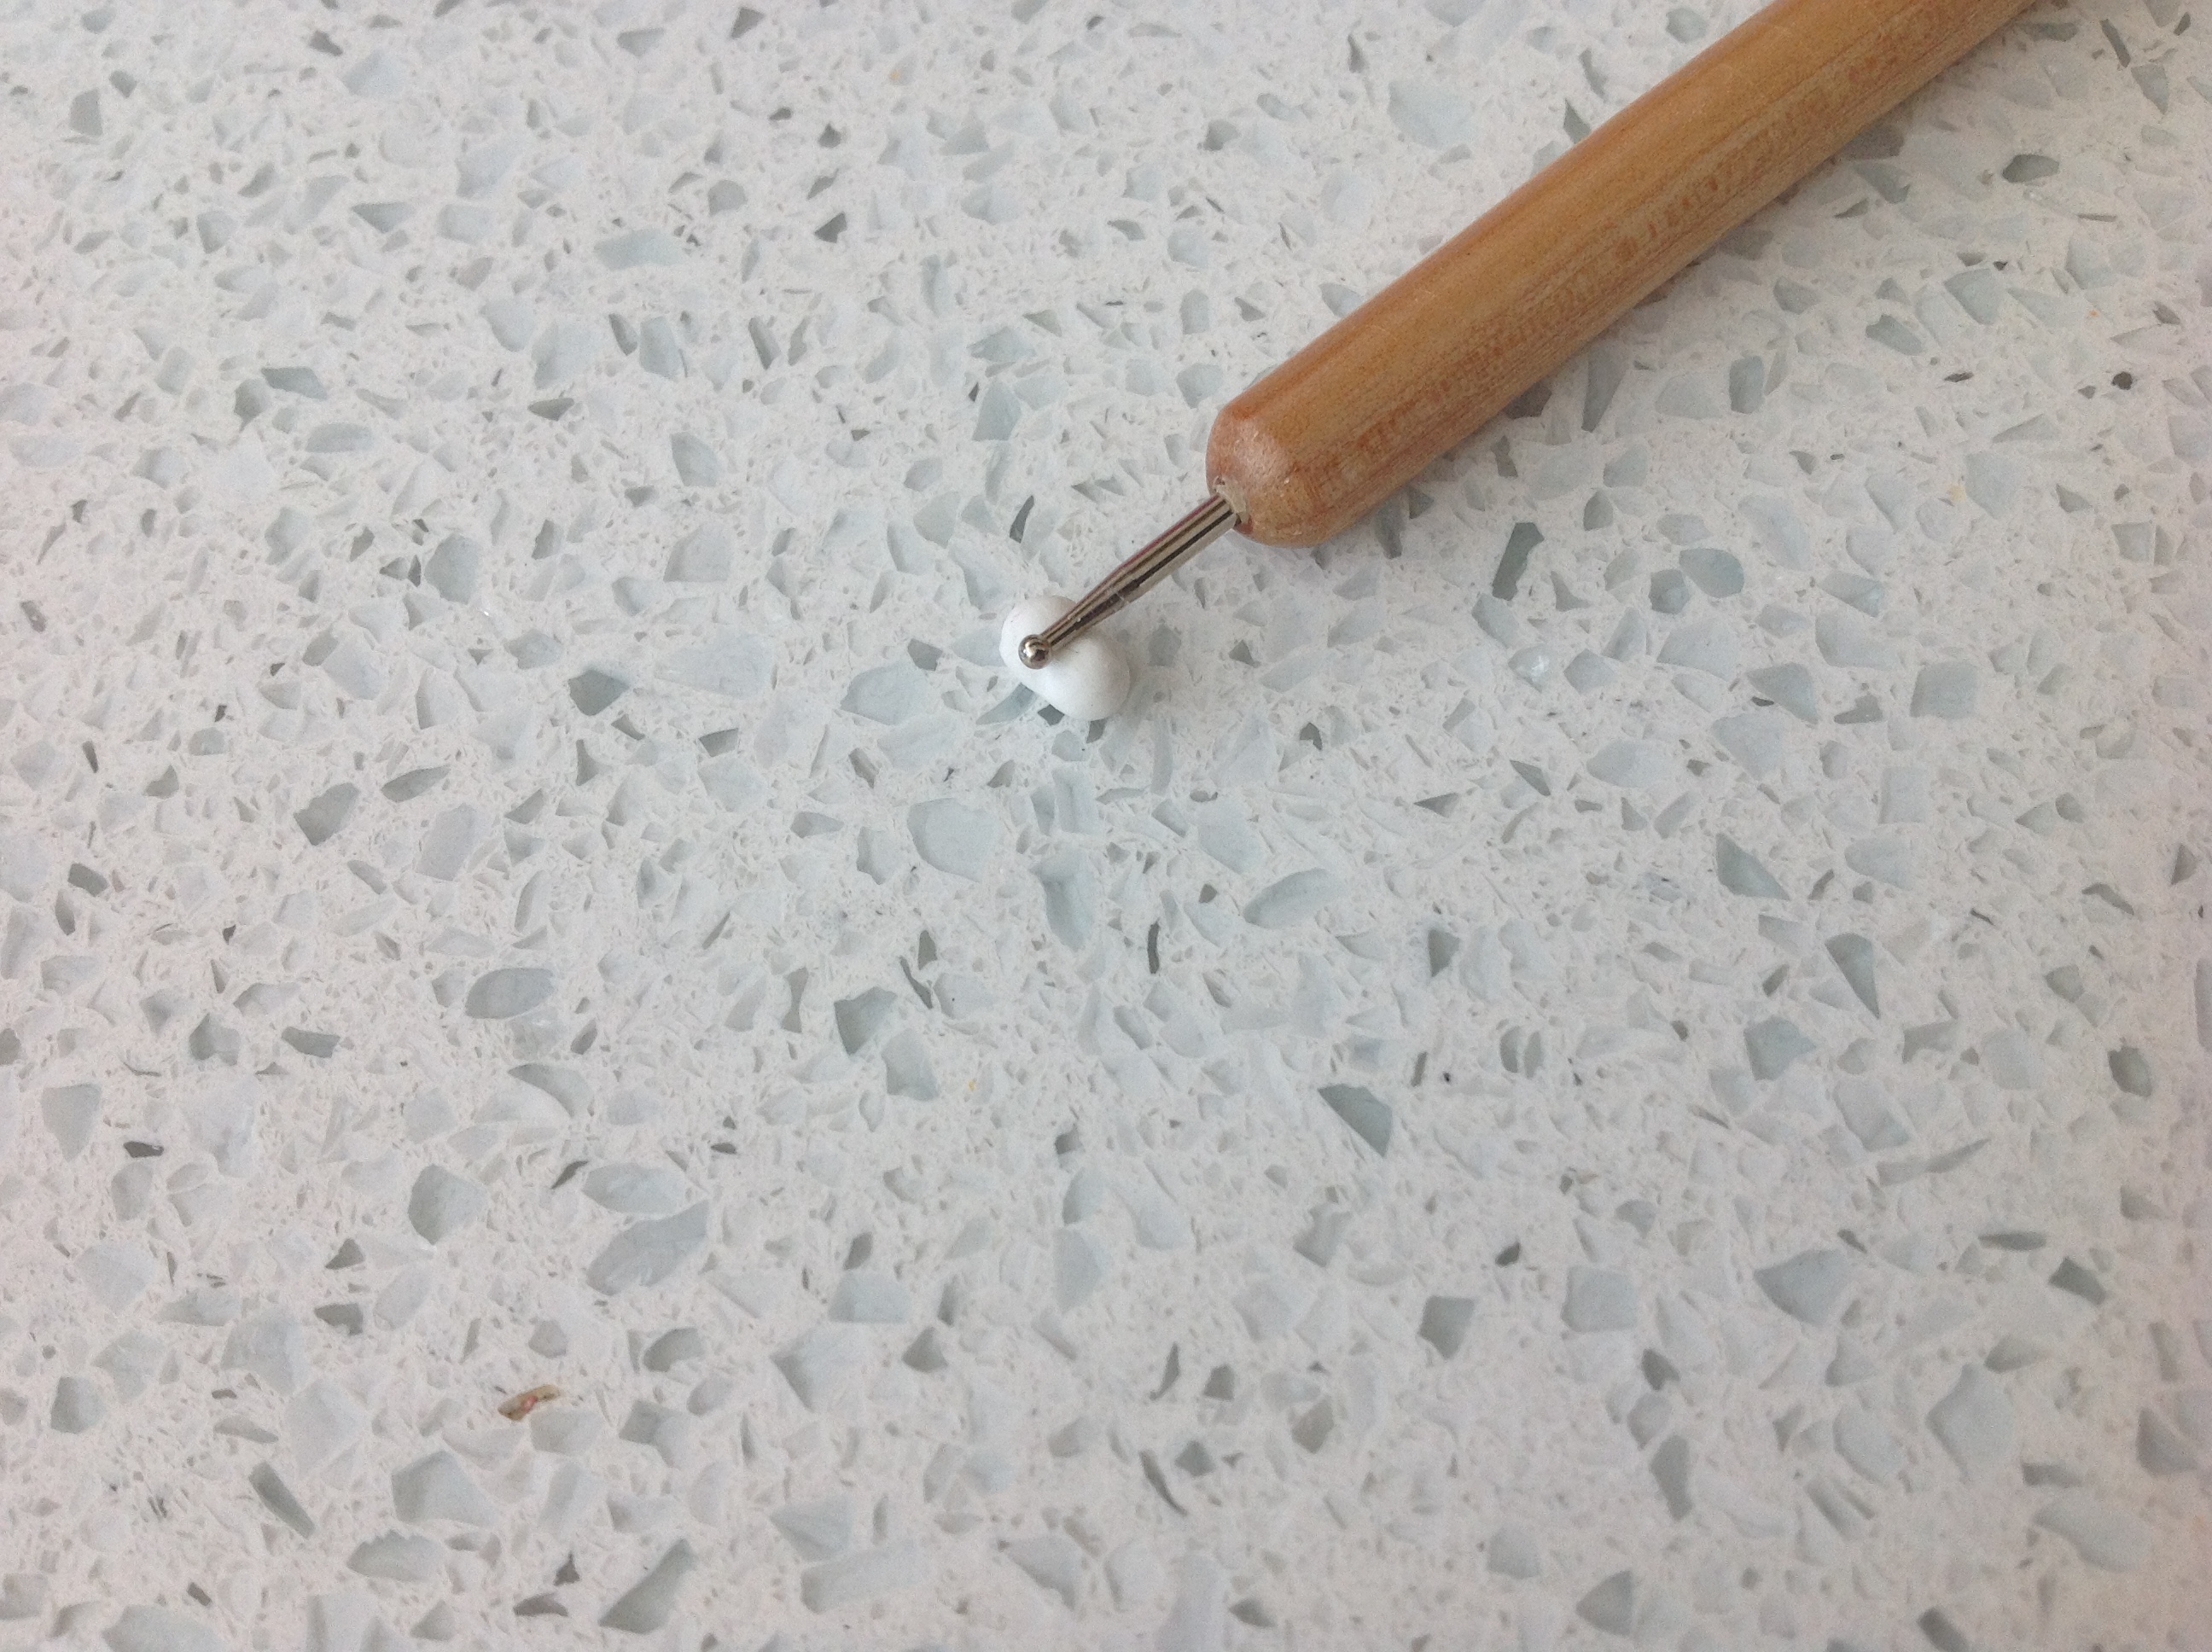
Use your dotting tool to make it thinner in the middle. This also acts as the curve for the back. Be careful not to shape the belly, you want it to be a bit round. The sides should be shaped, though. The rump should be bigger than the front. You can mark the front with your dotting tool if you'd like
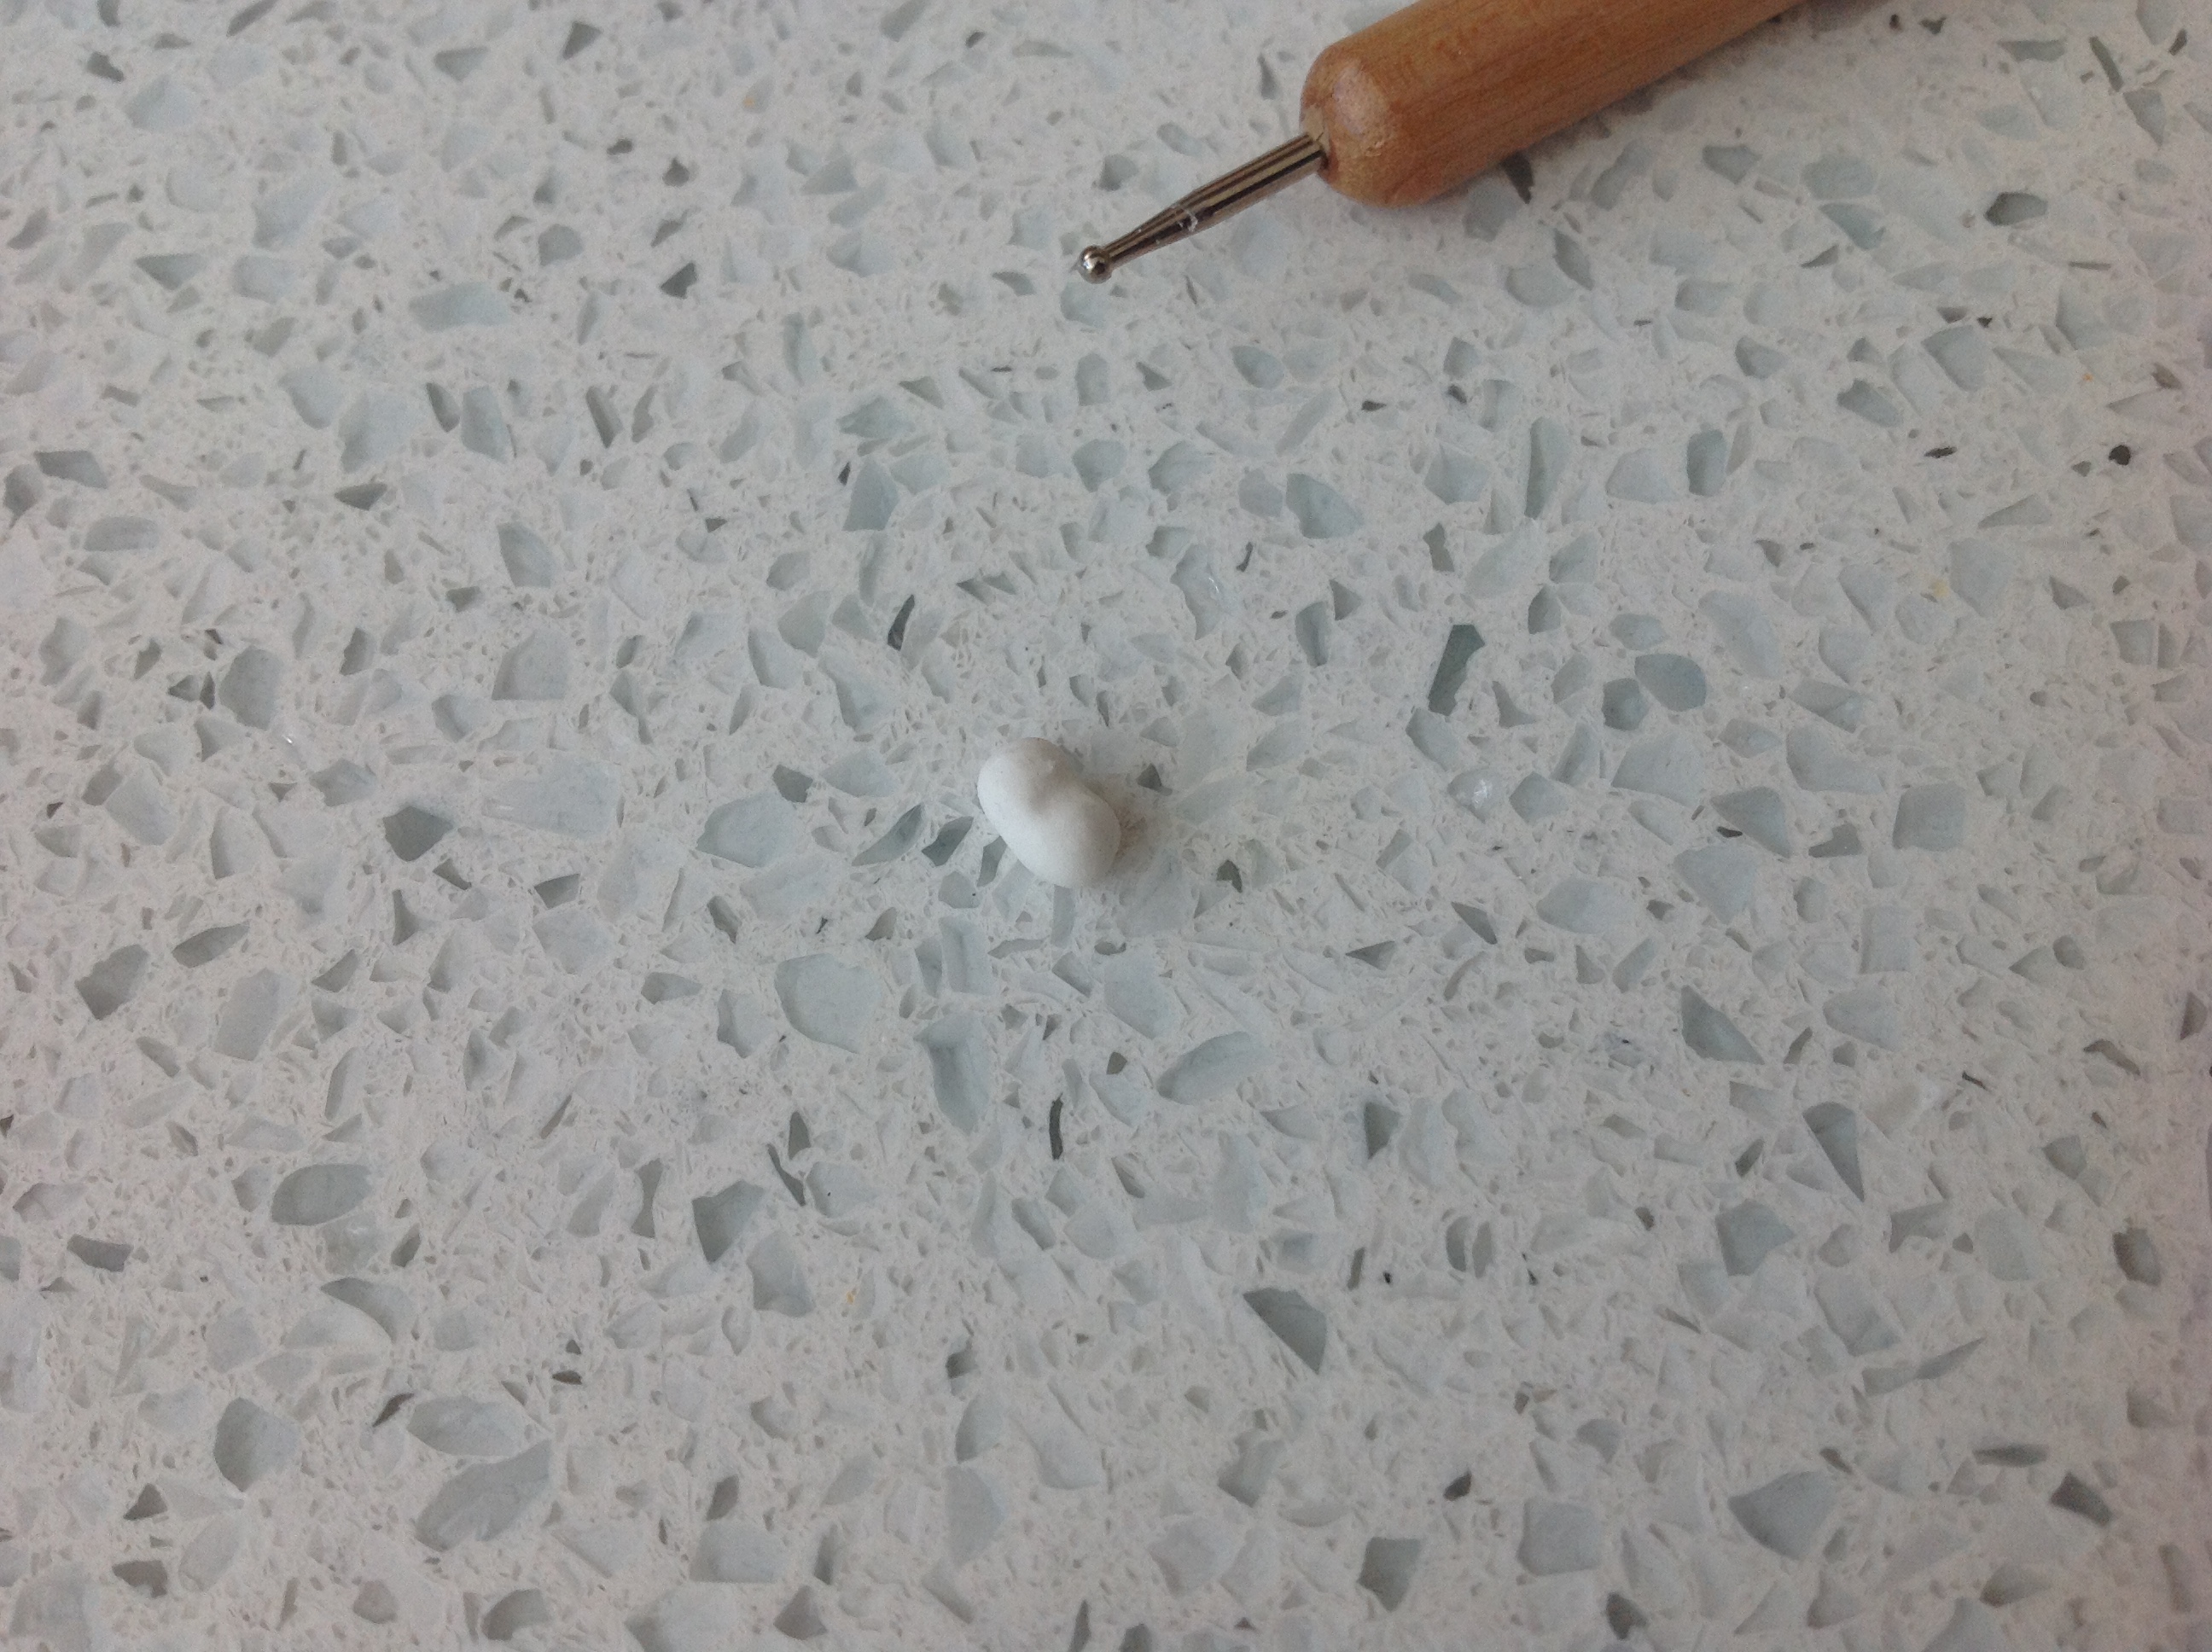
Just keep working it until it looks they way you want. Remember to keep wetting and softening the clay. Since it's so tiny, the clay dries out very very quickly.
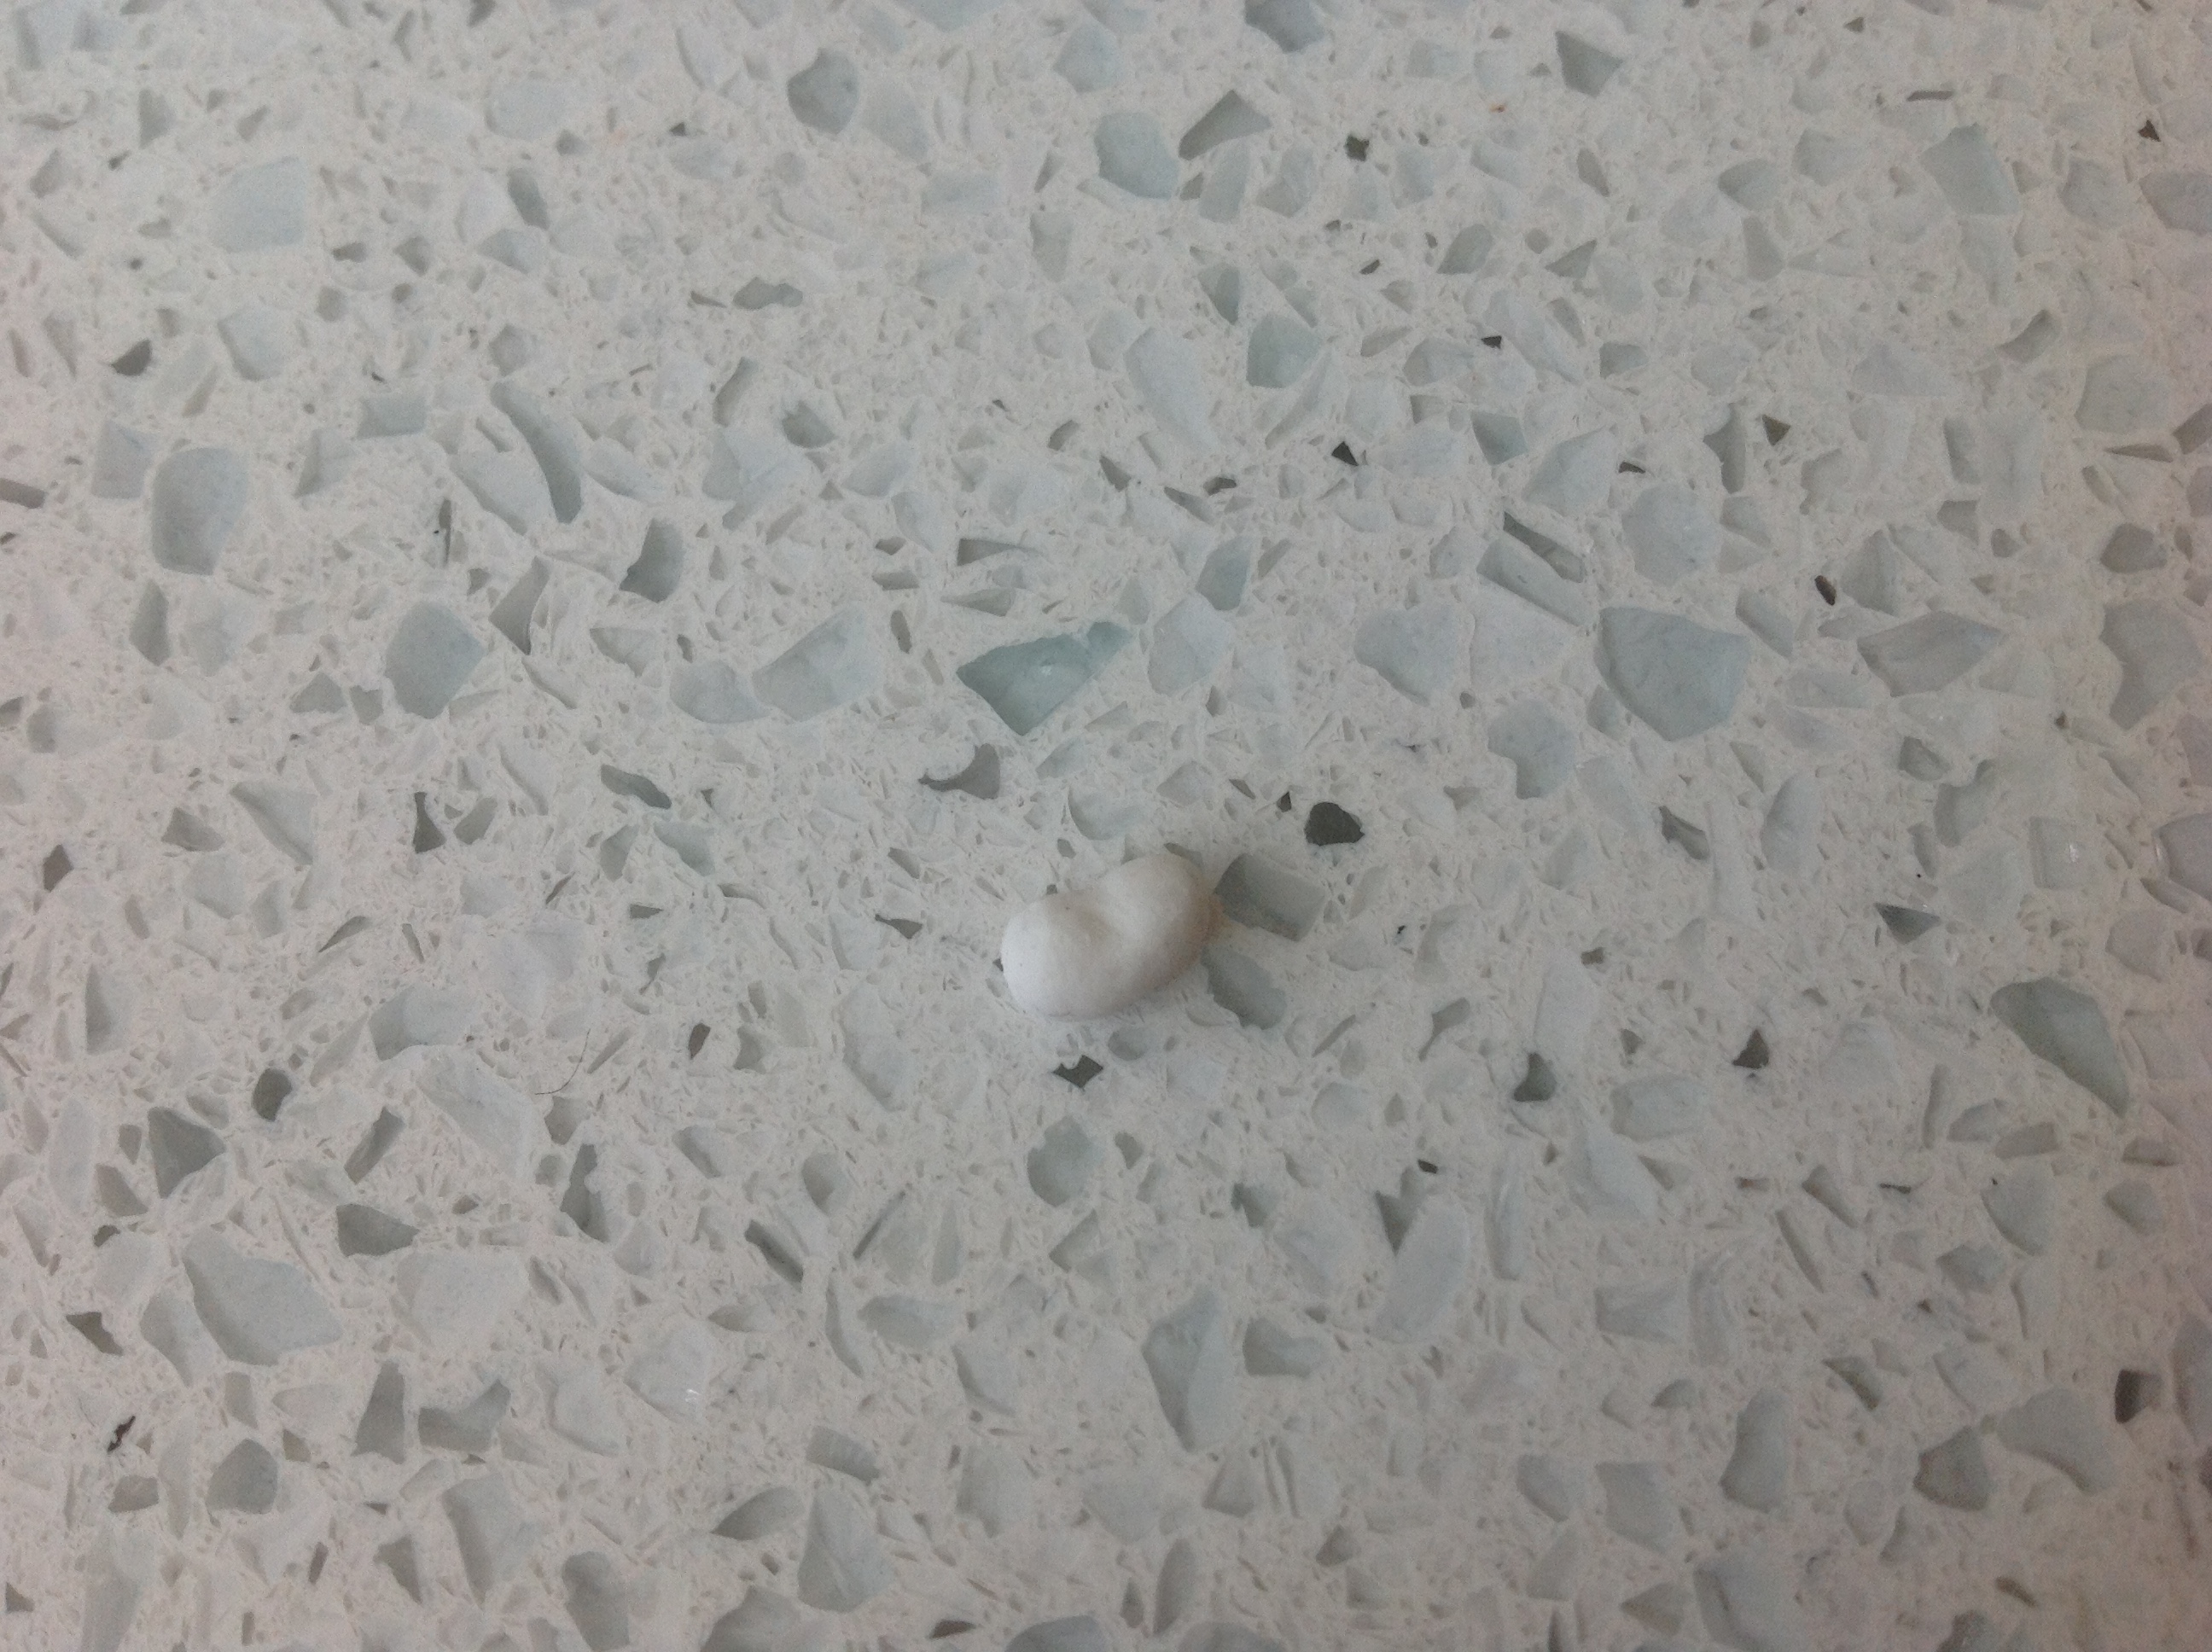
You can also cut off a piece of staple and stick it in the front, allowing support for the neck. Leave it to dry for a while. Make sure to put your extra clay back in your sealed bag or whatever you use so it doesn't dry out. After it's dry, you can move on to the head!
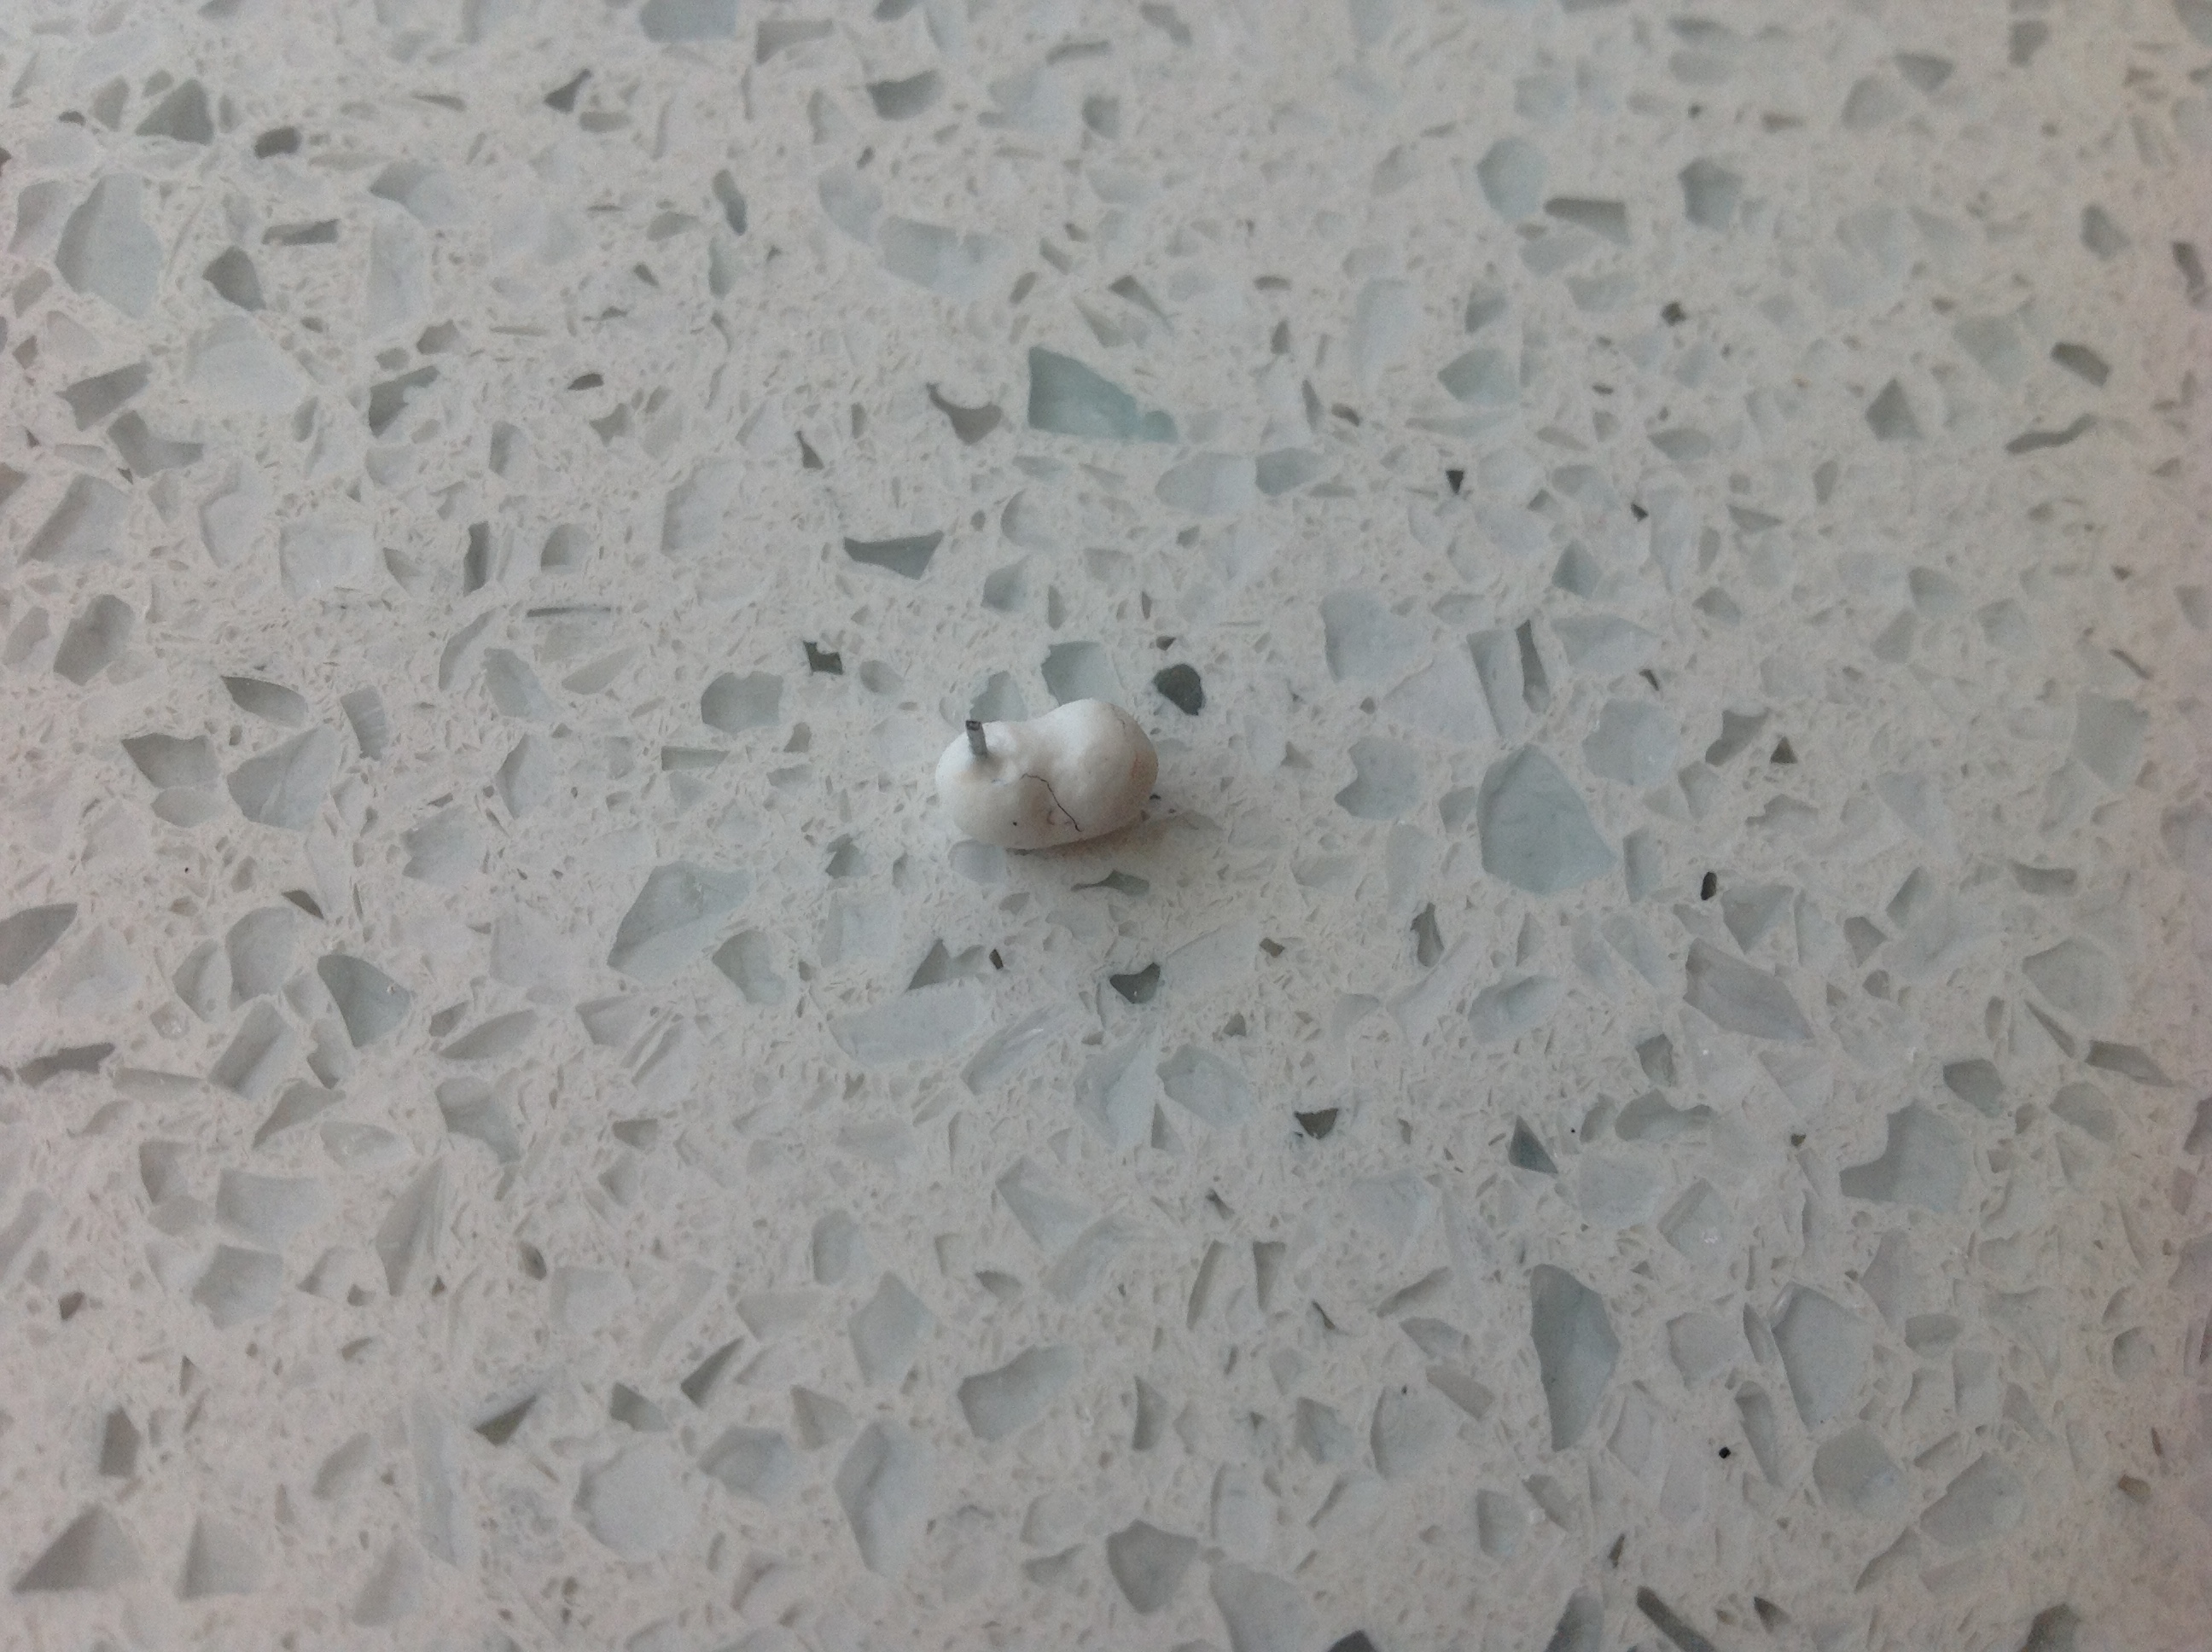
Take a sphere of clay. This should be out the same size as the front sphere of the body. Take a another bit of clay. This should be smaller than the head, but not too small. Remember to keep the head and muzzle moist, adding water throughout will help the muzzle attach.
Start blending the muzzle into the head. If yours is too long like mine was, you can cut it. It looks weird at first, but keep going!
Keep blending and shaping. The muzzle should be visibly thinner than the head, but the top and bottom should curve into it. Look at your pony from different angles for reference. Keep working it back and forth.
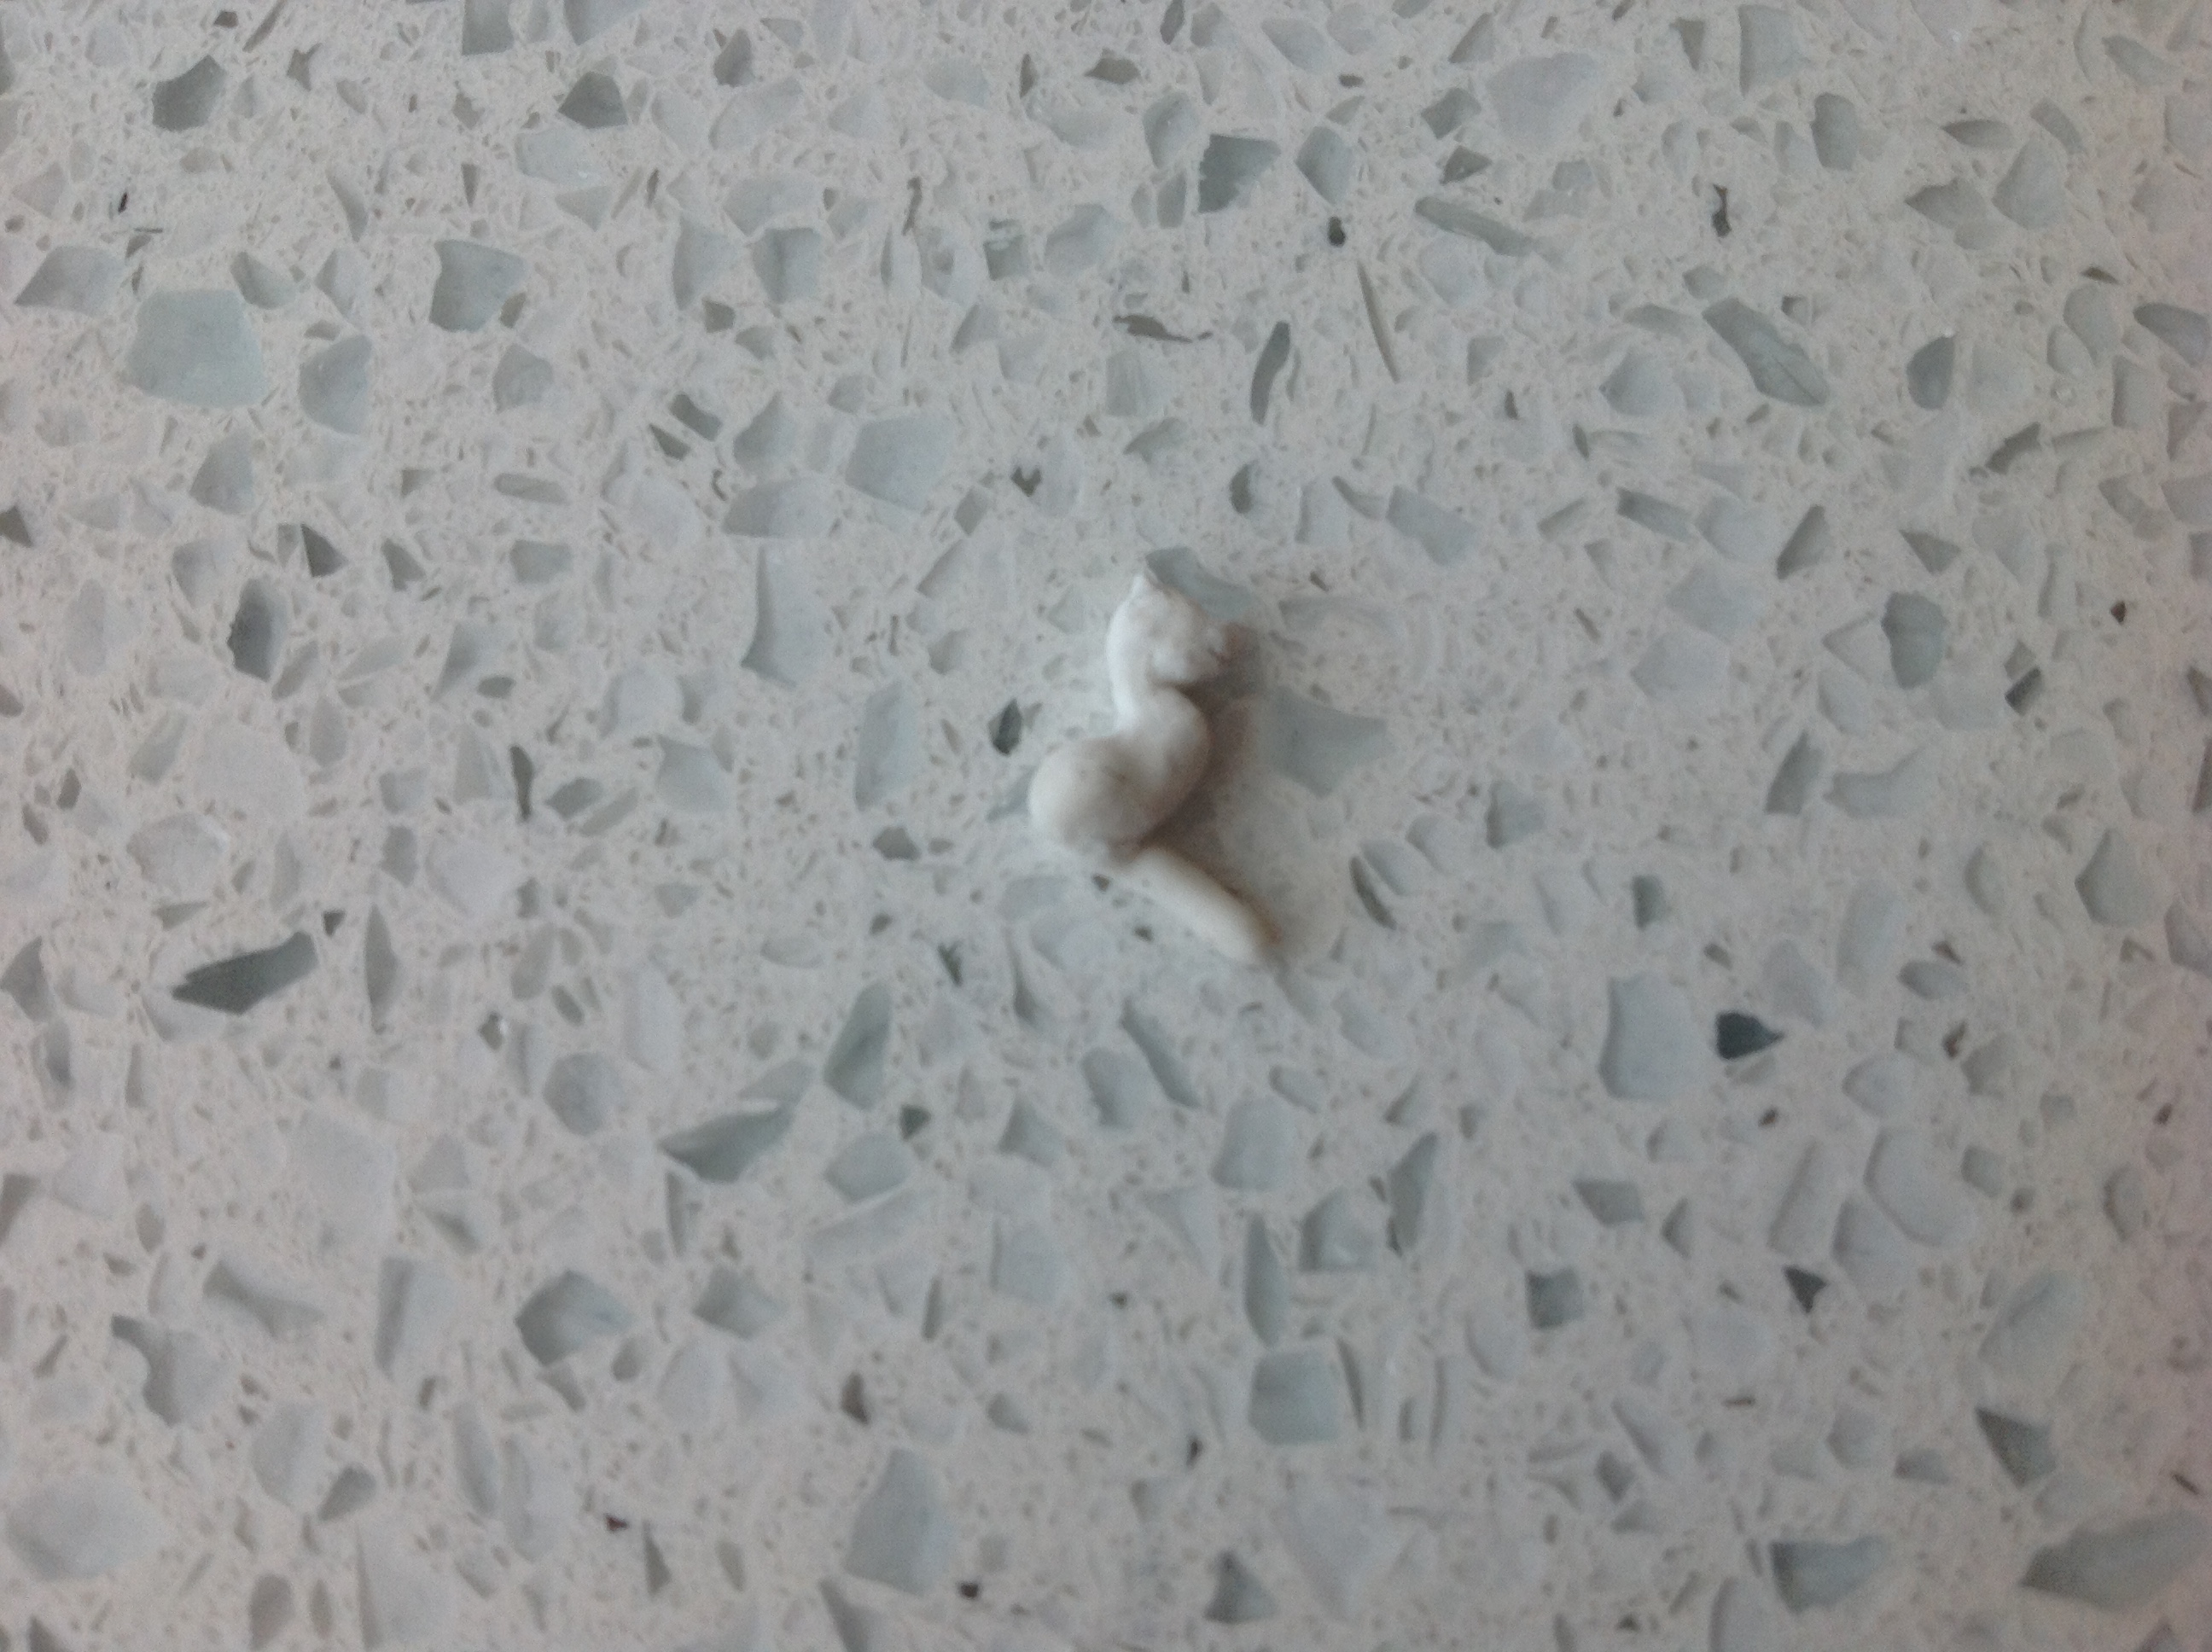
Here, mine is about finished.
I added her smile and nostrils with my safety pin, pushing the bottom of the mouth a bit farther back.
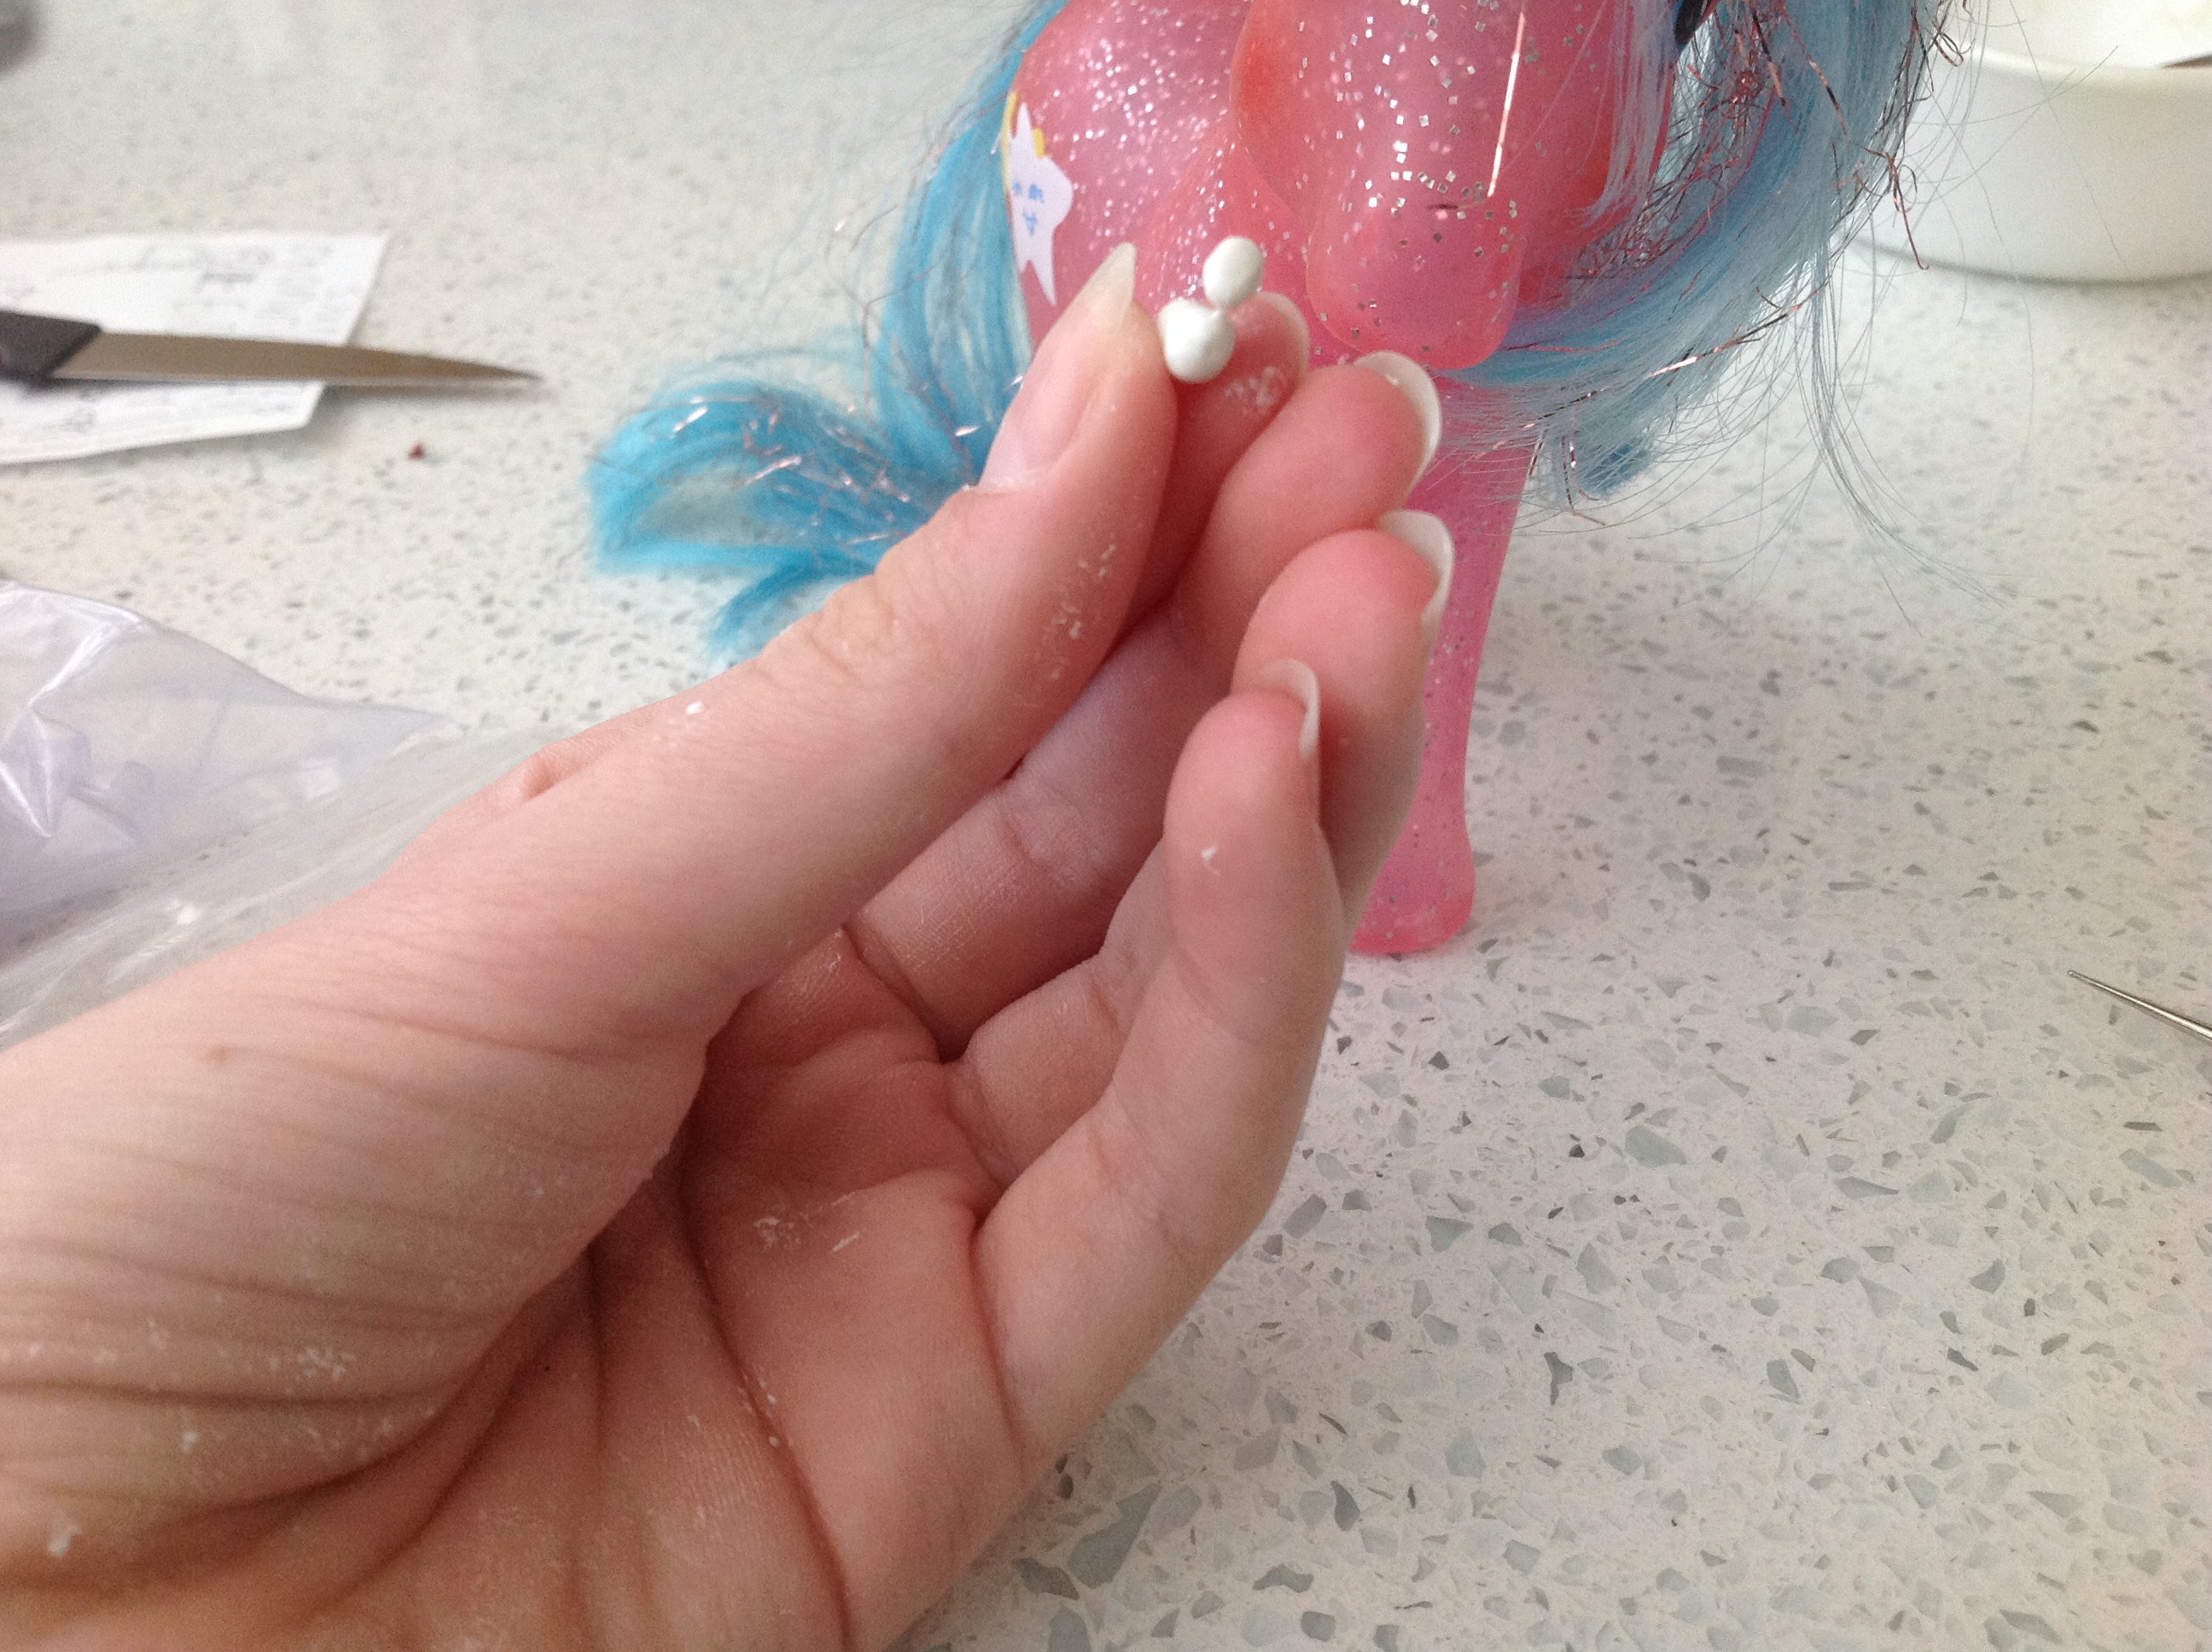
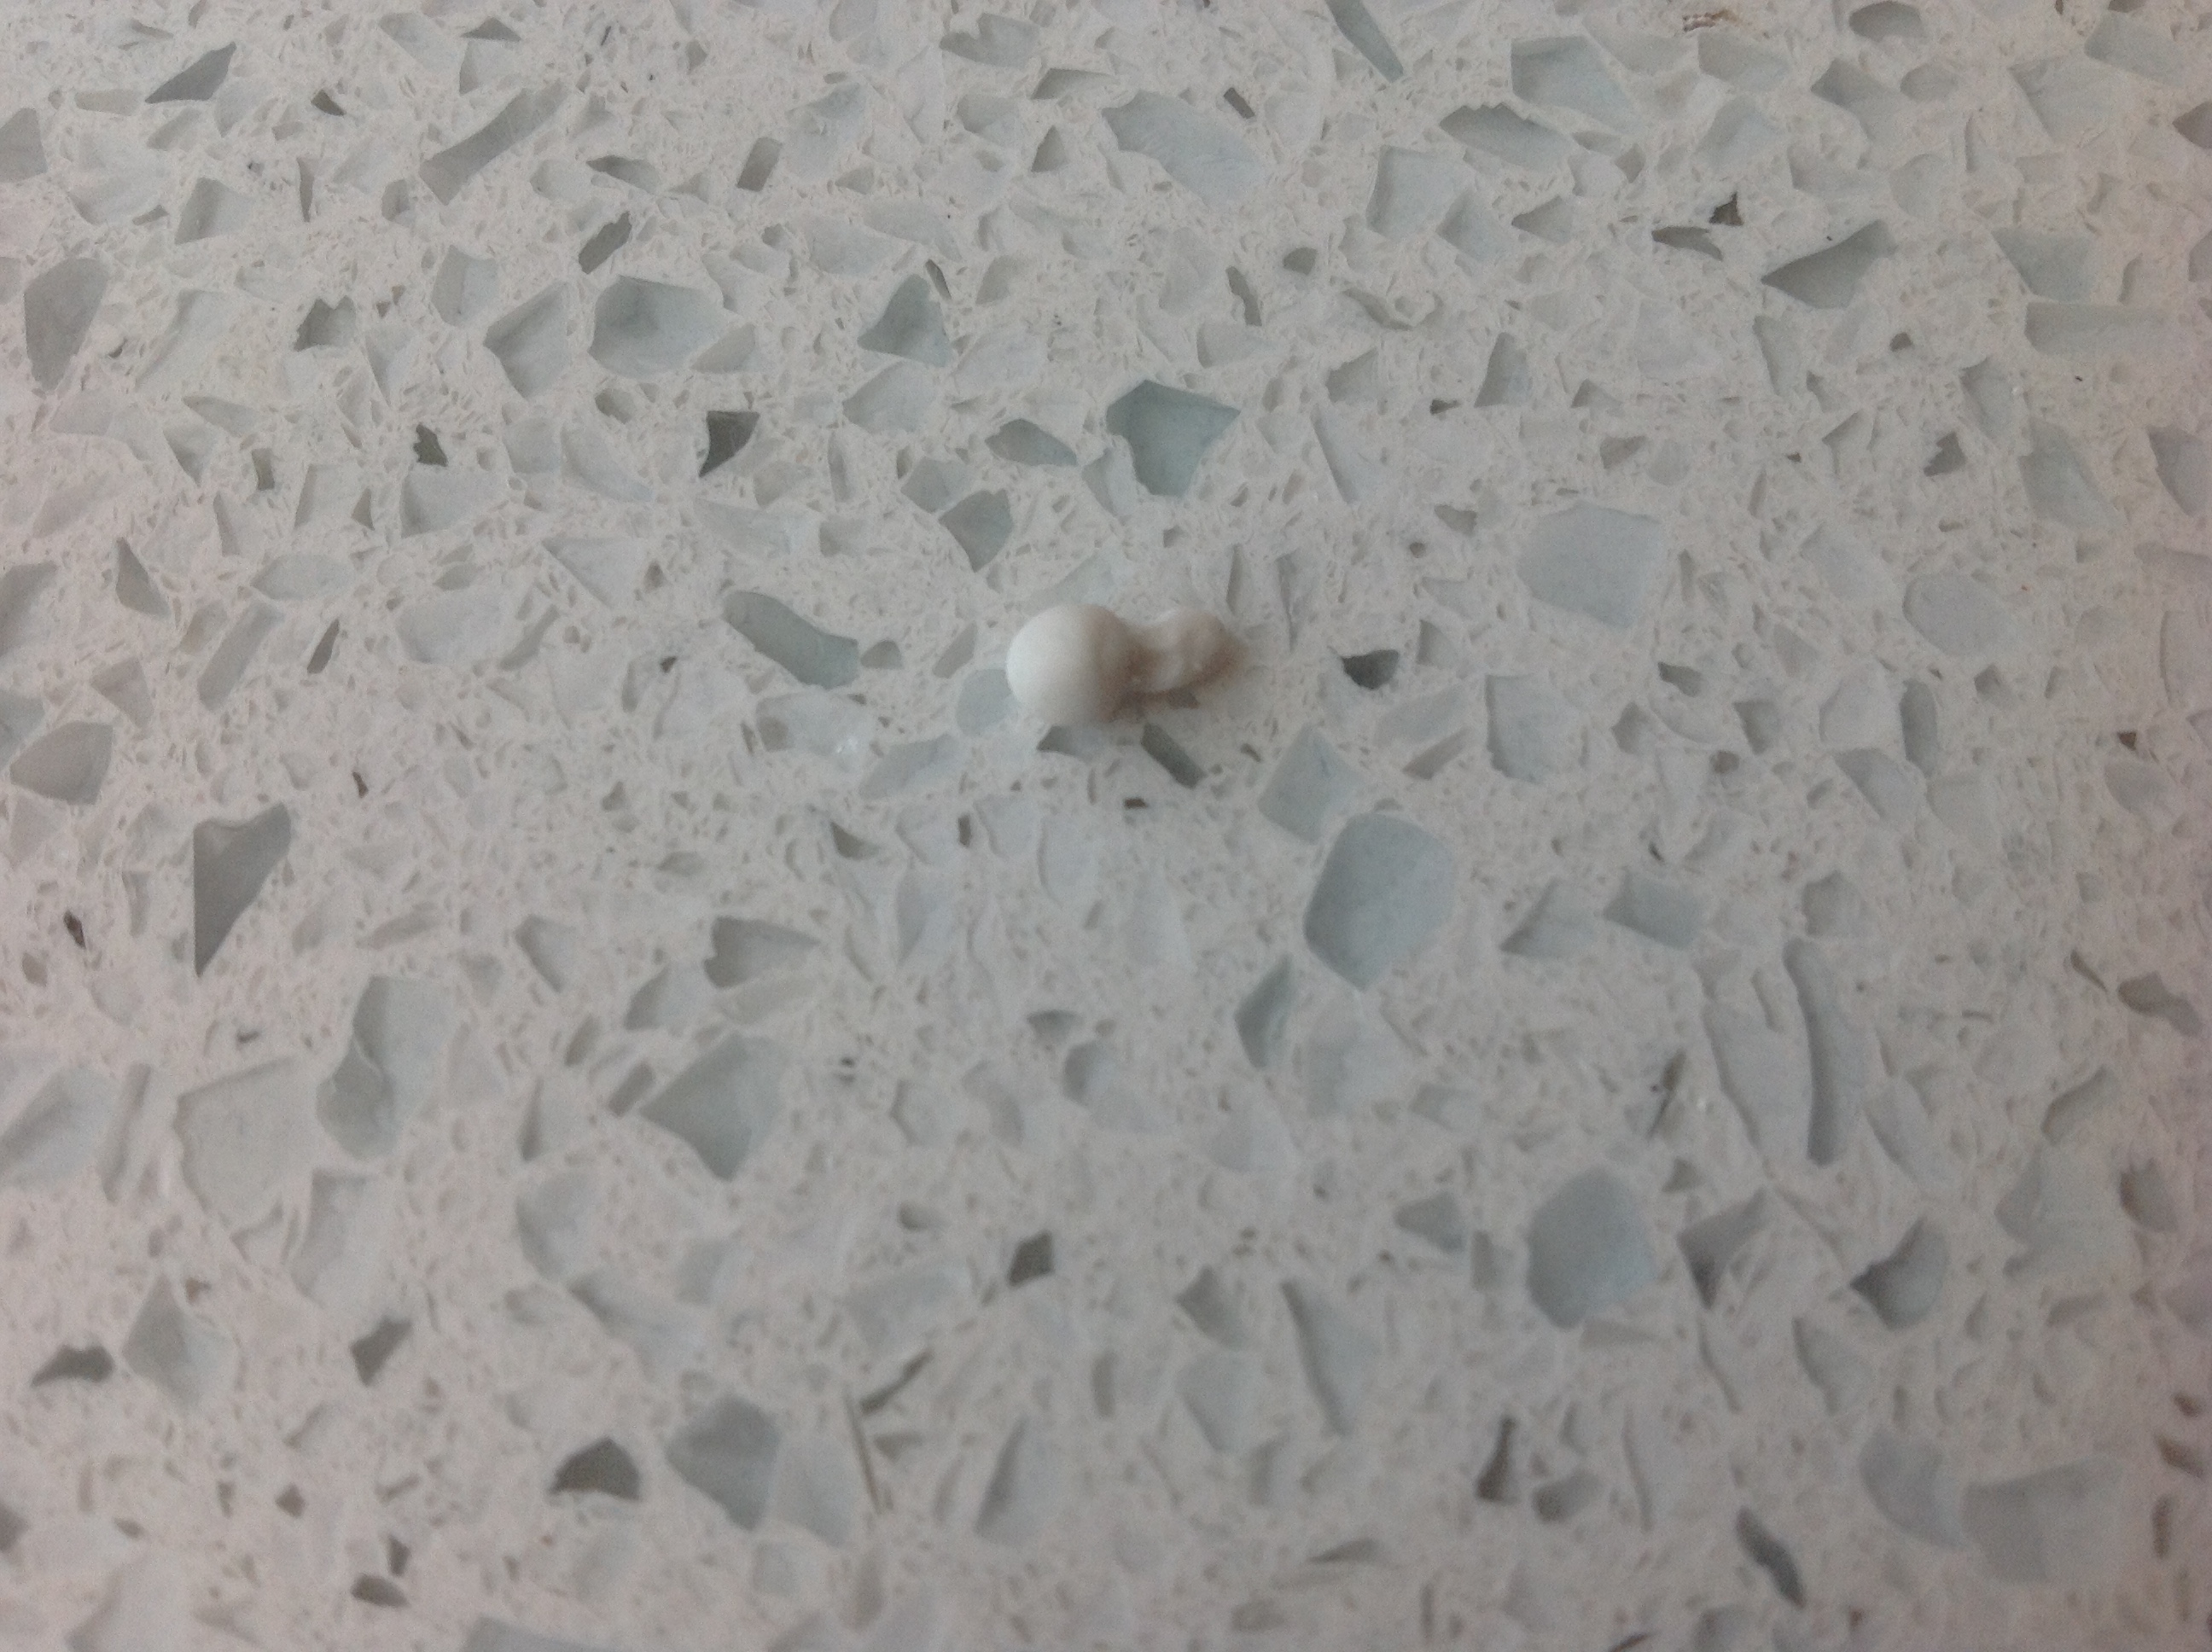
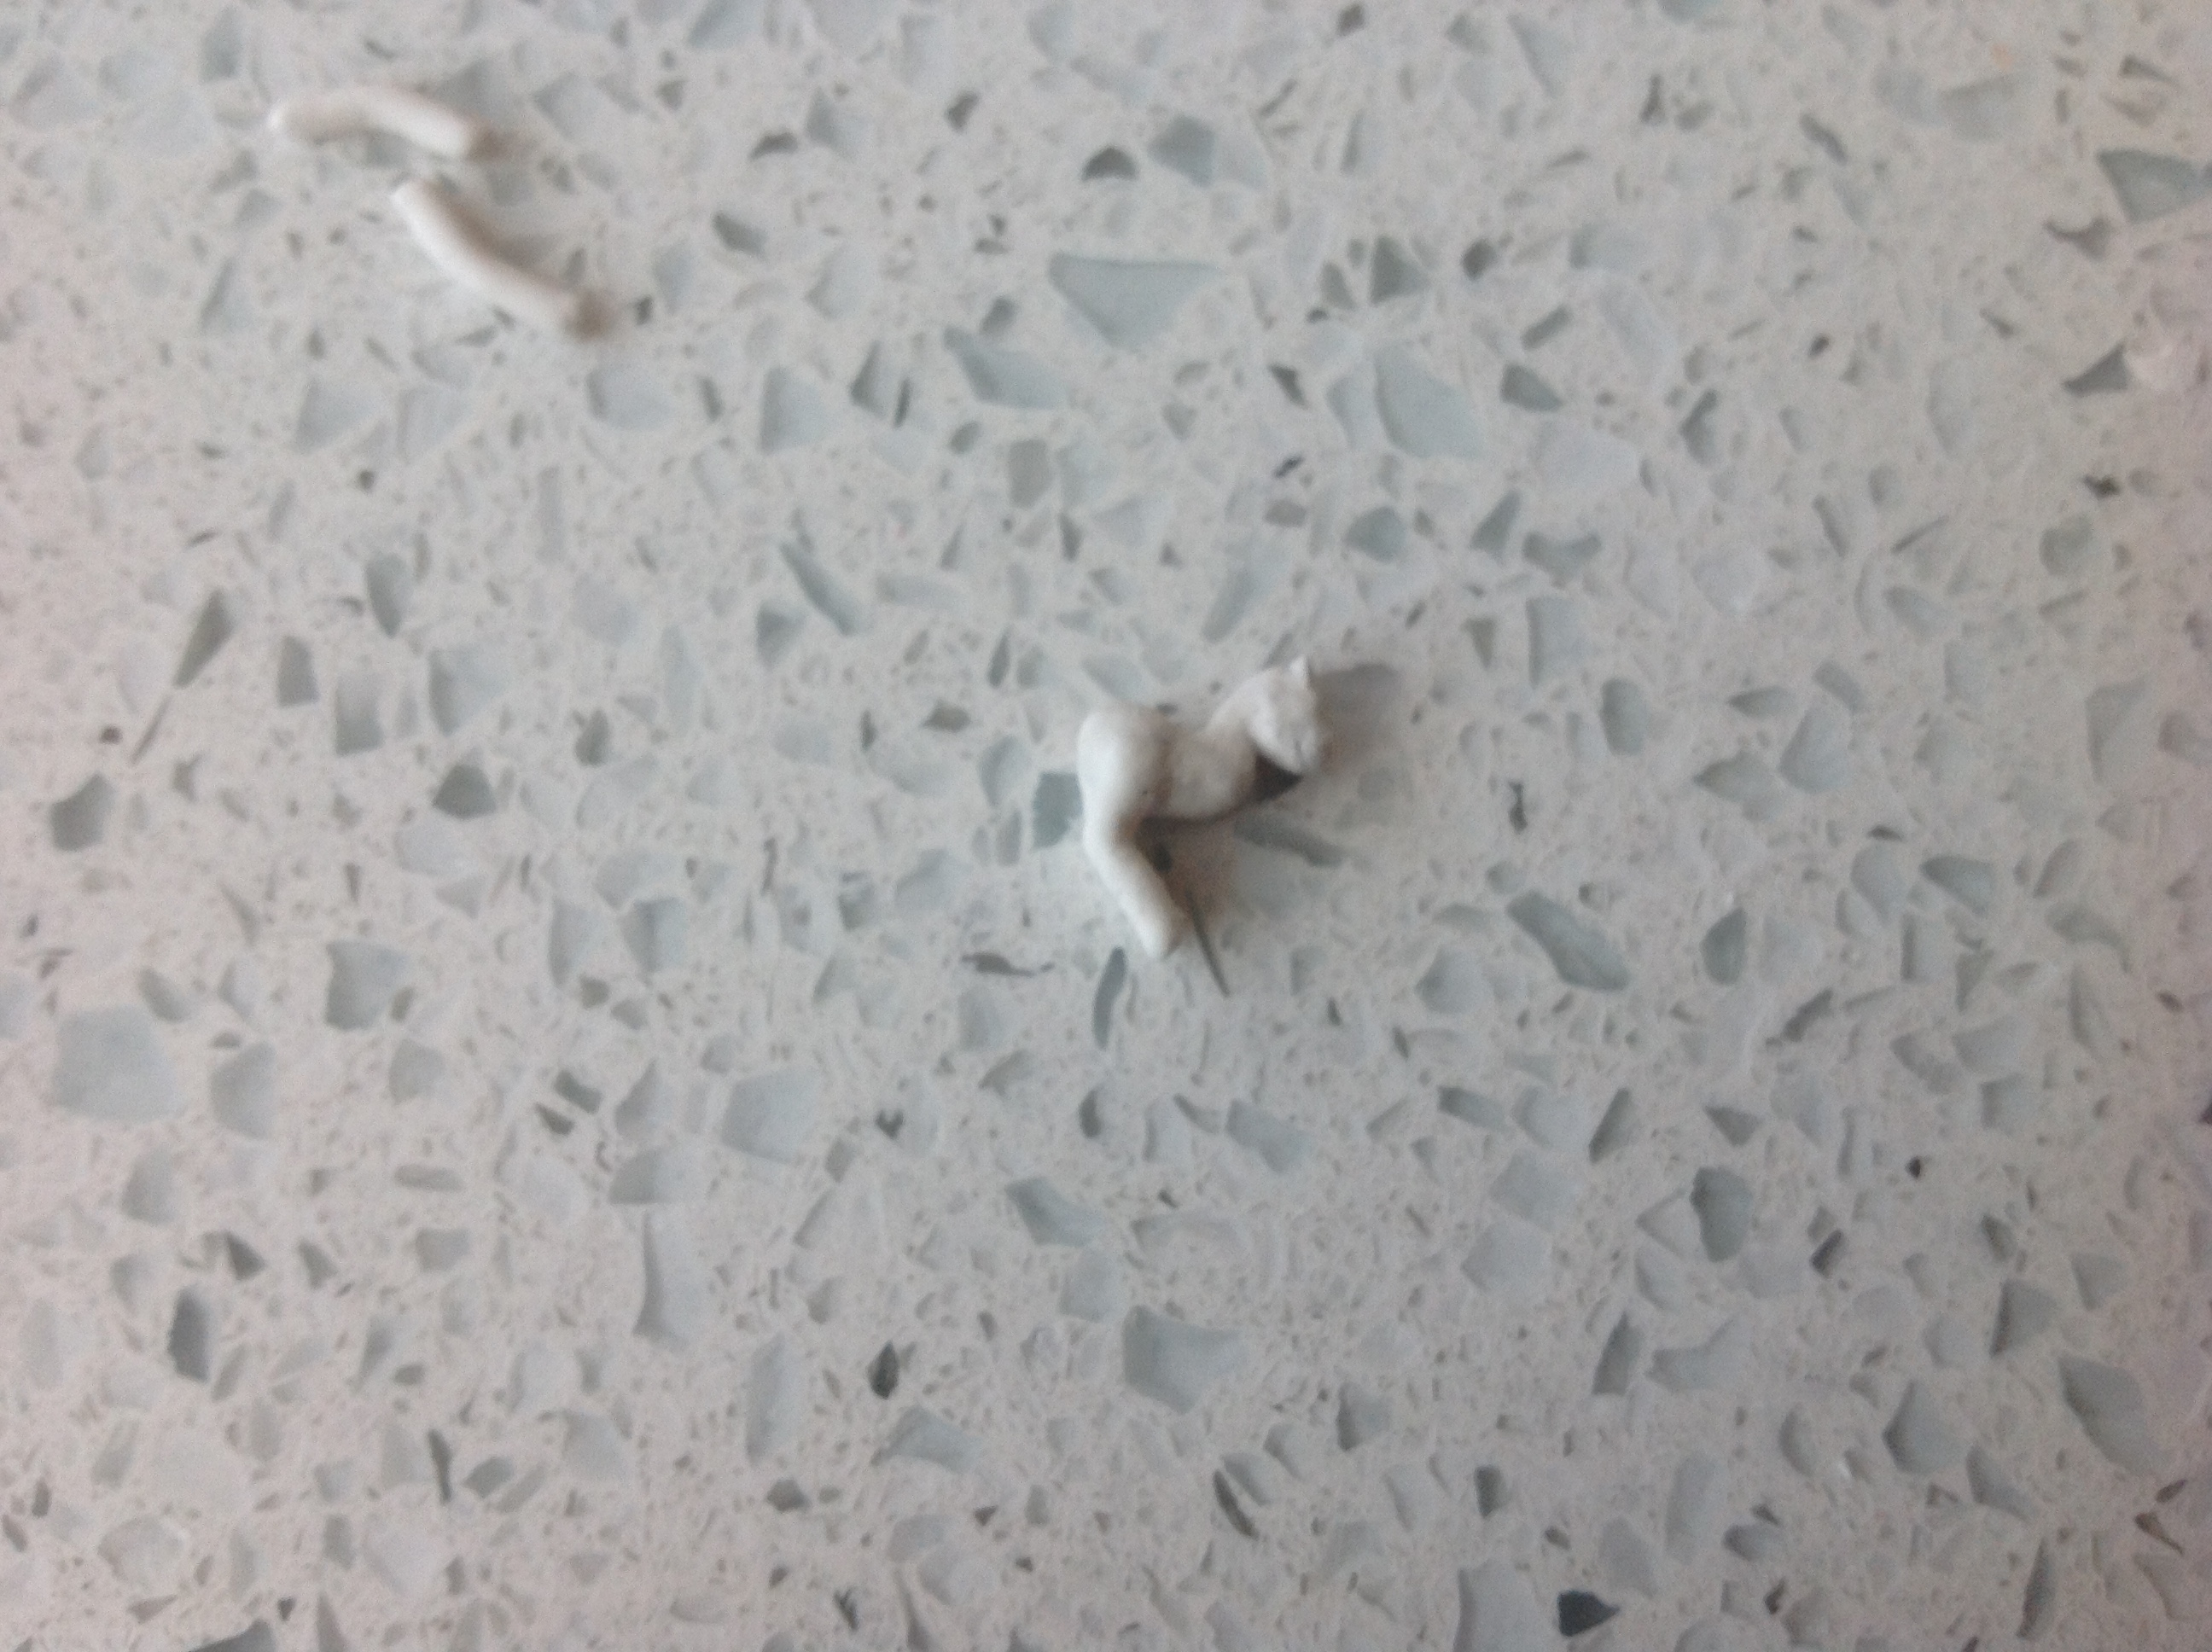
Put her head on the staple and leave to dry. Here, after taking the pic, I accidentally broke her body, and I had to sculpt a new one.
Start adding some clay to her neck. Smooth a bit, add water, then put her head on.
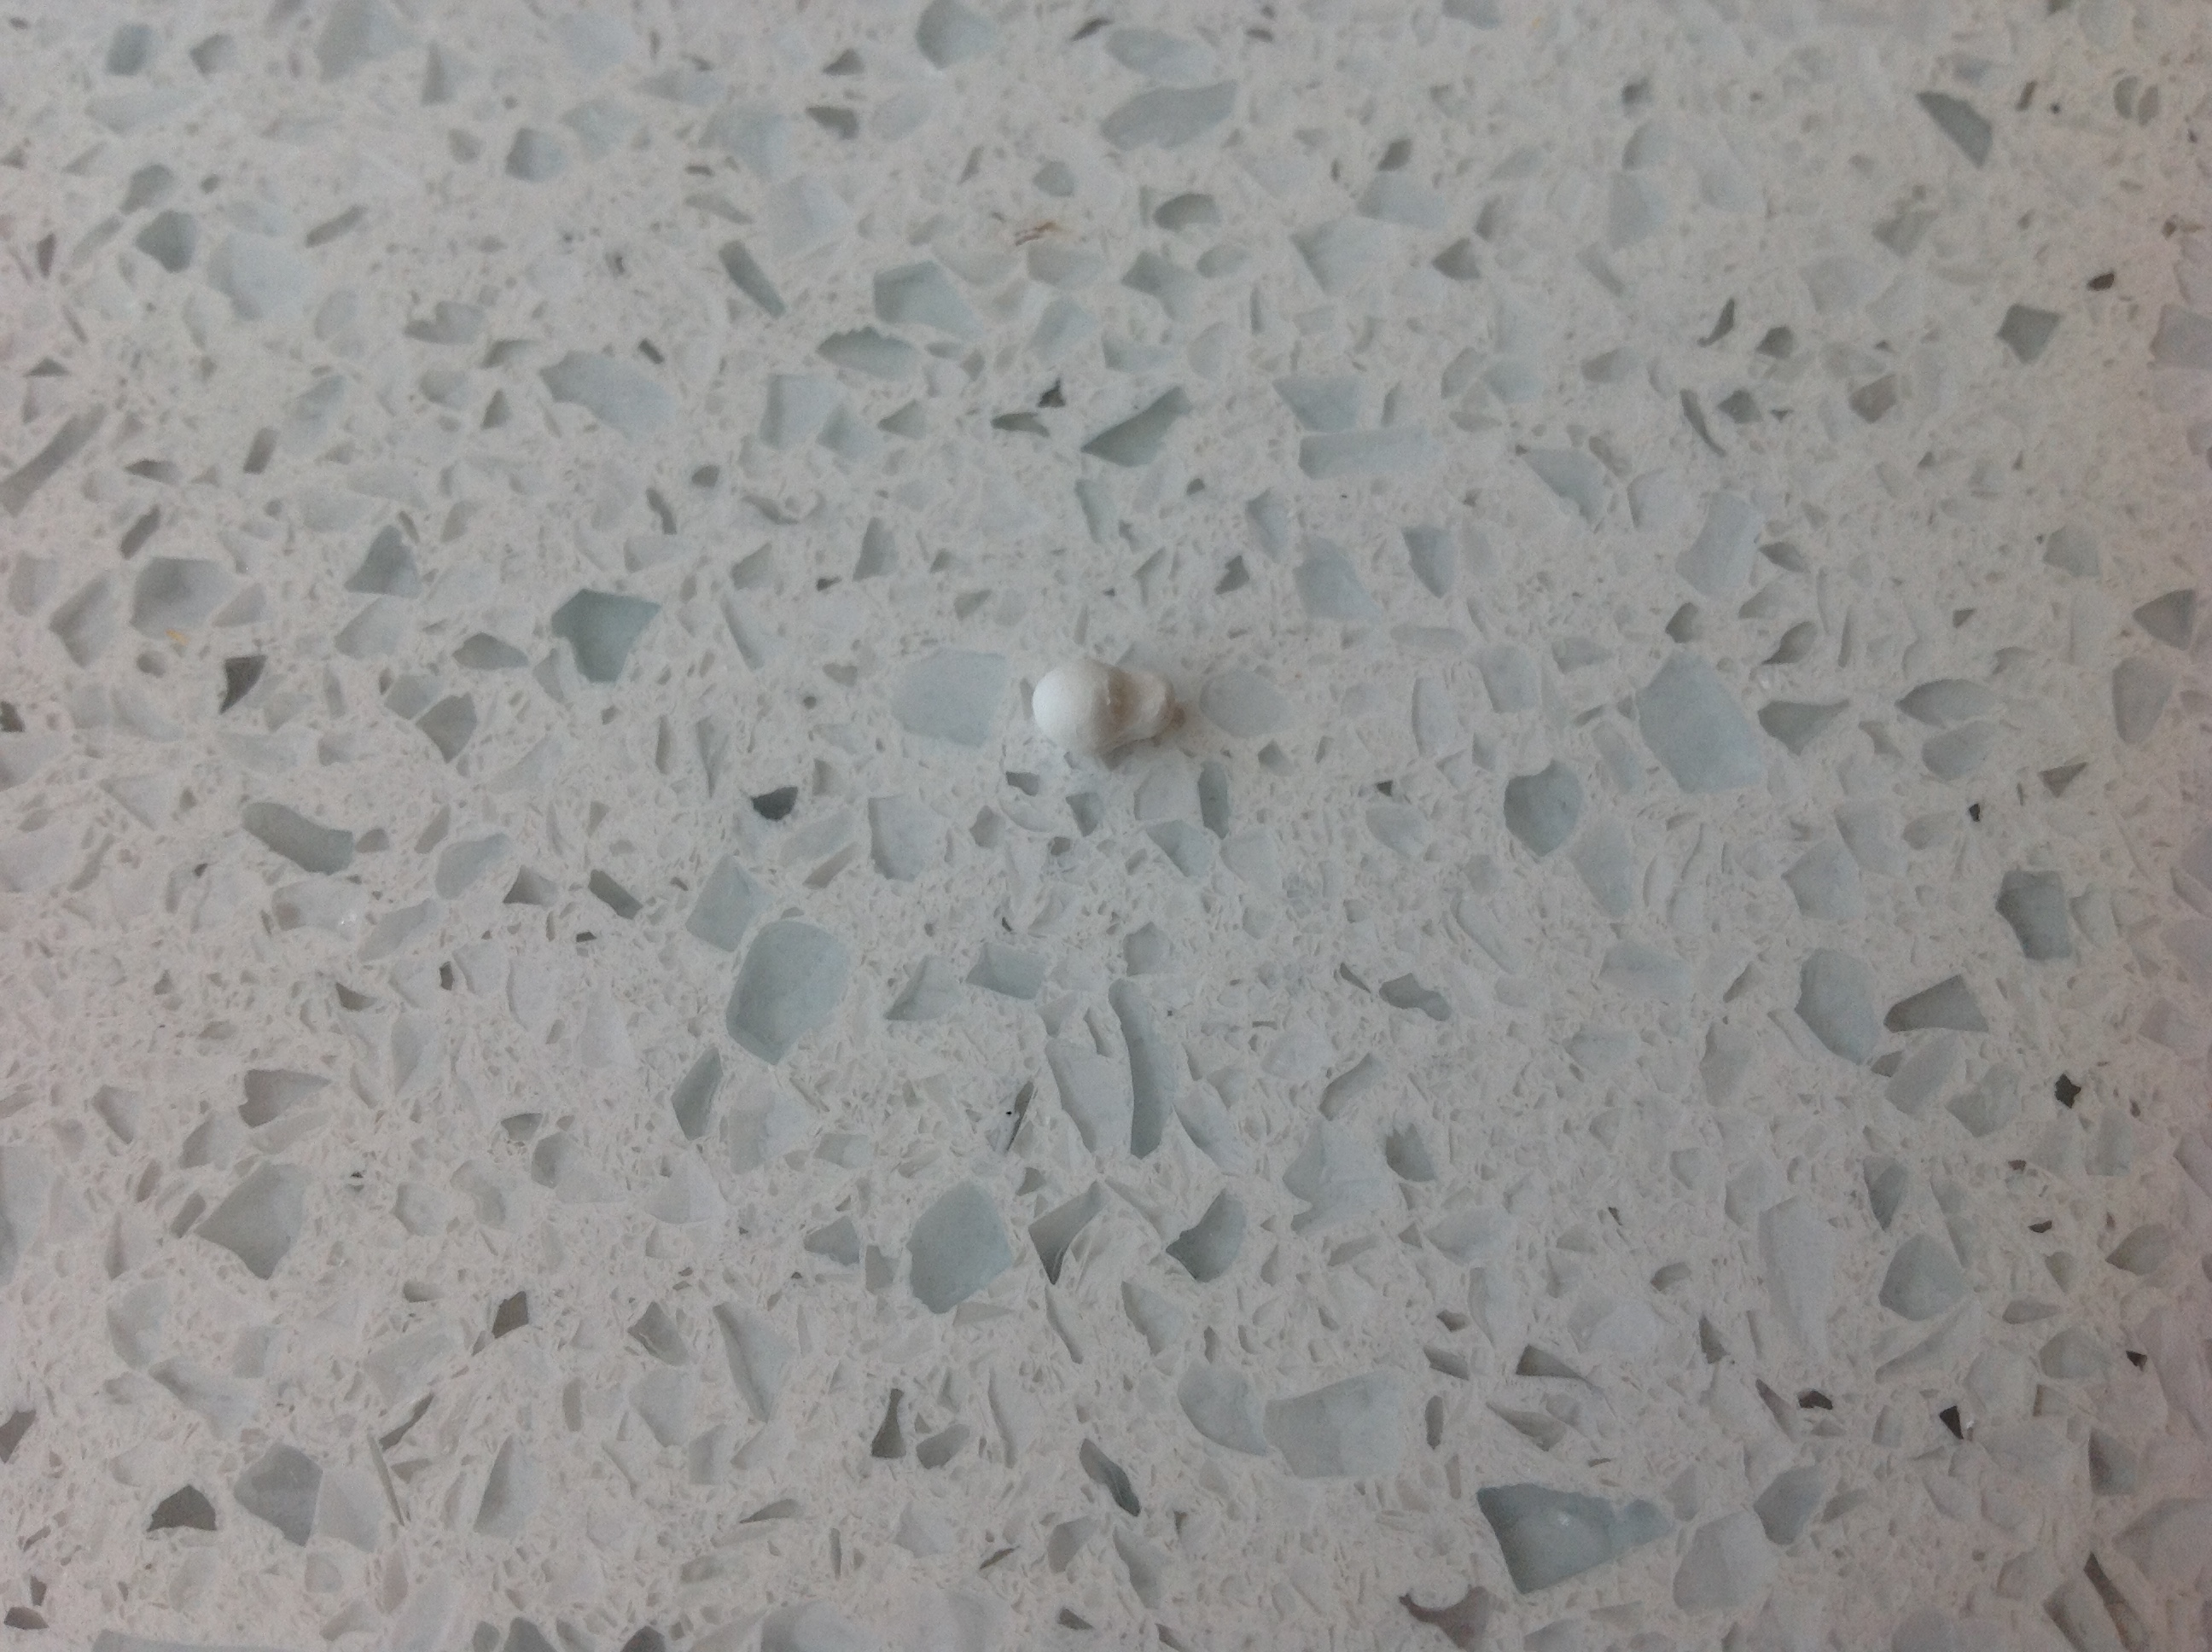
Smooth the neck out. Adjust so the angle of the head is right. I don't know if you can see, but the staple I used for support is sticking out - not good. I used my pliers to remove it.
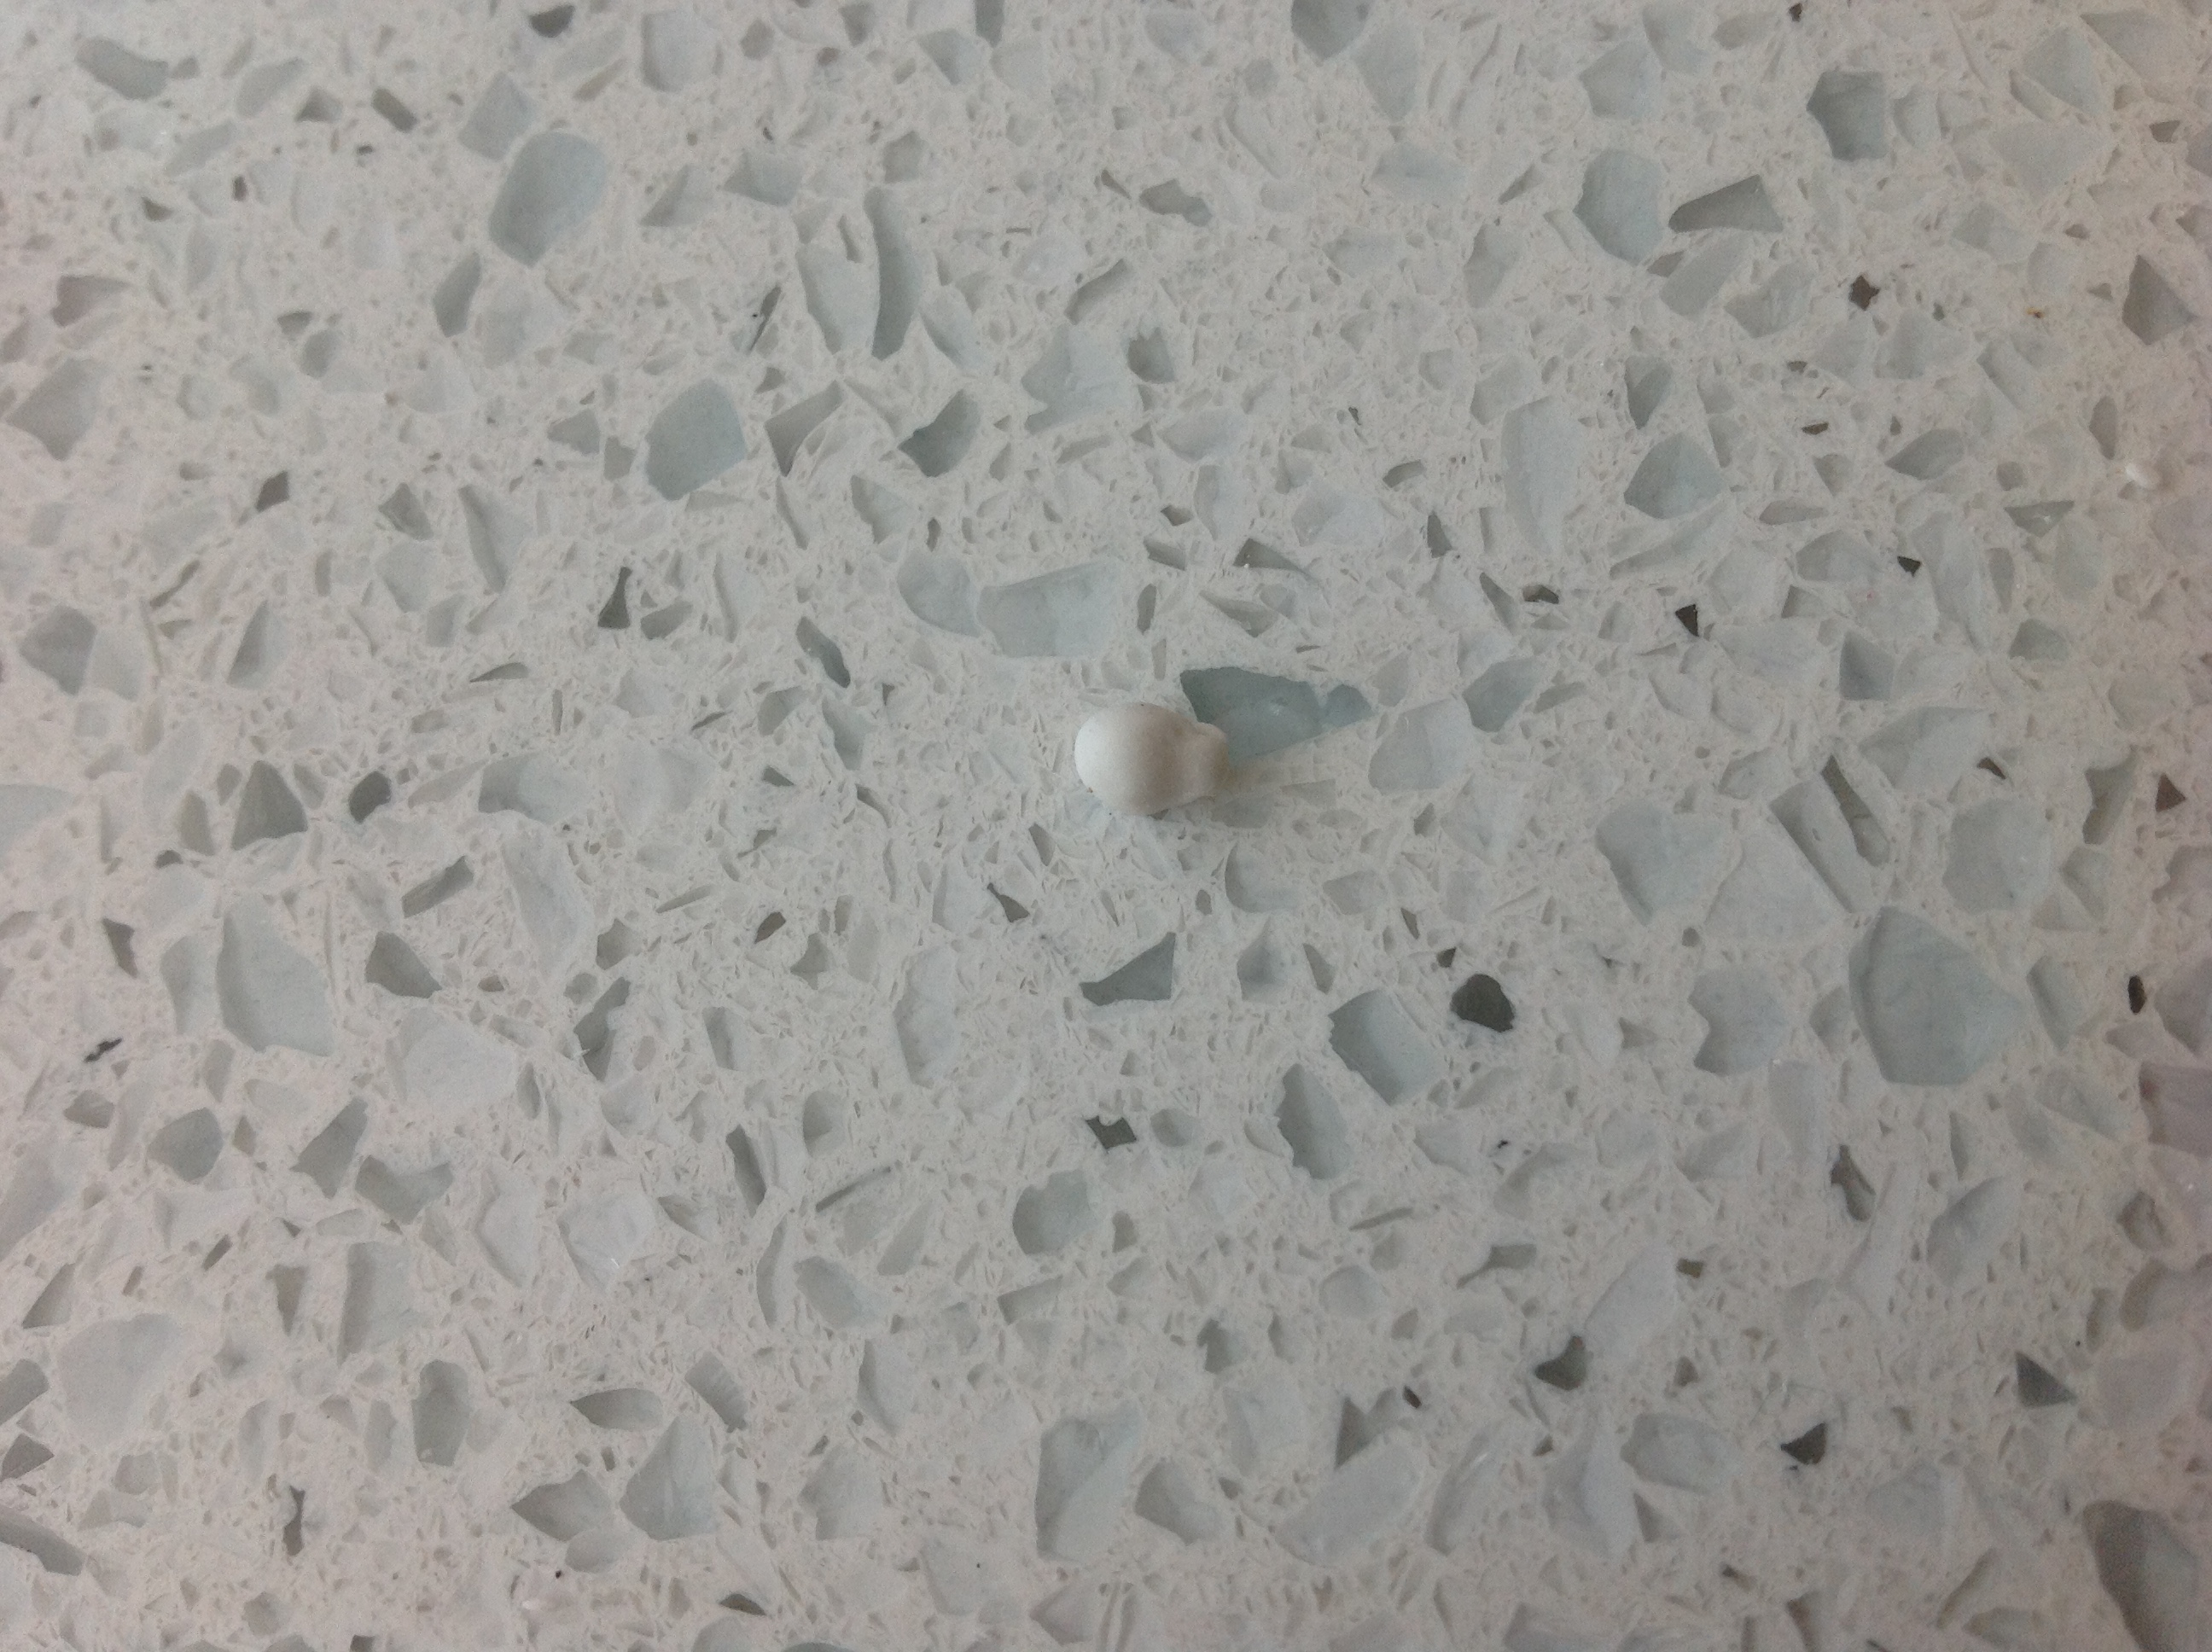
Keep working it back and forth and keep adding water. Sculpt the cheeks too.

Take two tiny balls of clay for the ears.
Attach them. To shape, pinch them until their shape is right, then use your dotting tool to make the inside of the ear. I know I keep saying this but keep adding water
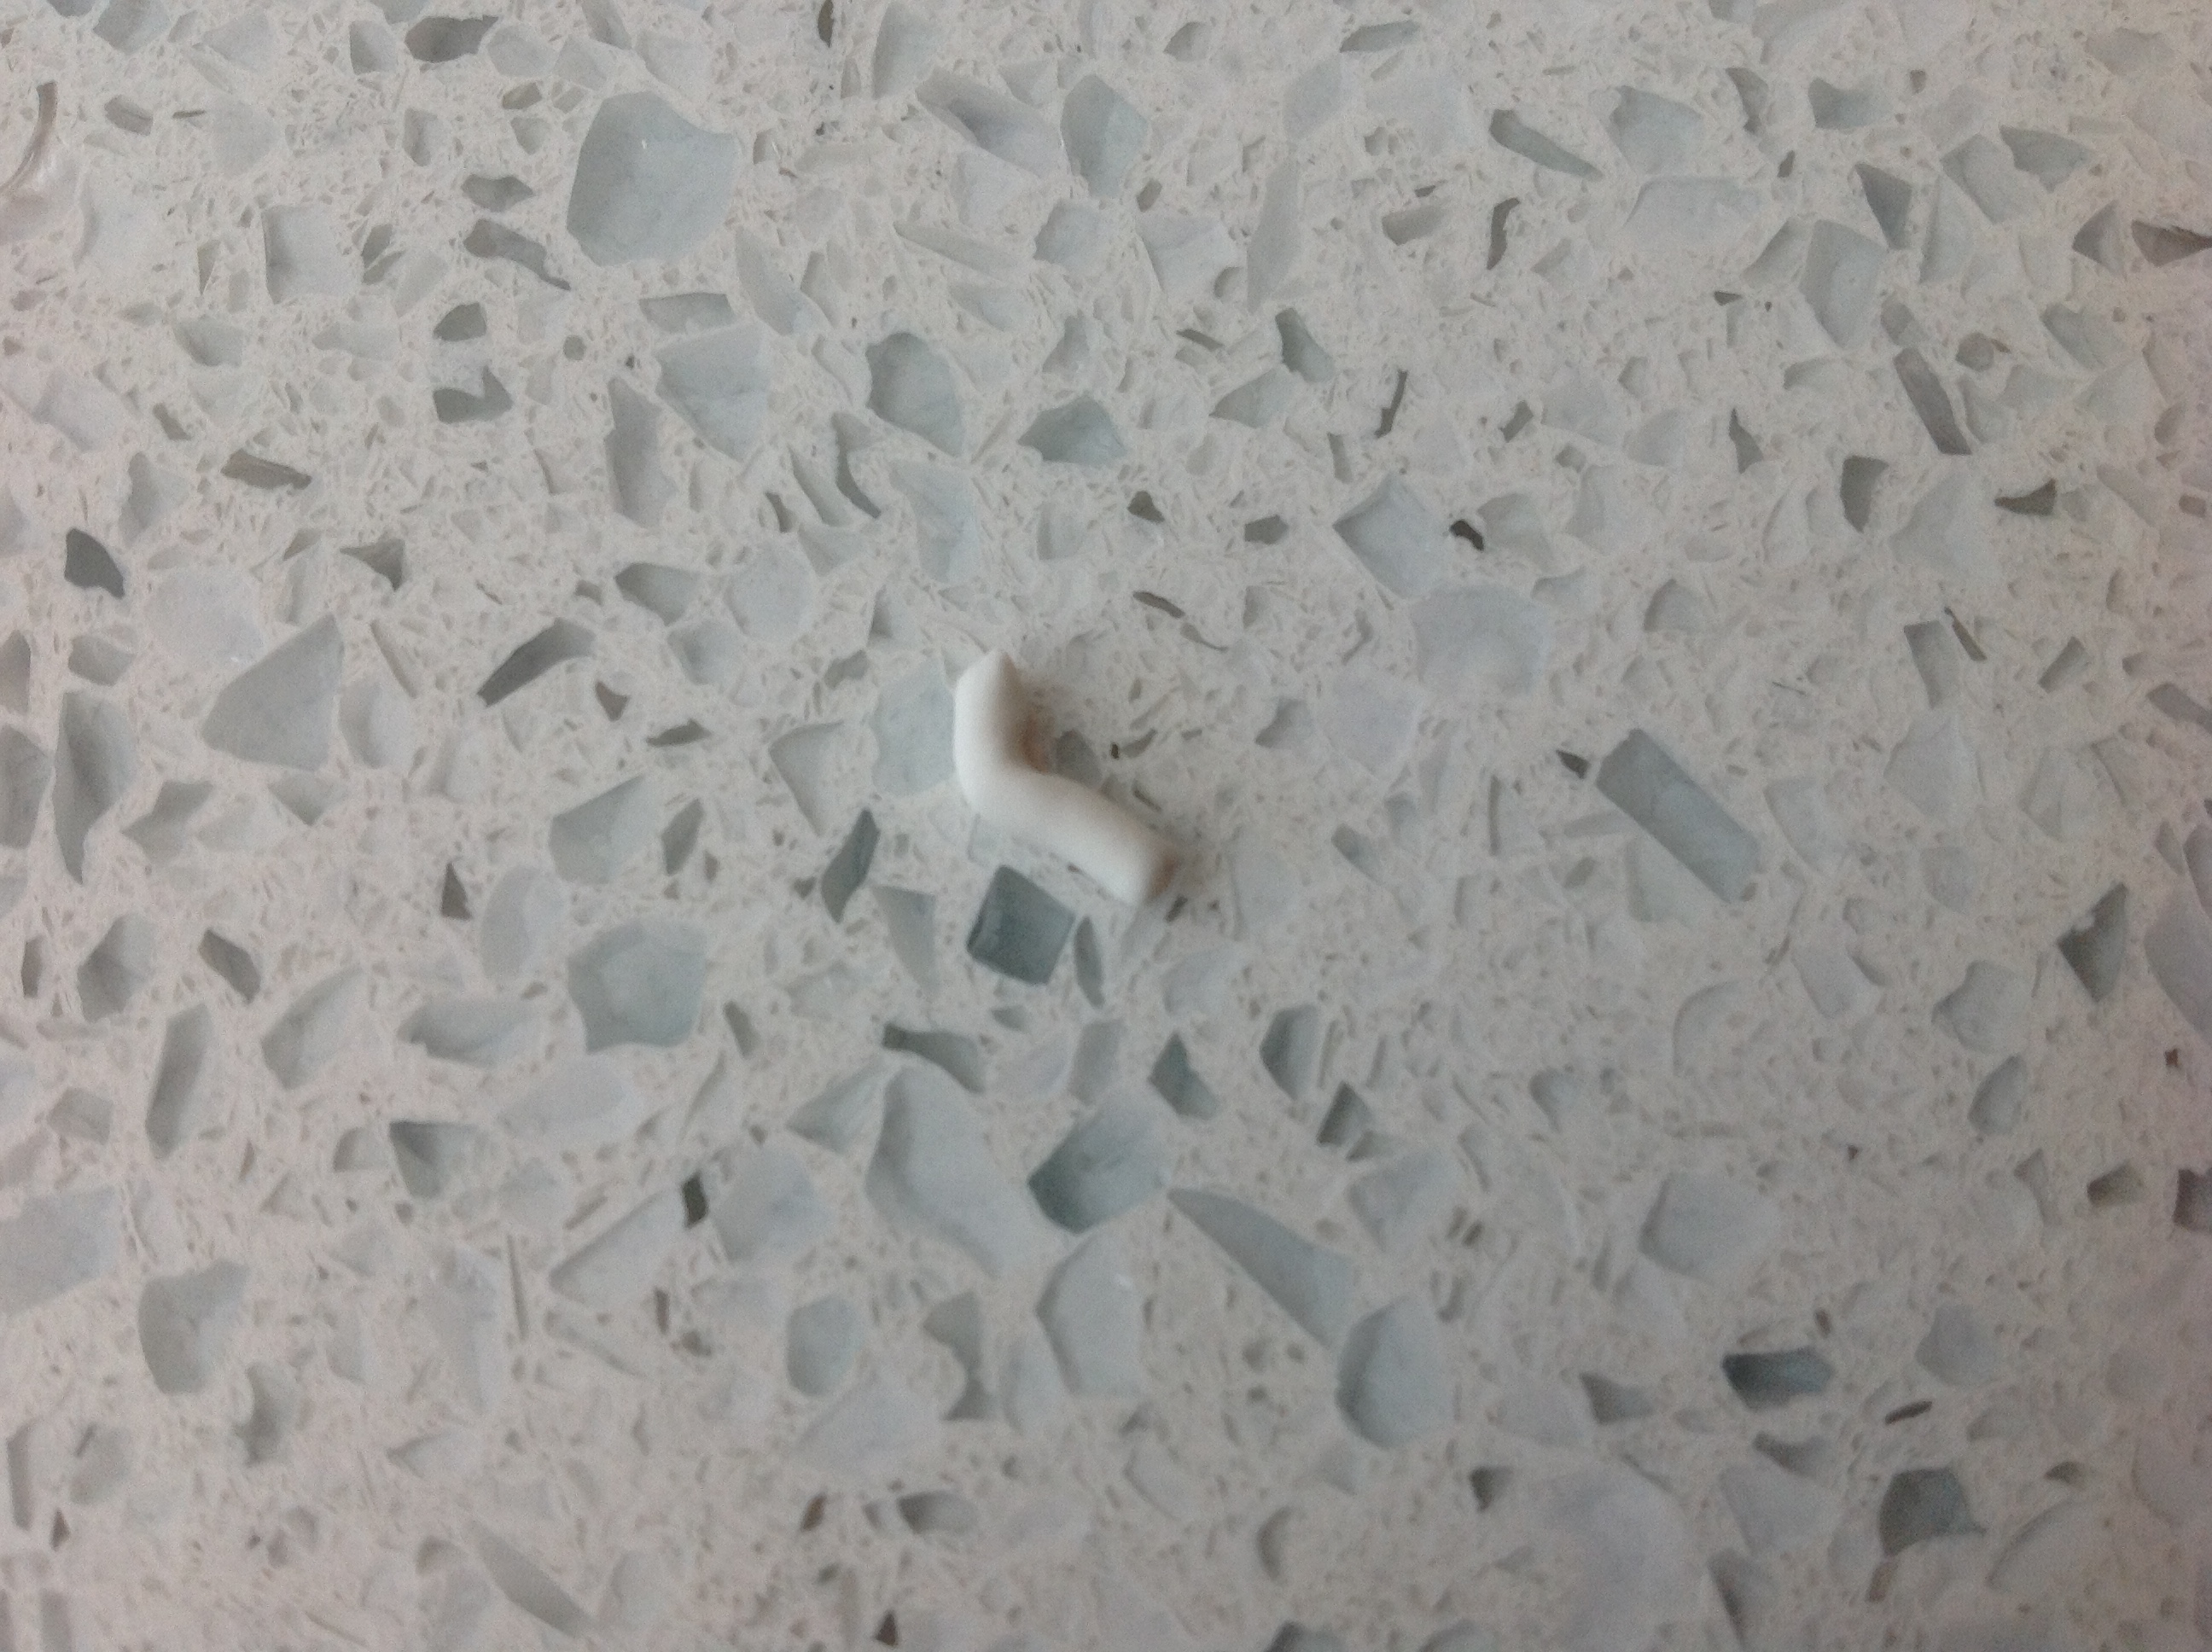
Now... time for the legs... *dun dun dun* These are probably the hardest part. To begin, cut your snake of clay into four sections.

The ends may look like this, but that can be fixed. Roll the pokey bits so none are sticking out:
And flatten with a clay knife or something like that. Do this with all four legs.
For the hind legs, make a bend. Pinch around the point to make it sharper. Bend the top half of the leg up. Do this for both hind legs.
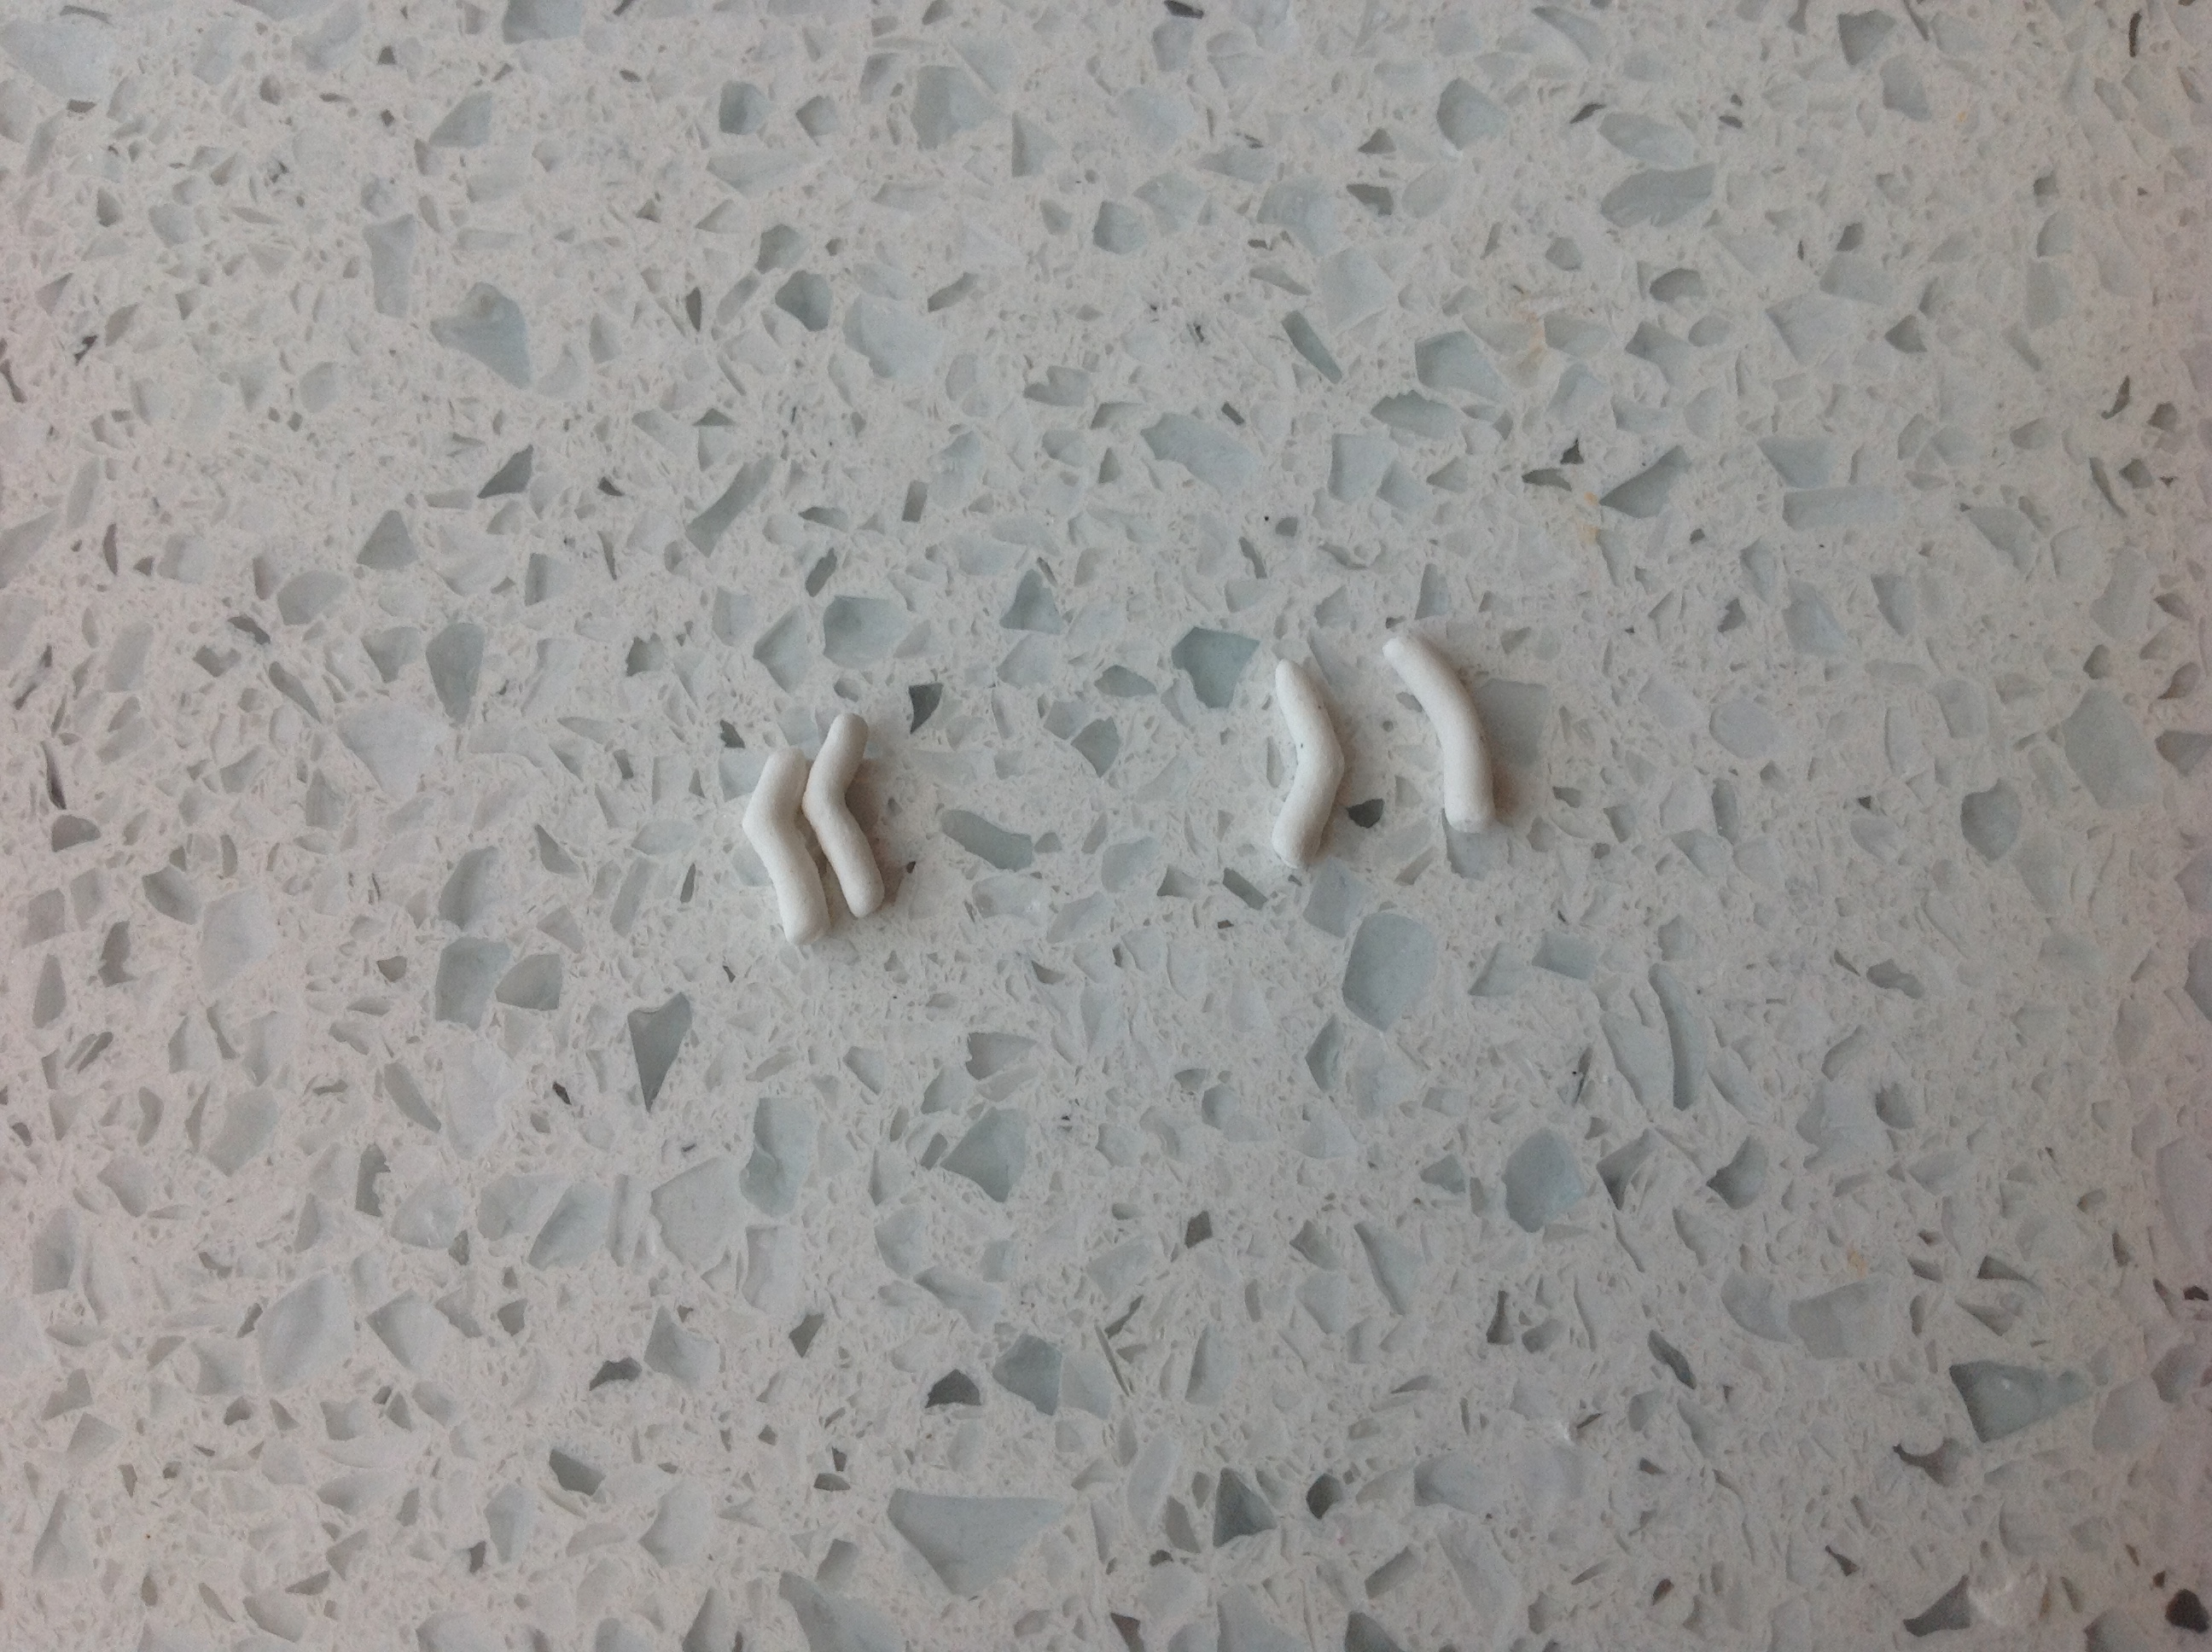
Here are all my legs. You may need to do the front legs differently depending on which pose you do.
Attaching the legs is the hard part. Take your dotting tool and make a small hole in the center of the top of the leg. Flare the sides and wet it. Stick it on the belly, and blend. You will need to do this for all four legs. You might need to redo some, it's tricky!
You can see my legs are too long. I gave them a trim before moving on. You want to make sure they are even so she can stand.
Almost there... Keep working them back and forth. If you add too much water like I did, just wait a bit. If you want to go the extra mile, add some indents to the bottoms of the hooves like actual G1s!
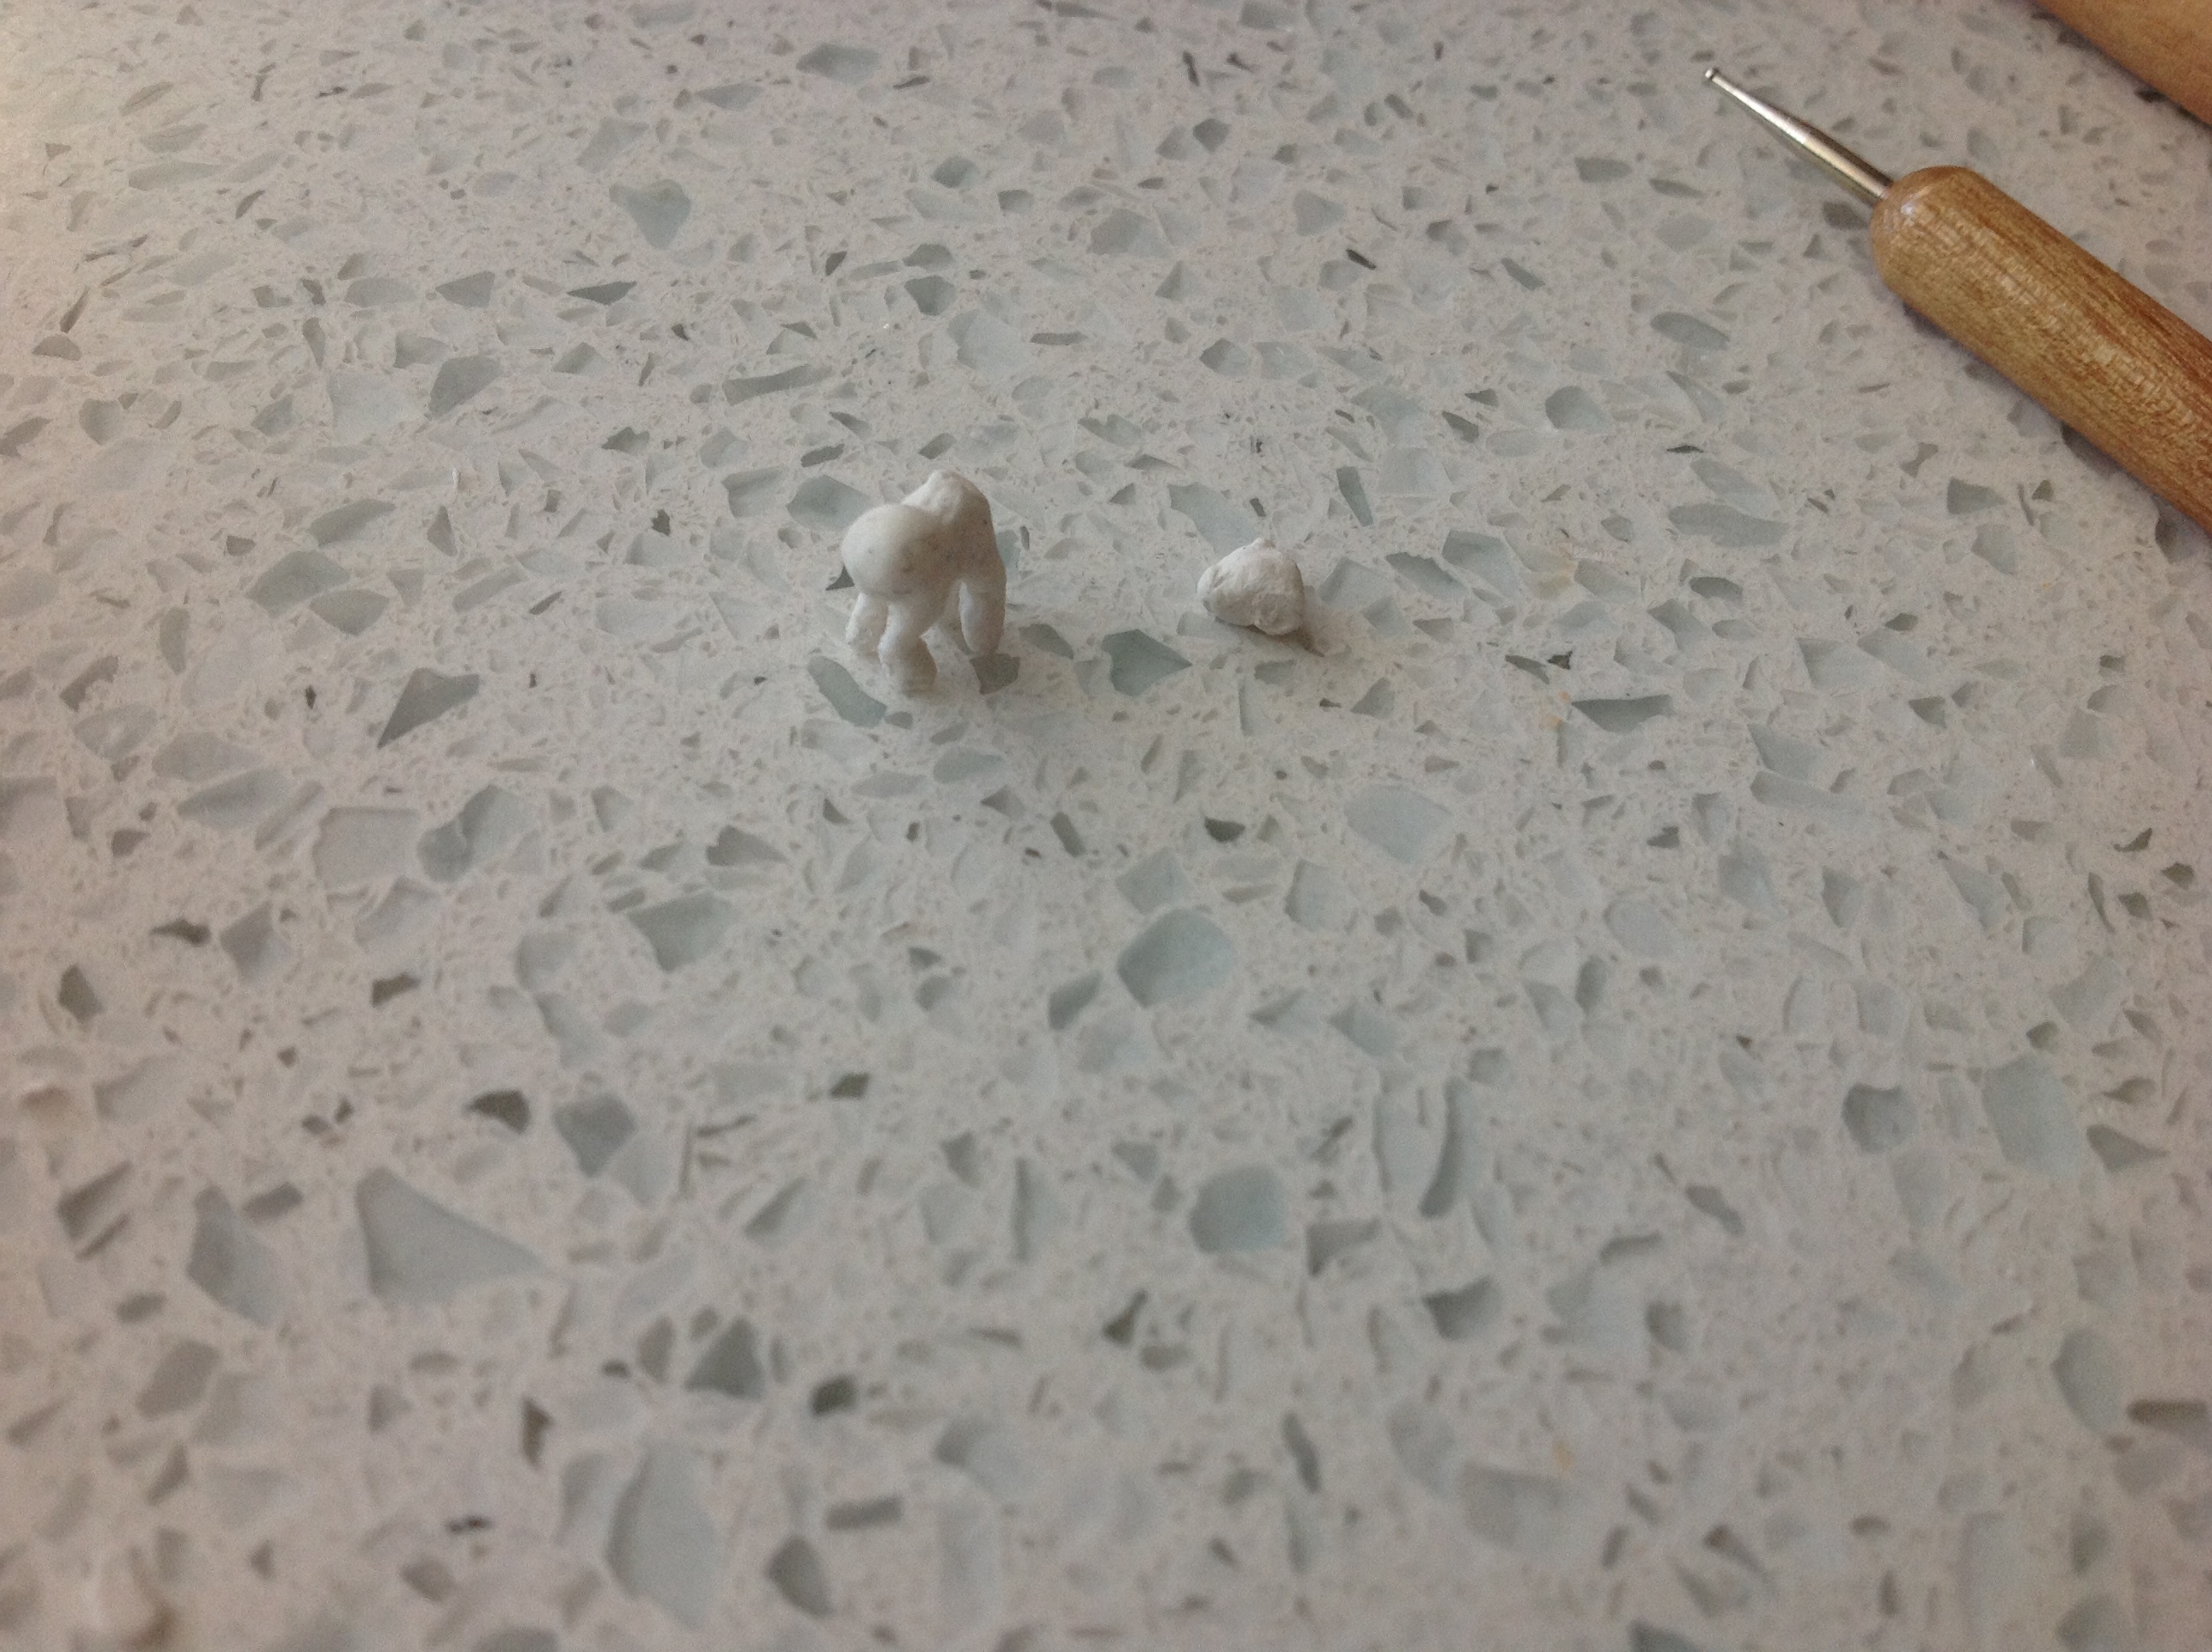
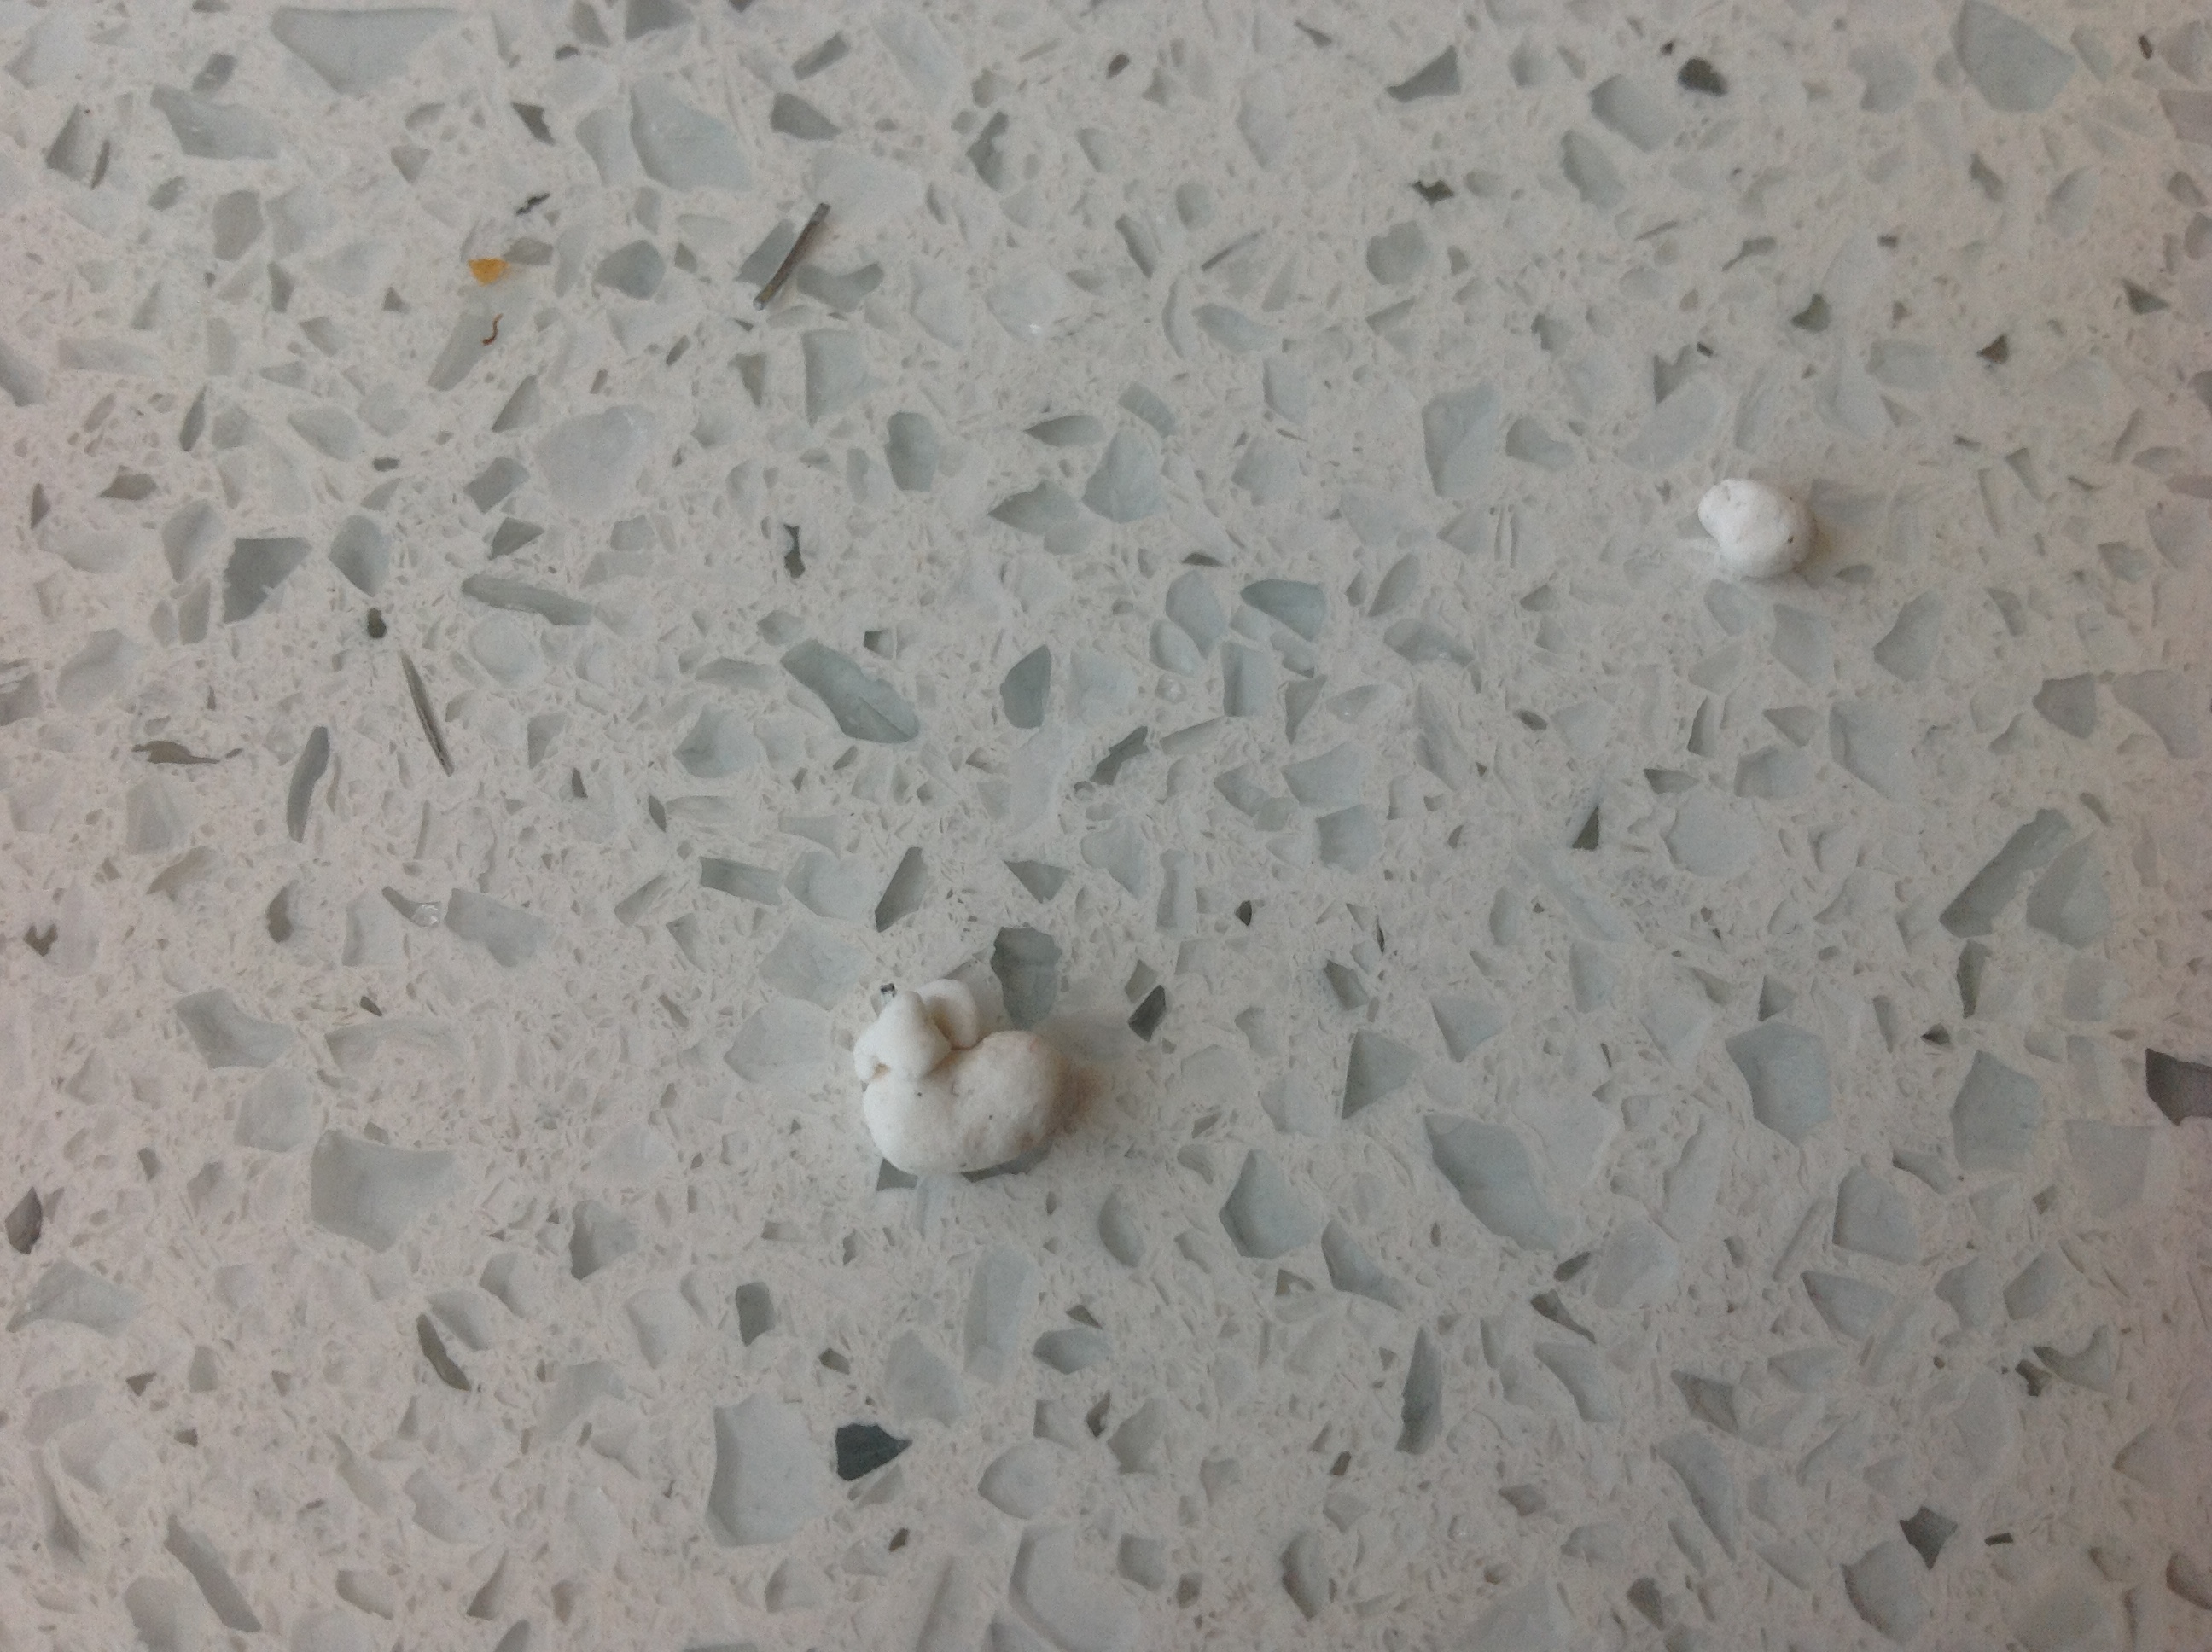
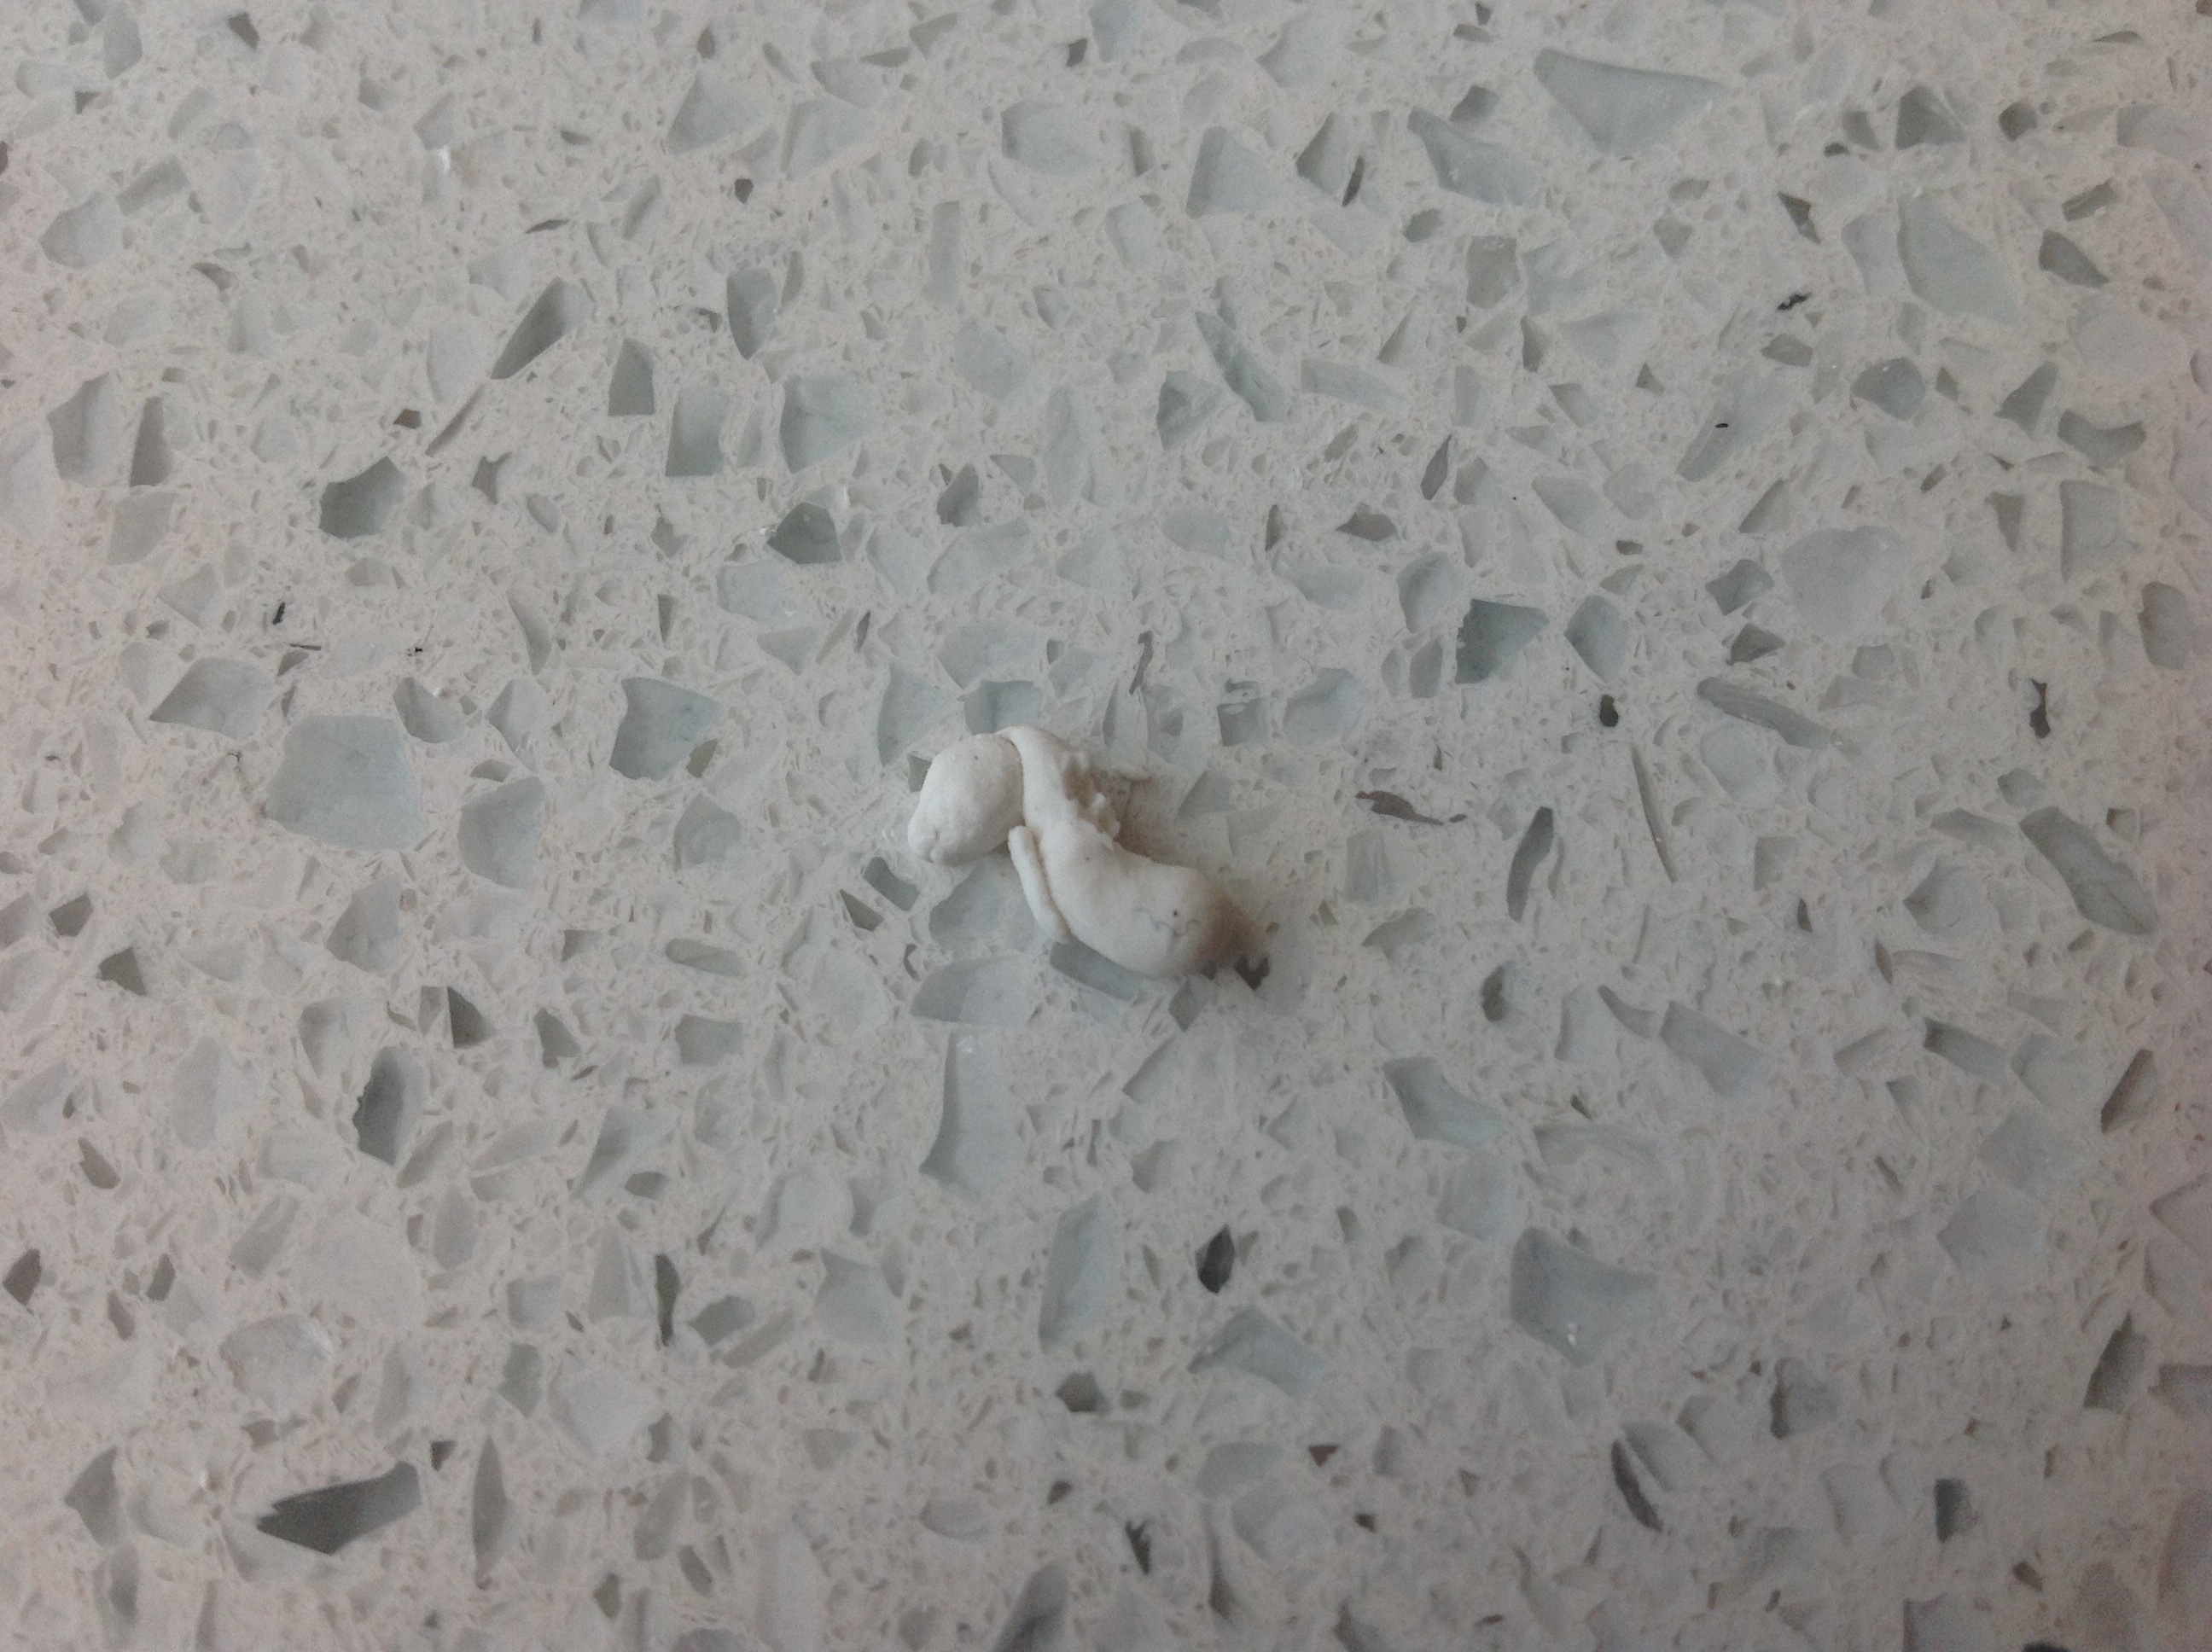
And I got done and she can stand, but I think you can see something wrong... Her head fell off! To reattach parts, wet the area and stick it on. Wait for it to dry, then add water and smooth. It there are any dents or misalignments, add some clay.
You can always bulk up or smooth down any area if need be. If you want, you can add hair but doing strands or sheets and paint. You can achieve detailed eyes and symbols using a staple to paint.
And with that, the body is complete! Keep in mind that in the pictures it looks fast, but it took me many hours over three days. Mini ponies require a lot of trial and error, patience, and perseverance. I hope to add more to the tutorial portion as I make a mold, cast, and make a bunch of ponies. Good luck if you decide to make one! If you have any questions feel free to ask
If you do decide to make one, I would love to see if you would like to share
I hope you enjoyed this post and found it useful! Thank you for reading (and yes I know this was long!)
A pony is basically made up of 3 circles and 5 rectangles. The rump is the biggest circle, the front is another, and the head is the smallest circle. The legs and muzzle are the rectangles. The back and belly are curved, and the hind legs have points and curves and the front legs have curves. The legs also vary in thickness, the base and hoof being bigger thicker than the middle. The neck gets thinner towards the head. Top portion of the bit that connects the head toward the muzzle is flat. The jaw is curved. Facing the front, the cheeks stick out. The ears are about as big as the cheeks and are turned slightly outwards. They resemble triangles.
I suggest you break your pony down like this so you can replicate the anatomy
With all your tools ready you can begin sculpting! I do my sculpts in order of least fragile to most fragile. First I make the body, then the head, then the legs. Let's start with the body!
Take a little oval of clay. You can roll it out into a log like shape.
Use your dotting tool to make it thinner in the middle. This also acts as the curve for the back. Be careful not to shape the belly, you want it to be a bit round. The sides should be shaped, though. The rump should be bigger than the front. You can mark the front with your dotting tool if you'd like
Just keep working it until it looks they way you want. Remember to keep wetting and softening the clay. Since it's so tiny, the clay dries out very very quickly.
You can also cut off a piece of staple and stick it in the front, allowing support for the neck. Leave it to dry for a while. Make sure to put your extra clay back in your sealed bag or whatever you use so it doesn't dry out. After it's dry, you can move on to the head!
Take a sphere of clay. This should be out the same size as the front sphere of the body. Take a another bit of clay. This should be smaller than the head, but not too small. Remember to keep the head and muzzle moist, adding water throughout will help the muzzle attach.
Start blending the muzzle into the head. If yours is too long like mine was, you can cut it. It looks weird at first, but keep going!
Keep blending and shaping. The muzzle should be visibly thinner than the head, but the top and bottom should curve into it. Look at your pony from different angles for reference. Keep working it back and forth.
Here, mine is about finished.
I added her smile and nostrils with my safety pin, pushing the bottom of the mouth a bit farther back.
Put her head on the staple and leave to dry. Here, after taking the pic, I accidentally broke her body, and I had to sculpt a new one.
Start adding some clay to her neck. Smooth a bit, add water, then put her head on.
Smooth the neck out. Adjust so the angle of the head is right. I don't know if you can see, but the staple I used for support is sticking out - not good. I used my pliers to remove it.
Keep working it back and forth and keep adding water. Sculpt the cheeks too.
Take two tiny balls of clay for the ears.
Attach them. To shape, pinch them until their shape is right, then use your dotting tool to make the inside of the ear. I know I keep saying this but keep adding water
Now... time for the legs... *dun dun dun* These are probably the hardest part. To begin, cut your snake of clay into four sections.
The ends may look like this, but that can be fixed. Roll the pokey bits so none are sticking out:
And flatten with a clay knife or something like that. Do this with all four legs.
For the hind legs, make a bend. Pinch around the point to make it sharper. Bend the top half of the leg up. Do this for both hind legs.
Here are all my legs. You may need to do the front legs differently depending on which pose you do.
Attaching the legs is the hard part. Take your dotting tool and make a small hole in the center of the top of the leg. Flare the sides and wet it. Stick it on the belly, and blend. You will need to do this for all four legs. You might need to redo some, it's tricky!
You can see my legs are too long. I gave them a trim before moving on. You want to make sure they are even so she can stand.
Almost there... Keep working them back and forth. If you add too much water like I did, just wait a bit. If you want to go the extra mile, add some indents to the bottoms of the hooves like actual G1s!
And I got done and she can stand, but I think you can see something wrong... Her head fell off! To reattach parts, wet the area and stick it on. Wait for it to dry, then add water and smooth. It there are any dents or misalignments, add some clay.
You can always bulk up or smooth down any area if need be. If you want, you can add hair but doing strands or sheets and paint. You can achieve detailed eyes and symbols using a staple to paint.
And with that, the body is complete! Keep in mind that in the pictures it looks fast, but it took me many hours over three days. Mini ponies require a lot of trial and error, patience, and perseverance. I hope to add more to the tutorial portion as I make a mold, cast, and make a bunch of ponies. Good luck if you decide to make one! If you have any questions feel free to ask
If you do decide to make one, I would love to see if you would like to share
I hope you enjoyed this post and found it useful! Thank you for reading (and yes I know this was long!)
 If I can, I will get molding supplies so I will hopefully make finished ones soon!